
8
9
GB
GB
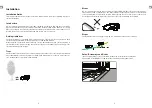
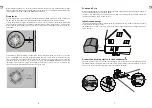
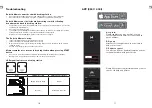
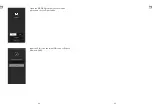
Once the blue LED confirms all is OK, test the Robotic Mower's function. Check the LED regularly
to ensure fixing the boundary wire has not affected the connection and signal shows S1 on the
charging satation. Then place the Robotic Mower in the working area, a few metres beside the
docking station. Set the main power switch to "ON".
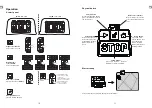
Press the buttons
and
, a few seconds later, the Robotic Mower should automatically
return to the docking station by locating and following the boundary wire in anti-clockwise
direction. If Robotic Mower fails to dock correctly, move the docking station to a more suitable
position.
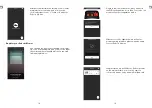
Once the device has docked, the symbol will start flashing. This indicates that the battery is
charging correctly.
After initial installation, the Robotic Mower will remain in the docking station until the battery is
fully charged.
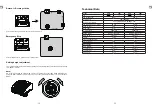
Successful docking and charging indicates that you have found a suitable position for the docking
station. You should now drive fixing pegs into ground fully.
Take care not to damage or kink the surplus wire stored under the docking station.
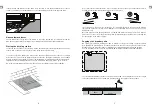
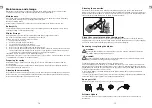
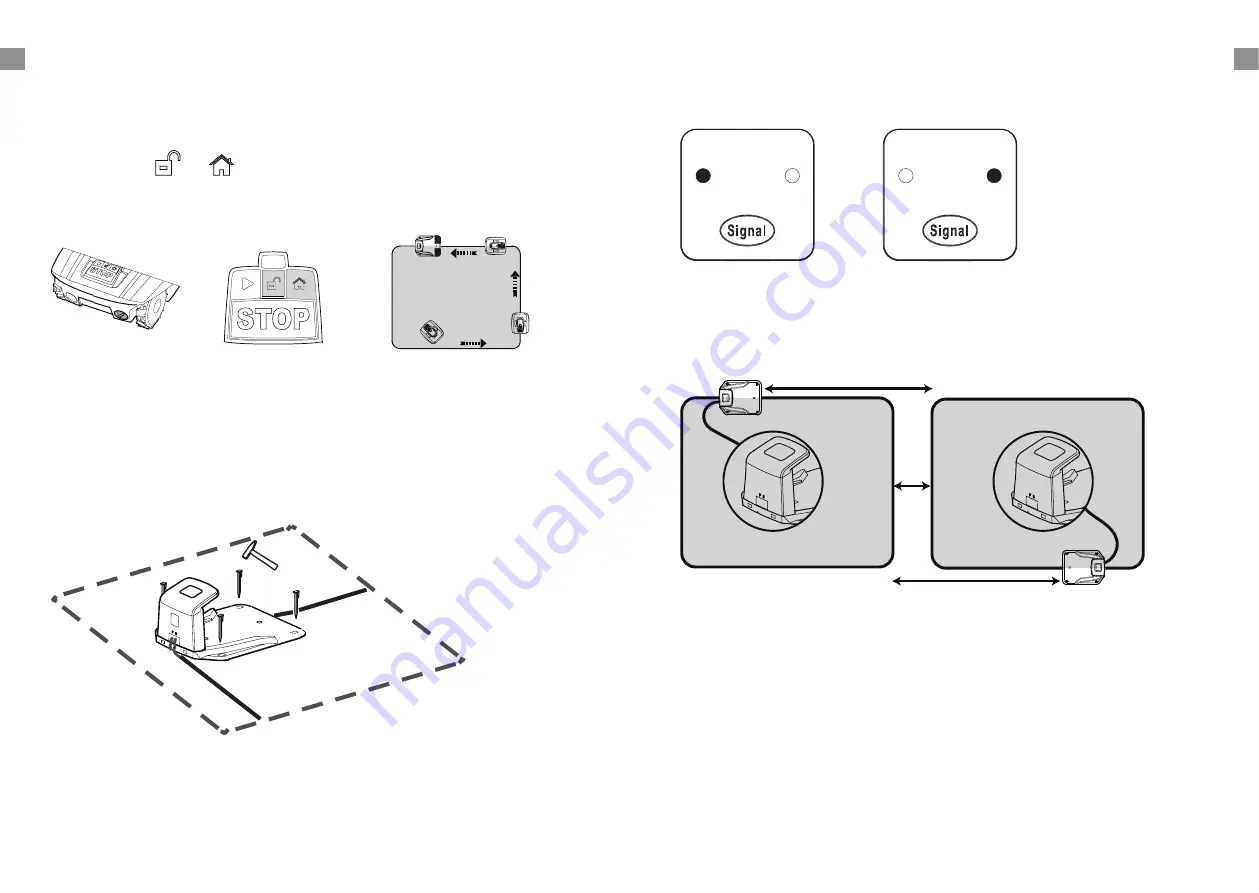
Signal selection
There are two singals which can be selected, S1(blue indicator) and S2(red indicator).
Make sure your Robotic Mower and docking station are using the same singal.
S1
S2
S1
S2
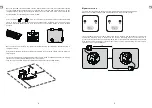
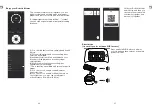
If your neighbour is using the samer, will need to keep a distance of 0.5m between you and your
neighbour's boundary wires to prevent the two devices interfering with each other. Ensure to
position your docking station at least 10m away from your neighbour's boundary wires and that
both products are using different signals. Please refer to section "Signal setting" in order to select
signal S1 or S2 for your installation.
>10m
>10m
>0.5m
S1
S2


