PERIODIC MAINTENANCE AND ADJUSTMENT
7-26
7
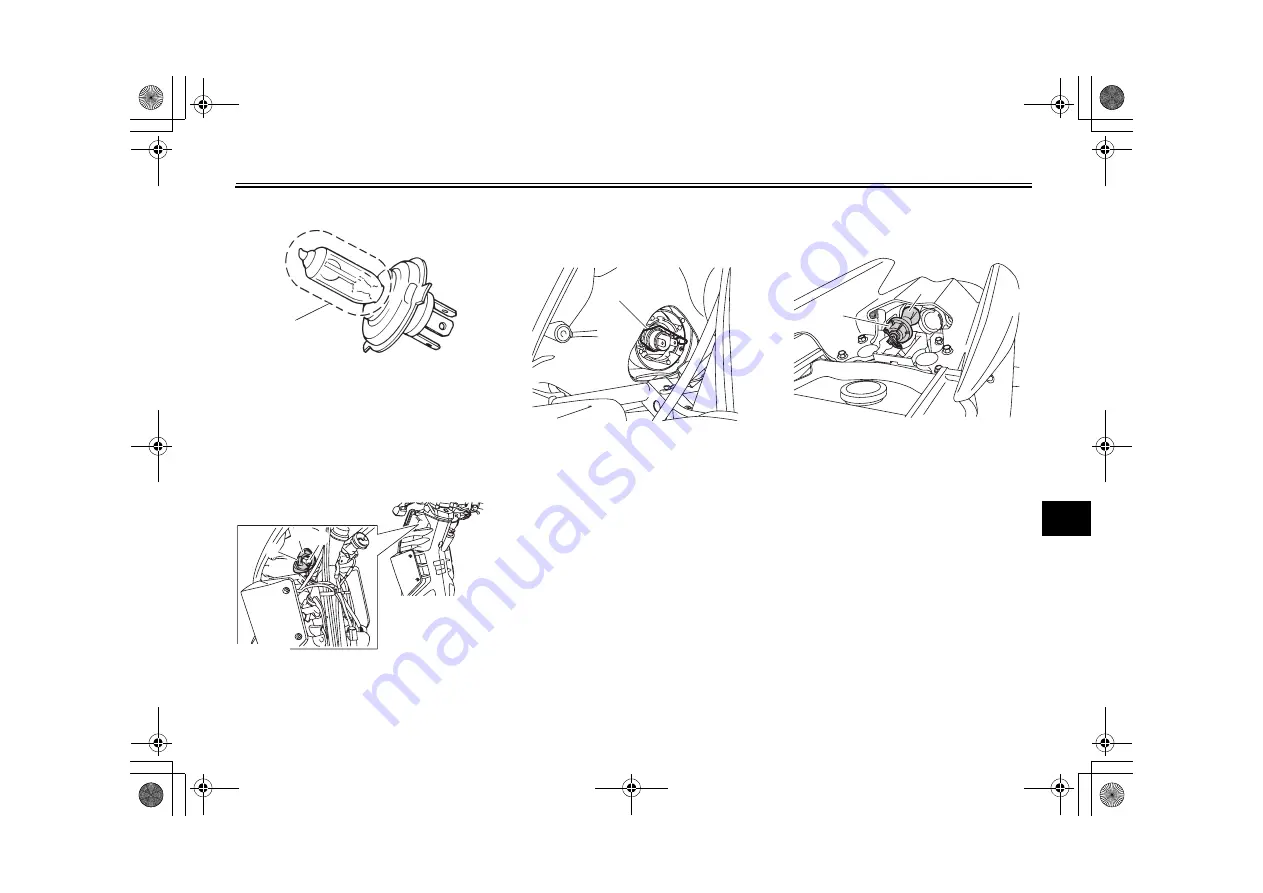
1. Place the vehicle on the center-
stand.
2. Remove panel A. (See page 7-6.)
3. Disconnect the headlight coupler,
and then remove the bulb cover.
4. Unhook the headlight bulb holder,
and then remove the burnt-out
bulb.
5. Place a new headlight bulb into
position, and then secure it with
the bulb holder.
6. Install the headlight bulb cover,
and then connect the coupler.
7. Install the panel.
8. Have a Yamaha dealer adjust the
headlight beam if necessary.
EAUU1561
Replacing the tail/brake light
bulb
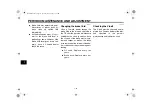
1. Open the seat. (See page 4-8.)
2. Remove the tail/brake light bulb
socket (together with the bulb) by
turning it counterclockwise.
3. Remove the burnt-out bulb by
pushing it in and turning it counter-
clockwise.
4. Insert a new bulb into the socket,
push it in, and then turn it clock-
wise until it stops.
A. Do not touch the glass part of the bulb
1. Headlight rubber cover
2. Headlight bulb socket
3. Mark rubber cover (TOP)
A
ZAUU0803
ZAUU0906
1
2
3
1. Headlight bulb holder
1
ZAU
U0907
1. Bulb socket
2. Bulb
ZAUU0908
1
2
1GSF8199E0.book Page 26 Thursday, March 8, 2012 9:24 AM


