Perio
d
ic maintenance an
d
a
d
justment
7-13
7
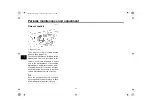
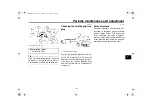
3. Remove the air filter case cover by
removing the screws.
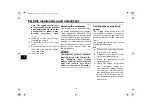
4. Remove the air filter element by
removing the wing nut and its
washer.
5. Remove the sponge material from
the air filter element frame, clean it
with solvent, and then squeeze
the remaining solvent out.
WARNING! Use only a
d
e
d
icat-
e
d
parts cleanin
g
solvent. To
avoi
d
the risk of fire or explo-
sion,
d
o not use
g
asoline or sol-
vents with a low flash point.
[EWA10432]
NOTICE:
To avoi
d
d
am-
a
g
in
g
the foam material, han
d
le
it
g
ently an
d
carefully, an
d
d
o
not twist or wrin
g
it.
[ECA10512]
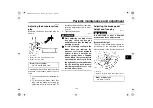
6. Apply oil of the recommended
type to the entire surface of the
sponge material, and then
squeeze the excess oil out.
TIP
The air filter element should be wet but
not dripping.
7. Pull the sponge material over the
air filter element frame.
8. Insert the element into the air filter
case, and then install the wing nut
and its washer.
NOTICE:
Make
sure that the air filter element is
properly seate
d
in the air filter
1. Screw
1. Wing nut
2. Washer
3. Air filter element
1. Sponge material
2. Air filter element frame
Recommen
d
e
d
oil:
Yamaha foam air filter oil or other
quality foam air filter oil
U1BE26E0.book Page 13 Thursday, June 25, 2015 9:38 AM


