Firmware Update Procedure for RX-V465/565/665/765
________________________________________________________________________________
Step 3. Plug the AC power cable of the CD/DVD player to the wall outlet.
Insert the Firmware Update CD (Audio CD) into the CD/DVD player and close the tray.
If the disc begins to play automatically, press STOP button on the CD/DVD player.
3a) If a DVD player is being used to perform this update, make sure that the DVD player
is set to PCM Digital Bitstream. See the DVD player owner's manual for instructions
on how to configure the PCM Digital Bitstream.
Once update is complete, reset DVD player to its original settings.
Step 4. ENTER FIRMWARE UPDATE MODE
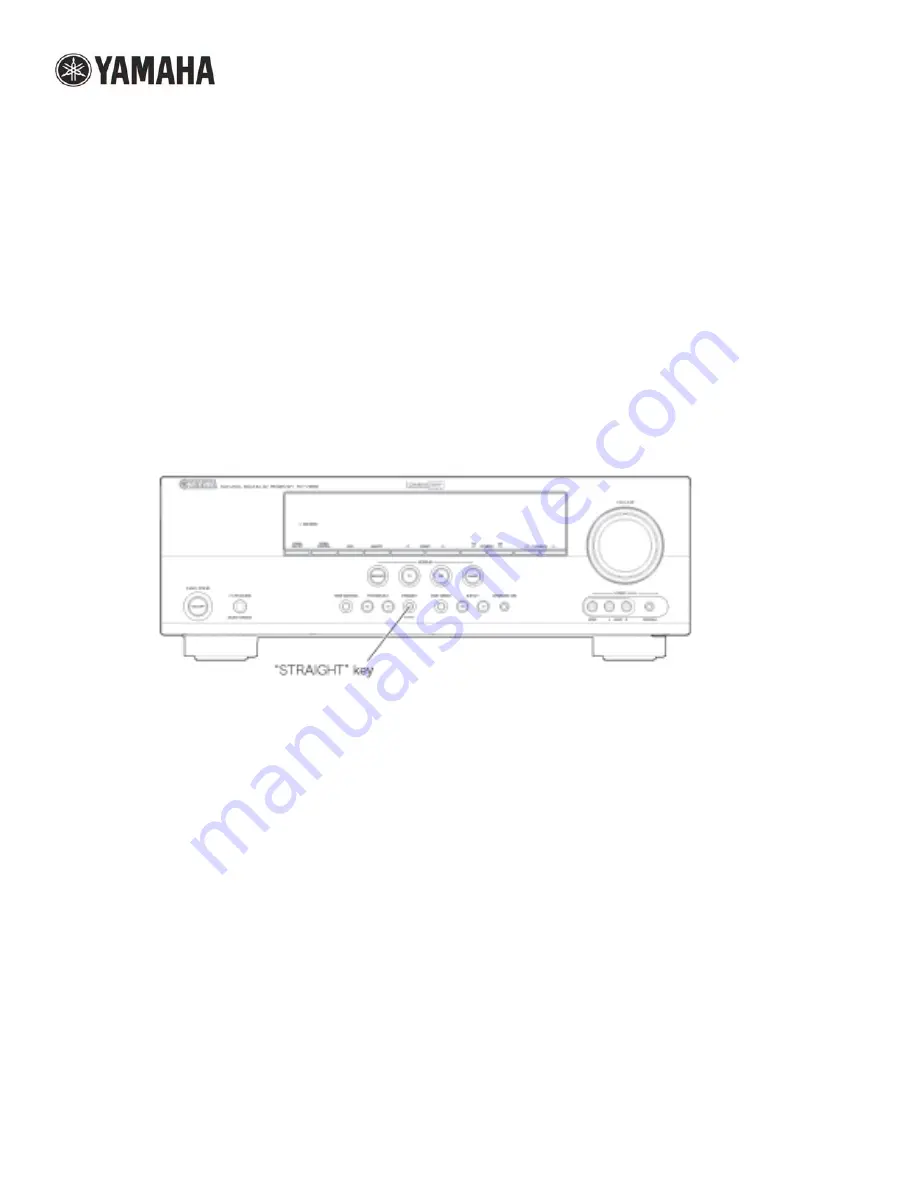
While pressing the “STRAIGHT” key on the front panel of the Yamaha receiver,
connect the power cable of this unit to the AC outlet.
The FIRMWARE UPDATE mode is activated and “CDDA Upgrader” is displayed.
Step 5. REPROGRAM FIRMWARE
Press the “PLAY” key of the CD/DVD player.
Then writing of the firmware is started.
5a) During this time do not press any buttons on the devices. DO NOT switch
off or interrupt the AV receiver during the firmware update process!
5b) If an unintended failure occurs, you may start the update process again from
the beginning. Or see IN CASE OF ERROR on the last page to recover.
5c) If the receiver display, "CDDA Upgrader" doesn't changes after couple of seconds
after PLAY is pressed on the CD/DVD player, your CD/DVD player may not work for this
update. Contact your local Yamaha authorized service center to update the receiver for you.
Step 6. When writing of the firmware is completed, “Update Success”, “Please...”
and “Power off!!” are displayed repeatedly.
Page 3 of
5


