16
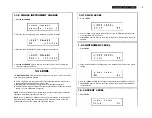
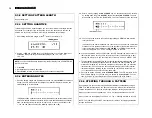
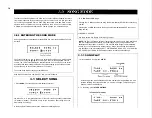
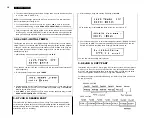
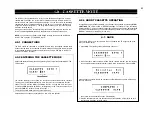
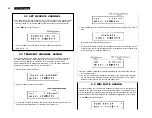
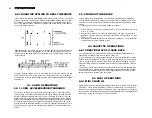
The LCD shows the first Part of the Song. The asterisks indicate that the Part is empty.
The flashing cursor indicates that you can enter data. The flashing “PTN” indicates that
the type of data you can enter is a Pattern number.
NOTE 1:
There are square brackets around “PTN”, as a further reminder that you can
now enter a Pattern. By moving these brackets, you can enter other types of data. Move
the brackets by pressing The following types of data will be successively bracketed:
II:
(Begin Repeat)
:II
(End Repeat)
accel
(Accelerando, or Tempo increase)
The LCD will then switch to display the following symbols, which will be successively
bracketed, as you press
rit (Ritardando, or Tempo decrease)
vol+
(Volume increase)
vol–
(Volume decrease)
These are the six types of data that can be entered in Song Edit. Before entering the
actual data in an empty Part, you can use the and keys to move the brackets to the
data you want. You can then use the Numeric Key Pad to enter the data value.
NOTE 2:
If, after step 1 of this operation, you decide you do NOT want to enter Edit Song,
press
SONG
or
STOP/CONTINUE
to return to Select Song.
NOTE 3:
If you selected a Song that already contains data, the LCD will show the data
contained in Part 001. You can enter new data in this Part, provided it’s the same type
of data (Pattern, Repeat, etc.). If you want to enter a different type of data, you’ll need to
delete the Part (operation 3.2.9) and insert a new Part (operation 3.2.10). For now (and
for operations 3.2.2 thru 3.2.5) we’ll assume that you’ve selected an empty Song.
3.2.2 ENTERING PATTERNS
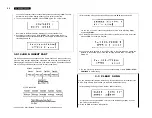
1. After selecting an empty Song and entering Edit Song, you can immediately enter a
Pattern number in Part 001, using the Numeric Keys.
2. Press
+1 YES
to move to the next Part, and enter data there.
3.2.3 ENTERlNG REPEATS
Repeats can save a lot of editing time, by making it possible to repeat any Part or group
of Parts up to 99 times. This can be used, for example, when the same rhythm plays
through an entire verse.
Repeats are entered in two operations. The Begin repeat command is entered at the
start of the section which is to be repeated. Then the End Repeat is entered at the end
of the section to be repeated, together with a number indicating the number of times
that the section is to be repeated. Remember that the number of repeats should be ONE
LESS than the total number of plays of the selected section. Each repeat command
counts as a Part.
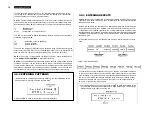
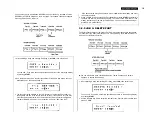
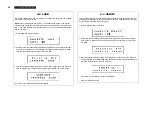
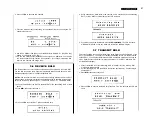
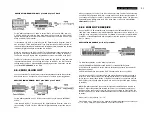
In this example, Parts 3 and 4 are repeated twice, making a total of three plays of those
Parts.
ACTUAL PLAYING SEQUENCE
You can enter any number of repeats in a Song. You can also “nest” repeat commands,
so that a short repeat section can occur within a larger repeat section. This would be
done, for example, if a whole verse were to be repeated (repeat commands at start and
end of the verse) AND a short section within the verse were to be repeated (repeat
commands at start and end of short section in the verse). You can actually enter up to
48 “nests” of repeats, one inside another.
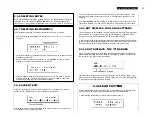
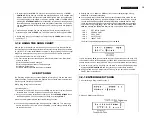
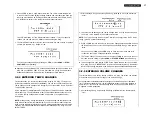
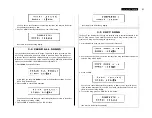
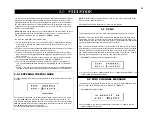
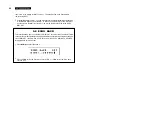
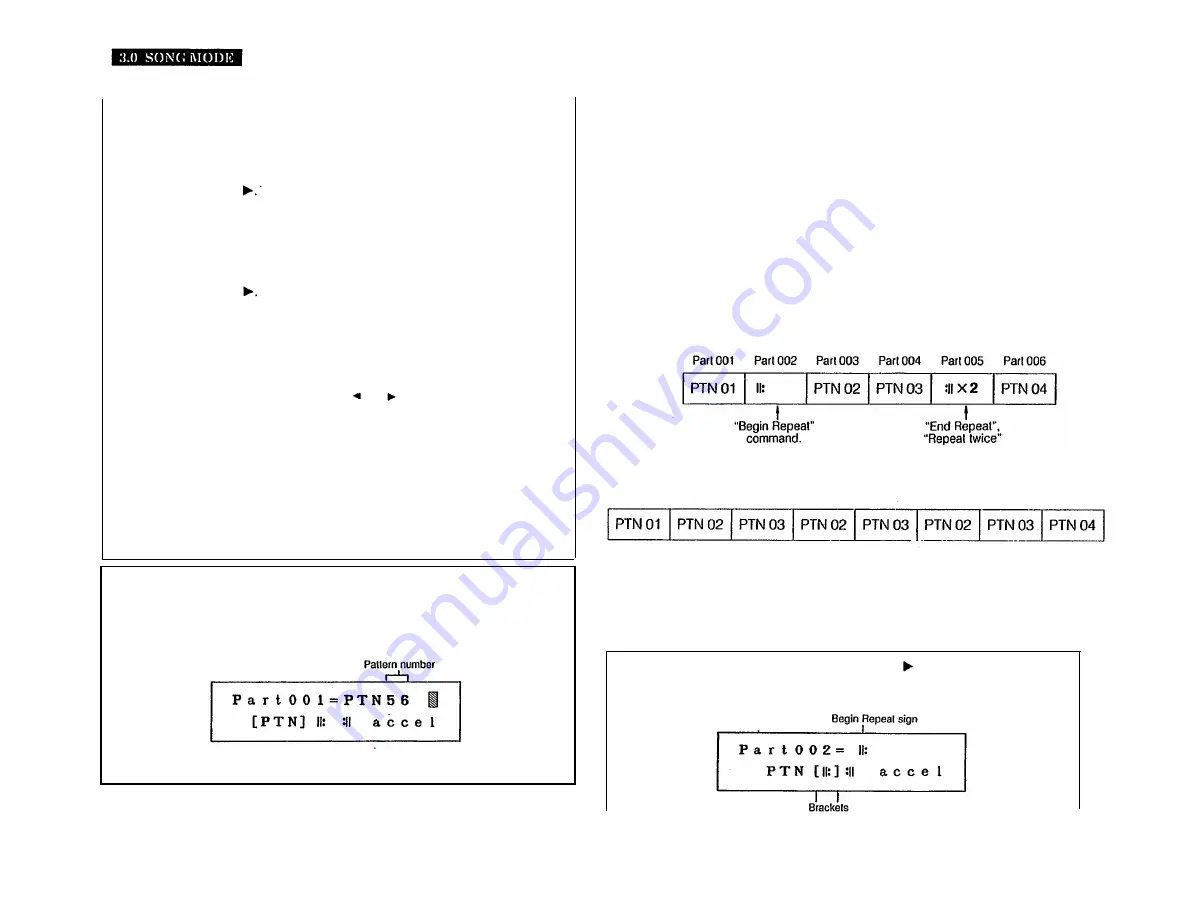
1. After selecting a Song and entering Edit Song,
press
to move the brackets to the
II: symbol (this is standard musical notation for a Begin Repeat sign). The repeat sign
will also appear in the upper part of the LCD.
Summary of Contents for RX-17
Page 1: ...DIGITAL RHYTHM PROGRAMMER YAMAHA AUTHORIZED PRODUCT MANUAL ...
Page 2: ...YAMAHA DIGITAL RHYTHM PROGRAMMER OWNER S MANUAL ...
Page 7: ...2 ...
Page 41: ...36 ...
Page 43: ...38 ...
Page 44: ...39 ...
Page 46: ...SINCE 1887 YAMAHA ...

