30
| | | | | | | | | | | | | | | | | | | | | | | | | | | | | | | | | | | | | | | | | | | | | | | | | | | | | | | | | | | | | | | | | | | | | | | | | | | | | | | | | | | | | | | | | | | | | | | | | | | | | | | | | | | | | | | | | | | | | | | | | | | | | | | | | | | | | | | | | | | | |
Auto Accompaniment
●
Starting the Accompaniment with an Introduction .............................................................................
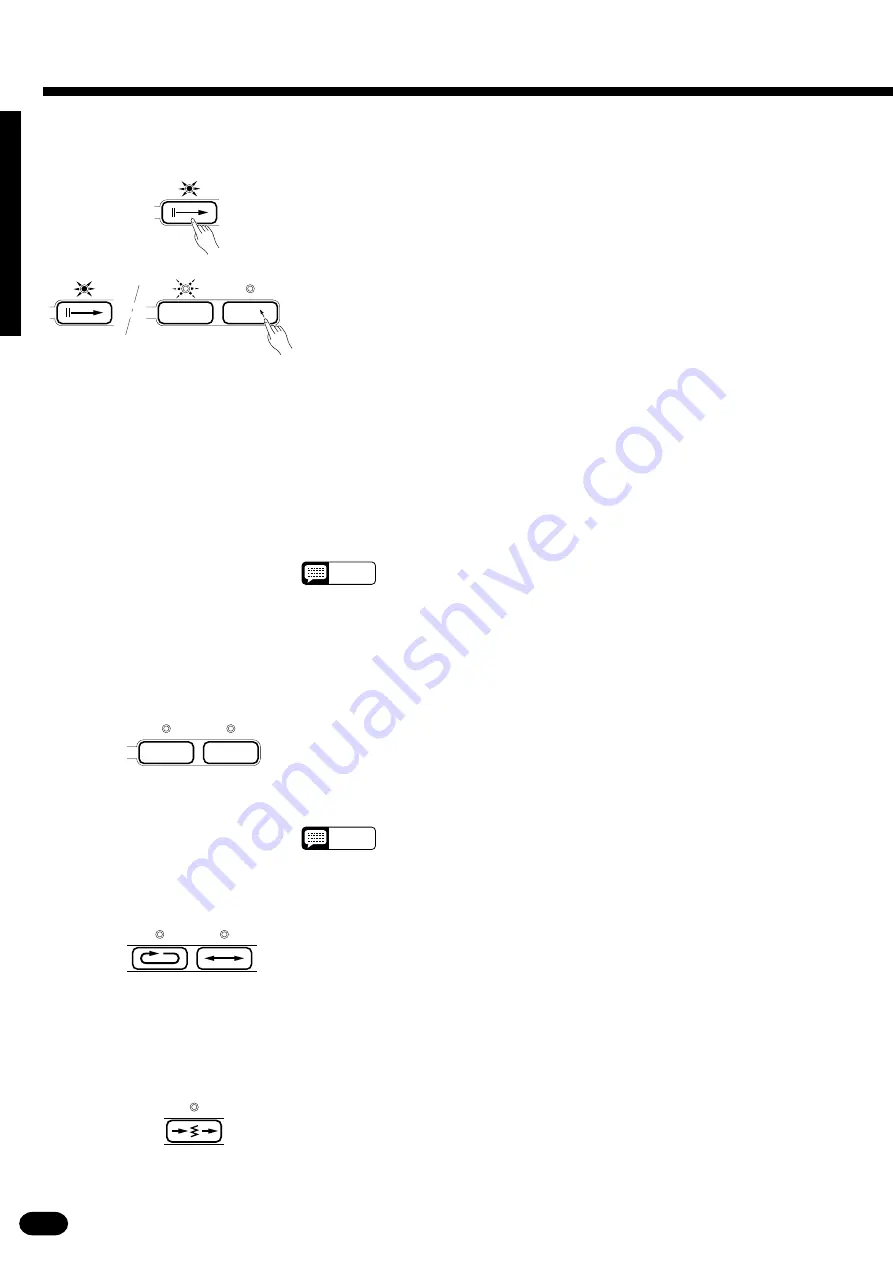
Any of the accompaniment styles can be started with an appropriate intro-
duction by pressing the [INTRO] button and then the [START/STOP] button.
If you press the [SYNC-START/STOP] button and then the [INTRO] button,
the accompaniment will start from the introduction as soon as a chord is de-
tected in the Auto Accompaniment section of the keyboard.
Once the [INTRO] button is pressed, the [INTRO] indicator will be lit
continuously and the VARIATION [A] or [B] indicator will flash to indicate
which section will play when the introduction has finished. You can change the
“destination” section by pressing the VARIATION [A] or [B] button while its
indicator is flashing. When the introduction ends, the [INTRO] indicator will
go out and the [A] or [B] indicator will light continuously. The introductions
for the VARIATION [A] and [B] sections are different. The A intro has no
chord progression while the B intro has its own chord progression. The actual
format of the intro, however, depends on the selected style. Although it is
generally not advisable to change chords manually while the B intro is playing,
the A intro has no progression of its own so you can play your own chords as
required.
NOTES
• It is possible to start the accompaniment from any section — even the
ending — by pressing the corresponding button prior to pressing the
[START/STOP] button. The destination MAIN [A] or [B] section can be
selected as described above.
• The [INTRO] button can be used to select the introduction pattern even
while the accompaniment is playing.
INTRO
VARIATION
INTRO
A
B
●
Adding Fill-ins & Breaks ........................................................................................................................
The PSR-1700 and PSR-2700 provide two types of fill-ins that can be used
as musical transitions between sections of a song or simply to add variety
where required. Press the [FILL IN 1] button at any time while the accompani-
ment is playing to add a one-measure fill-in and or return to the current MAIN
section, or press the [FILL IN 2] button to add a one-measure fill-in and go to
the other MAIN section. Although there are two FILL IN buttons there are
actually four fill-ins per style: FILL IN 1 for the MAIN [A] section, FILL IN 1
for the MAIN [B] section, FILL IN 2 for the transition MAIN [A] to [B], and
FILL IN 2 for the transition MAIN [B] to [A].
While the fill-ins are one measure long, the BREAK is two measures. The
first measure is similar to a fill-in while the second measure is an actual rhyth-
mic break — a thinner arrangement with drums and percussion predominating.
Like the fill-ins, there are actually two BREAK patterns — one for the MAIN
[A] section and one for the MAIN [B] section.
FILL IN 1
FILL IN 2
Each accompaniment style has two main sections — [A] and [B]. These are
variations of the same musical style. If the VARIATION [A] or [B] button is
pressed while the accompaniment is playing, the corresponding section will
begin from the top of the next measure. You can also select [A] or [B] before
starting the accompaniment.
NOTES
• The Main [A] section is automatically selected whenever the power switch
is turned on (the VARIATION [A] indicator will be lit).
BREAK
●
The Main [A] and [B] Sections ...............................................................................................................
VARIATION
A
B
Summary of Contents for PortaTone PSR-1700
Page 4: ......
Page 5: ......
Page 94: ...M D G EMI Division 1993 Yamaha Corporation VQ 64120 JDBBR0PO1 3CP ...


