13
P-120/P-120S
Selecting & Playing Voices
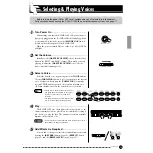
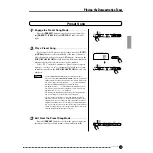
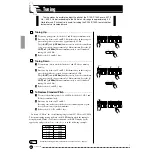
Turn Power On
.....................................................
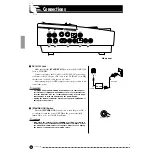
After making sure that the P-120/P-120S’s AC power adaptor
is properly plugged into the P-120/P-120S itself and plugged into
a convenient AC wall outlet, press the
[STANDBY/ON]
switch
located on the left-side panel of the P-120/P-120S.
When the power is turned ON, one of the voice selector LEDs
will light.
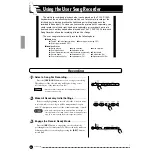
Set the Volume
.....................................................
Initially set the
[MASTER VOLUME]
control about half way
between the “MIN” and “MAX” settings. Then, when you start
playing, re-adjust the
[MASTER VOLUME]
control for the
most comfortable listening level.
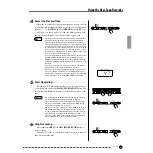
Select a Voice
.......................................................
Select the desired voice by pressing one of the
VOICE
buttons.
Use the
[VARIATION]
button to select a variation of the current
voice, as required. Every time the
[VARIATION]
or currently
selected VOICE button is pressed, the variation is turned on or
off. When the indicator is lit, the variation voice is selected.
Play
.......................................................................
The P-120/P-120S also offers keyboard touch response, so the
volume and timbre of notes played can be controlled according to
how “hard” you play the keys. The amount of variation available
depends on the selected voice.
• Some voices do not have keyboard touch response. See “Voice
Descriptions” on page 45 for details.
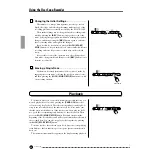
Add Effects As Required
.....................................
You can add or change reverb, effects and brilliance as desired
by using the
[REVERB]
[EFFECT]
button
[BRILLIANCE]
Before turning the power ON or OFF for all components, set all volume levels to minimum.
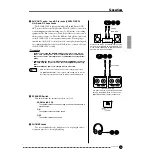
For instructions on connecting the P-120/P-120S to an amplifier/speaker system, see page 11.
1
2
3
• Please refer to the “Voice Descriptions” sec-
tion (page 45) for information on the charac-
teristics of each of the voices and their
variations.
• The pedal can also be used to turn the varia-
tion on or off as required. (see page 35)
NOTE
4
NOTE
5
11


