5
En
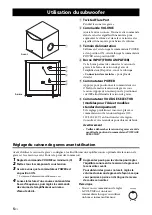
1
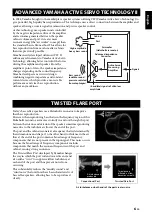
Twisted Flare Port
Outputs super-bass sound.
2
VOLUME control
Adjusts the volume level. Turn the control clockwise
to increase the volume, and counterclockwise to
decrease the volume.
3
Power indicator
Lights up Green when the POWER switch is turned
ON; turns off when the POWER switch is turned
OFF.
4
INPUT (FROM AMPLIFIER) terminal
Used to connect the subwoofer with the
subwoofer terminal of the amplifier.
(Refer to
for details.)
5
POWER switch
Press this switch to the ON position to turn on the
power to the subwoofer. Press this switch again to
set it to the OFF position to turn off the power of
the subwoofer.
6
VOLTAGE SELECTOR switch
(Asia and General models only)
If the preset setting of the switch is incorrect, set
the switch to the proper voltage (110-120/220-
240V) of your area.
Consult your dealer if you are unsure of the
correct setting.
Warning
• Be sure to unplug the subwoofer before setting
the VOLTAGE SELECTOR switch correctly.
Adjusting the subwoofer before use
Before using the subwoofer, adjust the subwoofer to obtain the optimum volume balance between the subwoofer
and the front speakers by following the procedure described below.
1
Set the VOLUME control to minimum (0).
2
Turn on the power of all the other components.
3
Make sure that the POWER switch is set to the
ON position.
* The Power indicator lights up in green.
4
Play a source containing low-frequency
components and adjust the amplifier’s volume
control to the desired listening level.
5
Increase the volume gradually to adjust the
volume balance between the subwoofer and
the front speakers.
To enjoy natural bass sound, keep the
subwoofer volume at a level where it is barely
distinguishable from other speakers.
Note
• It is recommended to set the
VOLUME control about in the
middle position when using in a
multi channel home theater system.
Using the Subwoofer
6
1
2
5
3
4
Front
Rear


