64
Displaying System Information on the
MusicCAST client
You can check the version of the system installed in
your MusicCAST client.
■
Accessing the System Information
screen
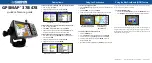
1.
Press and hold MENU for two seconds
to return to the Top Menu screen.
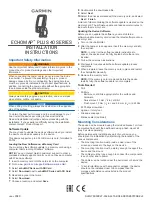
2.
Use
u
/
d
to move the cursor to “Setup”
and press SELECT.
The Setup screen appears on the display.
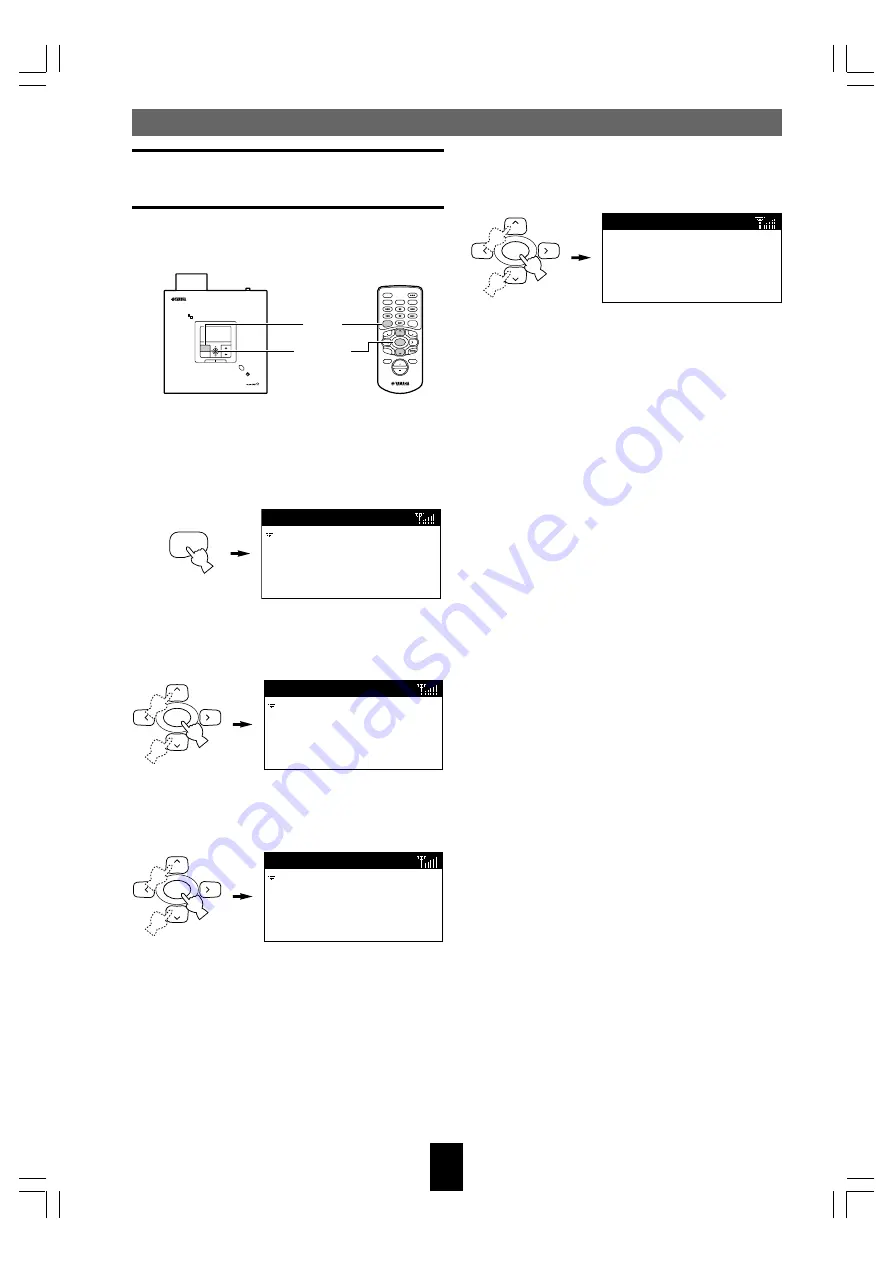
3.
Use
u
/
d
to move the cursor to
“System” and press SELECT.
The System screen appears on the display.
MENU
Top
Menu
Play
Recall
Play
Edit
Bookmark
Setup
Input
SELECT
Setup
OFF Timer
ON Timer
Auto Play
Auto Level Control
Contrast
SELECT
System
Information
System Update
System Reset
SELECT
Version:
Date:
Information
System settings
4.
Use
u
/
d
to move the cursor to
“Information” and press SELECT.
The Information screen appears on the display.
ON
TIMER
PUSH
SELECT
MENU
PLAY INFO.
–
VOL
+
PHONES
OFF TIMER
ON TIMER
I
2
3
REPEAT
RANDOM
SLEEP
4
5
6
PAUSE
7
STOP
S
PLAY
MENU
SELECT
VOL
GROUP
GROUP
INPUT
MUTE
RECALL
BOOK
MARK
PLAY
INFO.
u
/
d
SELECT
MENU
DIGITAL AUDIO TERMINAL MCX–A10
104_Musiccast_E.p65
2003.06.28, 19:03
64