55
UTIL
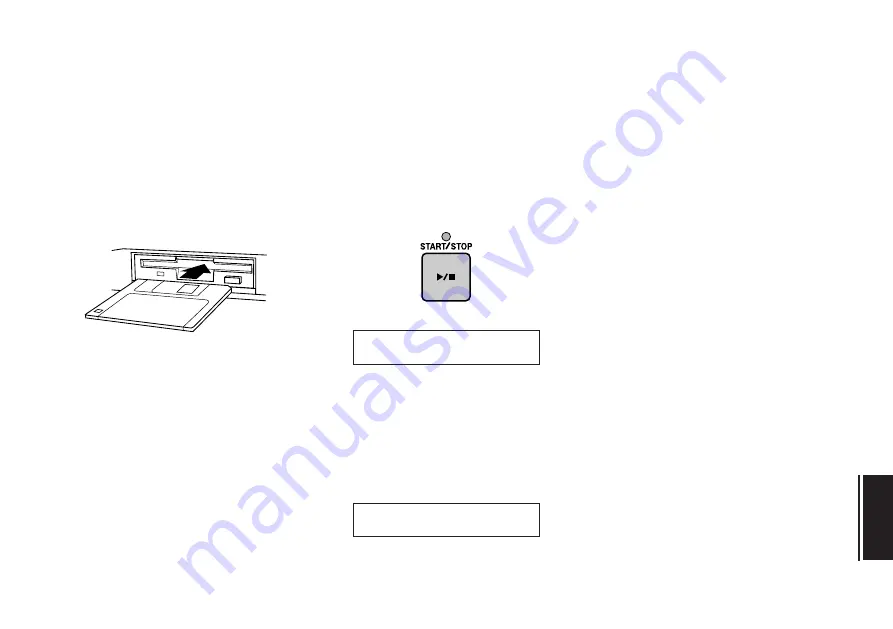
4. Insert the target disk.
Remove the source disk from the disk
drive, and insert a newly formatted disk.
5. Press the START/STOP key.
The following display will appear as the
MDF3 writes data to the target disk.
After a few moments, the “Insert Source!”
message will reappear. Repeat steps 2
through 5 until the completed message
appears.
6. Back up other disks.
If you want to copy another disk, press
the
START/STOP
button; or press the
mode keys (
MDR
,
SEQ
,
JOB
, or
UTIL
) to
exit the function.
Hint:
The MDF3 can copy approximately 100
kilobytes of data at one time. When you copy a
disk containing a large amount of data, you will
have to repeat steps 2 through 5 several times.
If you want to estimate the number of times
you will have to exchange disks to complete
the backup process, use the “Disk Info” func-
tion to check how much of the source disk has
been used before you execute the function.
If you have a personal computer with two
disk drive capable of handling 3.5" 2HD/2DD
floppy disks, you may find it easier to back
up your MDF3 data disks using the computer!
Note:
Please use the same type of disks to
back up your data. If you attempt to back up
your data in 2HD disk to 2DD disk or vice
versa, the “Bad Disk” message will appear
and the backup will be rejected.
Now
~
writing...
Completed
~
!


