3. Install Mode Operation
3.1. Changing Install Mode settings
In order to reflect the settings in the unit, it is necessary to re-enter the Install Mode with a USB memory device
containing the Setup Text File connected to the [UPDATE ONLY] jack of the unit, after releasing the Install Mode.
If you have already released Install Mode, go to step 2.
1. Cancel the Install Mode using the remote control.
a. Set the unit to standby mode. Make sure that the main unit LED is not lit.
b. Press the remote control’s [DIMMER] button, VOLUME [-] button, VOLUME [-] button and [Mute]
button in that order within three seconds.
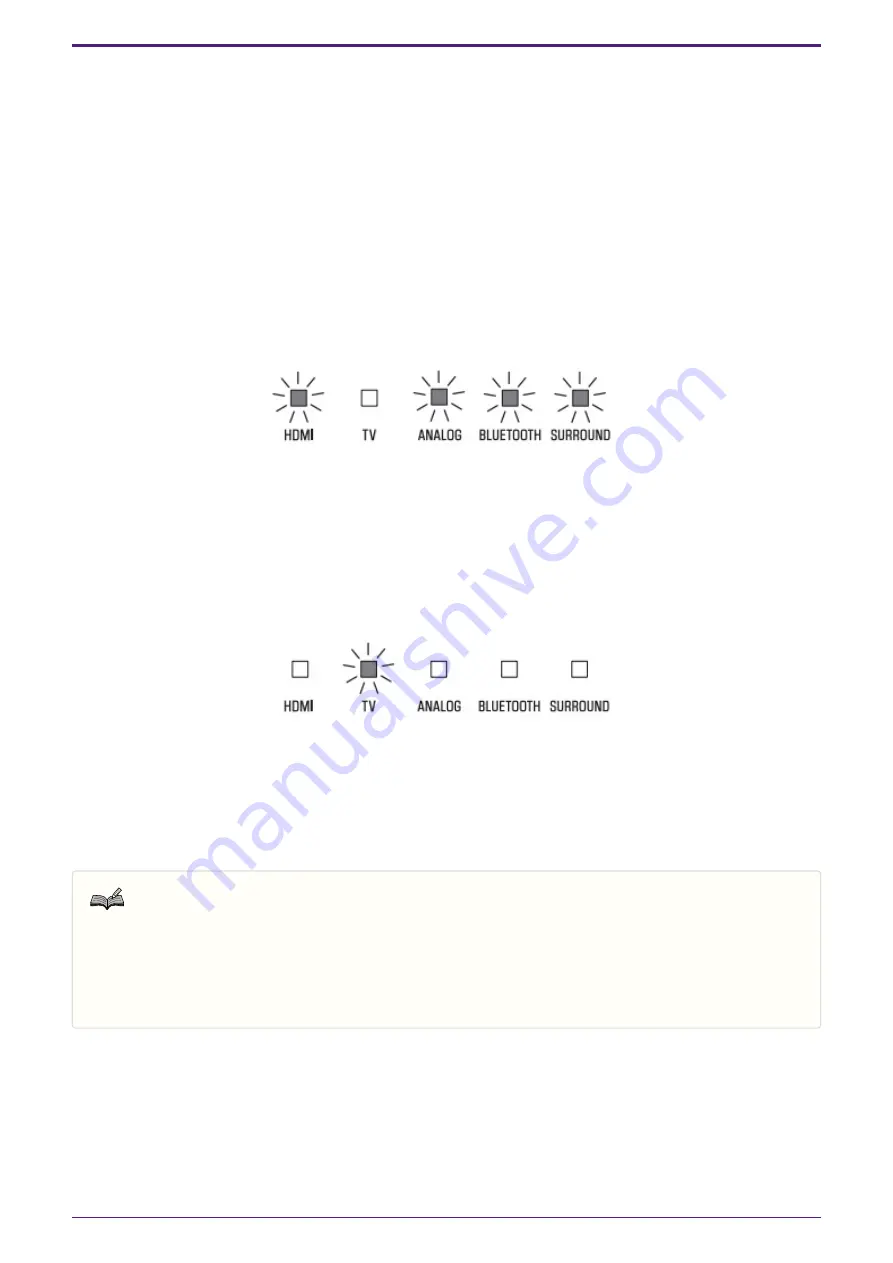
Make sure that the main unit indicators light as follows.
2. Connect the USB memory containing the Setup Text File to the [UPDATE ONLY] jack of the unit.
3. Enable the Install Mode by using the remote control.
a. Make sure that the unit is in standby status.
b. Press the [BASS EXTENSION] button, VOLUME [+] button, VOLUME [+] button and [Mute] button on
the remote control in this order within three seconds. Make sure that the indicator lights as shown
below and the power to the unit is turned on.
c. Check that the settings are properly reflected.
d. Remove the USB memory device from the [UPDATE ONLY] jack of the unit.
Keep in mind that the Install Mode status is maintained until Install Mode is canceled. Install Mode is maintained
even if the electrical outlet is connected or disconnected.
Note
About canceled status of Install Mode
When remote conferencing is not used or the restriction for user operations is not necessary, the unit can
be used even when Install Mode is released (e.g., as a sound bar in a surround system).
However, optimization of sound processing and functions such as panel lock do not work.
3. Install Mode Operation
ESB-1080 Installation Guide |
3


