DV-C6860
9
■
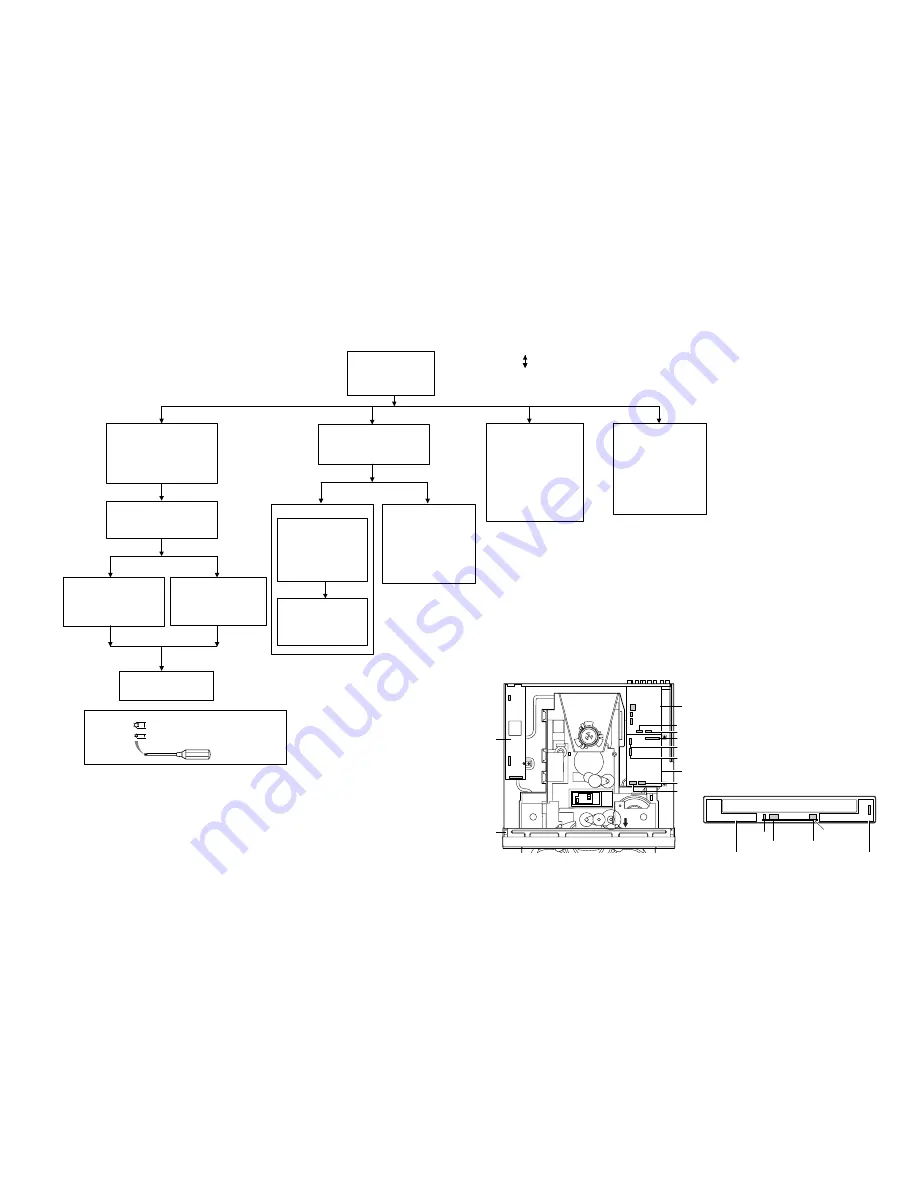
DISASSEMBLY PROCEDURES
See exploded view for item numbers
Mounting
Dismounting
FRONT (3) Open/Close P.C.B [1200]
➞
Remove cable connections.
[1112]
➞
Remove 5 screws. [252]
➞
Dismount P.C.B.
FRONT (2) Standby/ON P.C.B [1200]
➞
Remove cable connections.
[1113]
➞
Remove 3 screws. [252]
➞
Dismount P.C.B.
Front Panel [101]
➞
Remove 2 screws.
[260] (Bracket front to bottom frame)
Remove 2 cable connections.
[CN1][1111]
Unlock front panel from frame by
releasing successively 4 snaps.
(2 on the side and 2 on the bottom)
➞
➞
➞
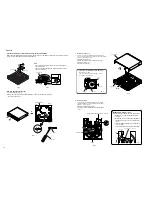
Remove 2 screws. (
1
) (Fig. 1)
Dismount clamper ass’y. (Fig. 1)
➞
Solder the lands of the optical pick up.
(Fig. 2)
➞
Top Cover [240]
➞
Remove 7 screws. [260]
(4 on side and 3 rear side)
➞
Lift top cover from rear side
to remove.
MONO P.C.B [1300]
➞
Open tray. (Fig. 3)
(See how to manually eject
the tray)
➞
Remove 5 cable connections.
[1101][1102][1201][1202]
[1401]
➞
Remove 4 screws. [260]
(P.C.B to bottom frame)
➞
Dismount MONO P.C.B.
AV P.C.B [1500]
➞
Open tray. (Fig. 3)
(See how to manually eject
the tray)
➞
Remove 5 cable connections.
[1500] [1503] [1505] [1508]
[1512]
➞
Remove 5 screw. [252]
(P.C.B to rear panel)
➞
Remove 2 screw. [260]
(P.C.B to bottom frame)
➞
Dismount AV P.C.B.
Power Supply Unit [1000]
➞
Open tray. (Fig. 3)
(See how to manually eject
the tray)
➞
Remove 3 cable connections.
[CN1] [CN3] [CN4]
➞
Remove 2 screws. [260]
(P.C.B to bottom frame)
➞
Release 2 spacers locking.
(P.C.B to bottom frame)
➞
Dismount power supply unit.
Bracket Front
➞
Remove 4 screws. [252]
(Bracket front to front panel)
Remove Bracket front.
➞
FRONT (1) Display P.C.B [1200]
➞
Remove 2 screws. [251]
➞
Dismount P.C.B.
Tray Ass’y
DVD 5-Disc Changer Module
➞
Remove stopper screw (
2
)
on the tray. (Fig. 4)
(See Removal of tray Ass'y)
➞
Open tray. (Fig. 3)
(See how to manually eject
the tray)
Gently pull the tray out.
➞
CM Unit
➞
Remove 4 cable connections.
[1101][1201][1202][1512]
➞
Remove 5 screws. [260]
➞
Dismount CM unit.
1.7 mm
T6
2.7 mm
T10
When disassembling, use the special screw driver with tip shape in figure.
CN4
CN1
1508
1401
1500
1503
1512
1112
1111
1113
CN3
View B
B
Power Supply Unit
Bracket Front
AV Board
MONO Board
1505
1101
1102
1202
1201
FRONT(2) Board
FRONT (3) Board
FRONT (1)
Board
• Cable Connections
Summary of Contents for DV-C6860 - DVD Changer
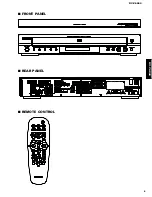
Page 5: ...DV C6860 5 DV C6860 REAR PANEL FRONT PANEL REMOTE CONTROL ...
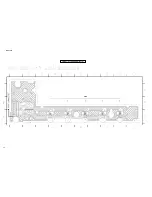
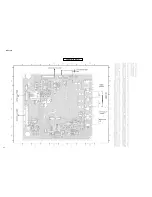
Page 14: ...DV C6860 14 FRONT 1 Side A ...
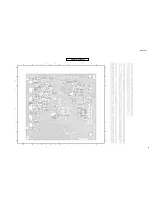
Page 15: ...DV C6860 15 FRONT 1 Side B ...
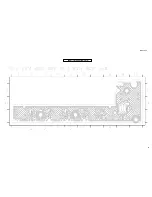
Page 16: ...DV C6860 16 FRONT 2 STANDBY ON Side A ...
Page 17: ...DV C6860 17 FRONT 2 STANDBY ON Side B ...
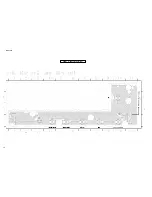
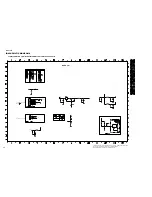
Page 18: ...DV C6860 18 FRONT 3 EJECT PLAY Side A ...
Page 19: ...DV C6860 19 FRONT 3 EJECT PLAY Side B ...
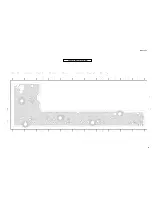
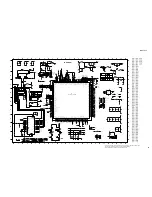
Page 20: ...DV C6860 20 FRONT 4 AV Side A ...
Page 21: ...DV C6860 21 FRONT 4 AV Side B ...


