DV-C6860
10
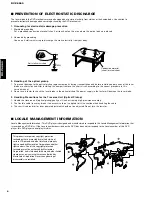
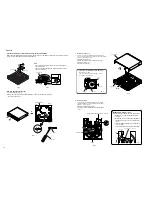
• Preventive measure for laser diode from electrostatic breakdown
When replacing the MONO Board or DVD 5-disc changer module, solder between lands of the optical pick up P.C.B. to
protect the laser diode against electrostatic breakdown.
• How to manually eject the tray
a. Turn the player bottom up.
b. Move the slider in the direction indicated with a screw driver until the tray is ejected.
c. Gently pull the tray out.
Notes
• Use an anti-static soldering iron to short-circuit and unshort-
circuit laser diode.
• After you have finished repairing, remove the solder from the
short-circuit location.
Clamper Ass’y
Traverse Unit
1
Fig. 1
Optical Pick Up
Solder
Fig. 2
Tray
Bottom Frame
Rear
Front
Slider
b.
a.
c.
Screw Driver
Slider
1. Removal of Tray Ass’y
*
The tray ass’y cannot be supplied independently. The tray
ass’y is contained in DVD 5-disc changer module and supplied
as a DVD 5-disc changer module.
a. Remove the top cover.
b. Open tray (see How to manually eject the tray).
c. Remove 1 screw (
2
).
d. Remove the tray ass’y.
2. Removal of Table
*
The table cannot be supplied independently. The table is
contained in DVD 5-disc changer module and supplied as a
DVD 5-disc changer module.
a. Remove the plate/table in Fig.6.
b. Remove 1 screw (
2
)and then take off the table in
Fig.6.
b. d.
Top Cover
Tray Ass’y
a.
2
Gear/L0
Front Panel
Gear/L01
Marking
• Precaution for installation of the tray ass’y.
On tray ass’y setting.
Check the direction of marking “
▲
” on gear
according to this drawing.
Fig. 3
Fig. 5
Fig. 4
Table
Plate/ Table
Fit the table to the thick line on “/ ” mark.
2
Fig. 6
Lever
Tray
Gear/RT1
Fit the Gear/RT to “
▲
” mark.
Lock
Unlock
IMPORTANT: Installation of Table.
Install the table according to the following procedure.
1) Slide the lever so that the gear/RT becomes
free. (Fig.7)
2) With the “
▲
” mark on the gear/RT aligned with
the same mark on the tray, lock it with the lever.
(Fig.7)
3) Install the table by aligning it to the thick line on
“/ ” mark. (Fig.6)
* Check that the table is locked after installation.
Fig. 7
Summary of Contents for DV-C6860 - DVD Changer
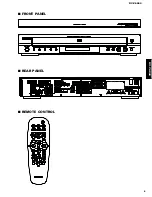
Page 5: ...DV C6860 5 DV C6860 REAR PANEL FRONT PANEL REMOTE CONTROL ...
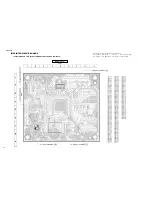
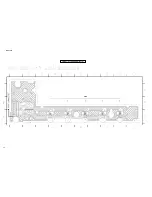
Page 14: ...DV C6860 14 FRONT 1 Side A ...
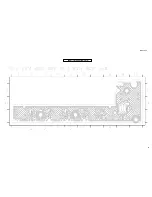
Page 15: ...DV C6860 15 FRONT 1 Side B ...
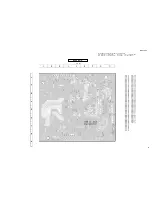
Page 16: ...DV C6860 16 FRONT 2 STANDBY ON Side A ...
Page 17: ...DV C6860 17 FRONT 2 STANDBY ON Side B ...
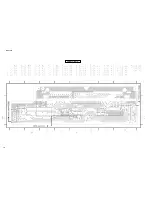
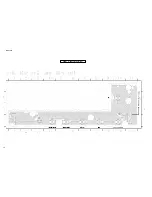
Page 18: ...DV C6860 18 FRONT 3 EJECT PLAY Side A ...
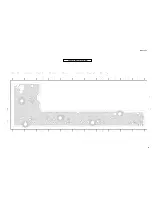
Page 19: ...DV C6860 19 FRONT 3 EJECT PLAY Side B ...
Page 20: ...DV C6860 20 FRONT 4 AV Side A ...
Page 21: ...DV C6860 21 FRONT 4 AV Side B ...


