background image


WARNING 

  For your own safety, be sure to read these procedures carefully before performing               

maintenance on this product. After reading this document, be sure to keep it handy for future 
reference.


This maintenance manual covers what you should know about maintenance of the Yamada NDP-40 series, 
NDP-50 series and NDP-80 series Diaphragm Pumps. 
This edition is based on the standards for the May 2015 production run. Remember, the specifications are 
always subject to change; therefore, some of the information in this edition may not apply to new 
specifications. 
 

·Warnings and Cautions 

For safe use of this product, be sure to note the following: In this document, warnings and cautions are 
indicated by symbols. These symbols are for those who will operate this product and for those who will be 
nearby, for safe operation and for prevention of personal injury and property damage. The following warning 
and caution symbols have the meanings described below. Be sure to remember their meanings. 


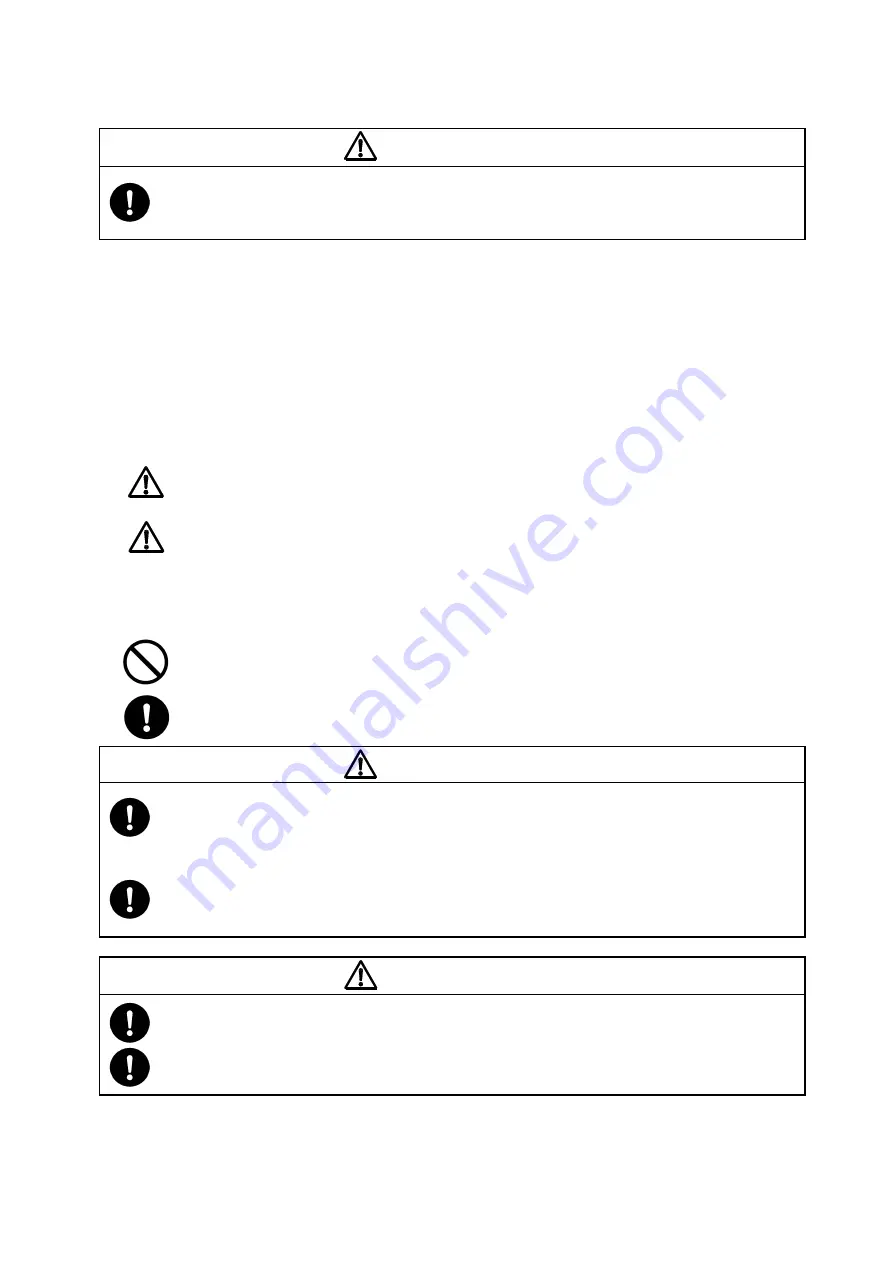
  If you ignore the warning described and operate the product in an 
  improper manner, there is danger of serious bodily injury or death. 
 
  If you ignore the caution described and operate the product in an 
  improper manner, there is danger of personal injury or property   

damage. 

Furthermore, to indicate the type of danger and damage, the following symbols are also used along with those 
mentioned above: 

This symbol indicates a DON'T, and will be accompanied by an explanation on something you 
must not do. 


This symbol indicates a DO, and will be accompanied by instructions on something you must 
do in a certain situation. 

WARNING 

  Before starting maintenance work, cut off the feed air and clean the pump. If air pressure or 

residue remain in the pump, there is danger of explosion, or possible poisoning resulting in 
serious injury or death if chemicals adhere to the skin or are accidentally swallowed. 
(For details on cleaning the pump, refer to Chapter 6 of the Operation Manual.) 

  When replacing parts, be sure to use the recommended genuine parts or Equivalents. Use of 

other parts may cause a malfunction of the product. 
(Refer to Exploded View and Reminder to order correct item on the separate sheets.) 


CAUTION 

  When it is instructed that special tools must be used, be sure to use the specified tools. 

Otherwise, the pump may be damaged. 

  Refer to 10.1 "Specifications" in the Operation Manual. Also, remember that the pump is heavy, 

and extreme care must be taken when lifting it. 


              WARNING :

              CAUTION


:

Summary of Contents for NDP-40 series

Page 1: ...MAINTENANCE MANUAL YAMADA AIR OPERATED DOUBLE DIAPHRAGM PUMP NDP 40 series NDP 50 series NDP 80 series Doc No NDP 027M 39 ...

Page 2: ...re the caution described and operate the product in an improper manner there is danger of personal injury or property damage Furthermore to indicate the type of danger and damage the following symbols are also used along with those mentioned above This symbol indicates a DON T and will be accompanied by an explanation on something you must not do This symbol indicates a DO and will be accompanied ...

Page 3: ... NDP 40 BP_ BV_ type 3 NDP 50 BP_ BV_ NDP 80 BP_ types 4 4 2 Inspection 5 4 3 Installation 5 5 Diaphragm and Center rod 5 1 Removal BA_ BS_ BF_ types 6 BP_ BV_ types 6 5 2 Inspection 7 5 3 Installation B_C B_N B_E B_V B_H B_S types 7 B_T types 8 6 Throat bearing and Pilot valve 6 1 Removal 9 6 2 Inspection 9 6 3 Installation 9 7 C Spool valve assembly 7 1 Removal 10 7 2 Inspection 11 7 3 Installat...

Page 4: ...ition of this operation material is repeatedly taken in and discharged out 2 Tools etc 2 1 General tools Socket wrenches 13mm 17mm 19mm except with the NDP 40 BP_ BV_ 24mm BA_ BS_ BF_ Hexagonal box wrenches 5mm 6mm Small crowbars 2 B_C B_N B_E B_V Open end wrenches 17mm NDP 40 BP_ BV_ 19mm BA_ BS_ BF_ 24mm BA_ BS_ BF_ Plastic hammer 2 2 Special tools PP wrench sold separately Sleeve remover sold s...

Page 5: ...e NDP 80 retainer bolts 1 from the out manifold and remove the out manifold Fig 4 1 Remove the ball valve seat and O ring Fig 4 2 Remove the 6 8 on the NDP 80 retainer bolts 2 from the in manifold and remove the in manifold Fig 4 1 Remove the ball valve seat and O ring Fig 4 3 ...

Page 6: ... bolts 1 from the out manifold and remove the out manifold Fig 4 4 Remove the ball valve seat and O ring Fig 4 5 Remove the 8 retainer bolts 2 from the in manifold and remove the in manifold Fig 4 4 Remove the ball valve seat and O ring Fig 4 6 ...

Page 7: ...nd remove the protector and out manifold Fig 4 7 Remove the ball valve guide only NDP 80 valve seat and O ring Fig 4 8 Remove the 6 8 on the NDP 80 retainer bolts 2 from the in manifold and remove the protector and in manifold Fig 4 7 Remove the ball valve guide only NDP 80 valve seat and O ring Fig 4 9 ...

Page 8: ...0 0 181 0 453 in 4 6 11 5 mm 0 067 0 165 in 1 7 4 2 mm NDP 50 0 197 0 492 in 5 0 12 5 mm NDP 80 O ring other than PTFE If O ring is worn out or cracked replace it 4 3 Installation For installation see Exploded View on the separate sheet and install in the reverse order of disassembly Tightening torque for manifold retainer bolts BA_ BS_ BP_ BV_ NDP 40 18 ft Ibf 25 N m 15 ft Ibf 20 N m NDP 50 18 ft...

Page 9: ...een removed remove the center disk and diaphragm Remove the diaphragm center disk and center rod from the opposite side of the main body Remove the nut on the opposite side using the double nut Fig 5 3 Remove the coned disk spring center disk and diaphragm BP_ BV_ types Remove the ball etc see 4 1 Removal BP_ BV _types Remove the 8 4 on the NDP 40 retainer bolts from the stand body and remove the ...

Page 10: ...h clean water at room temperature Center rod Fig 5 8 Measure the diameter and if it is outside the usable range replace the rod Usable range of center rod ø0 9815 ø0 9843 in ø24 93 ø25 00 mm 5 3 Installation B_C B_N B_E B_V B_H B_S types For installation see Exploded View on the separate sheet and install in the reverse order of disassembly Apply assembly grease to the center rod and insert it int...

Page 11: ...loded View on the separate sheet and install in the reverse order of disassembly Apply assembly grease to the center rod and insert it into the main body Keep the convex side to the outside cf Fig 5 13 Put the O rings to both sides of the diaphragm cf Fig 5 13 Tighten the center disk using the PP wrench special tool Part No 771868 for the BPT BVT type Apply proper Thread locker to the thread of ce...

Page 12: ...e inside diameter and if it is outside the usable range replace the throat bearing Usable range of throat bearing ø0 9859 ø0 9902 in ø25 04 ø25 15 mm O ring Packing If the O ring is worn out or cracked replace it Pilot valve If the pilot valve is worn out or cracked replace it 6 3 Installation For installation see Exploded View on the separate sheet and install in the reverse order of disassembly ...

Page 13: ...ody and remove the valve body Fig 7 1 Remove the 8 cap A and cap B retainer bolts and remove cap A and cap B Fig 7 2 Draw out the C spool valve assembly and remove the seal ring from the C spool valve assembly Remove the spring stopper Fig 7 3 Remove the sleeve using the sleeve remover special tool Part number 713180 Fig 7 4 ...

Page 14: ...m O ring If the O ring is worn out or cracked replace it NOTE C Spool Valve Assembly must be replaced as a complete set Unable to replace individual component 7 3 Installation For installation see Exploded View on the separate sheet and install in the reverse order of disassembly Install the sleeve using the sleeve remover special tool Part No 713180 At this point apply assembly oil around the sle...

Page 15: ...olts should be retorqued 1 Right before start up 2 There are any leaks of material on daily inspecting a pump NOTE Retighten the Out chamber and then the manifold in this order Fig 8 3 Tighten the bolts in the order shown Fig 8 4 Retain bolts for the out chamber Retain bolts for the manifold NDP 40 50 80 BP_ 26 ft Ibf 35 N m 15 ft Ibf 20 N m NDP 40 50 BV_ Retain bolts for the out chamber Retain bo...

Page 16: ... USA PHONE 1 847 631 9200 or 1 800 990 7867 Toll Free FAX 1 847 631 9273 www yamadapump com Manufactured by YAMADA CORPORATION International Department 1 1 3 CHOME MINAMI MAGOME OHTA KU TOKYO 143 8504 JAPAN PHONE 81 0 3 3777 0241 FAX 81 0 3 3777 0584 201807 NDP027M ...

Reviews: