C4FM/FM 144/430MHz
DIGITAL/ANALOG TRANSCEIVER
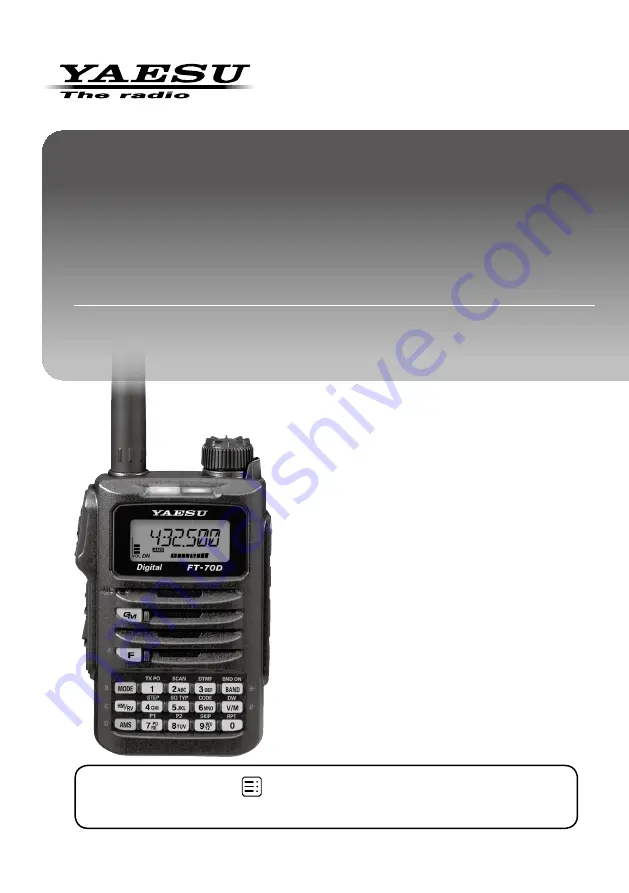
FT-70D
R
E
Advance Manual
Clicking (tapping) at the
at the bottom left of the current browsing page,
will return to the contents page at any time.
Page 1: ...C4FM FM 144 430MHz DIGITAL ANALOG TRANSCEIVER FT 70DR FT 70DE Advance Manual Clicking tapping at the at the bottom left of the current browsing page will return to the contents page at any time...
Page 2: ...he DCS CODE 9 Searching for the DCS Code Used by the Other Station 9 New Two CTCSS Tone Pager Function 10 Using the Pager Function 10 Setting the Code for Your Station 10 Calling a Specific Station 11...
Page 3: ...le Memory Channel Scan 18 Dual Receive DW Function 19 Registering the priority channel 19 Activating the Dual Receive DW feature 20 Setting the Dual Receive DW Resume Conditions 20 DTMF Operation 21 S...
Page 4: ...ible with the DG ID function update to the latest firmware to use the DG ID function The latest firmware is available on the YAESU website The latest firmware is available on the YAESU website The lat...
Page 5: ...DP ID users may communicate even if the Digital group ID DG ID is a different setting DP ID bbbbb DG ID TX02 RX02 DP ID ccccc DG ID TX01 RX01 DP ID aaaaa DG ID TX01 RX01 DP ID list B station s DP ID b...
Page 6: ...of the transmitted transceiver and DEL is displayed 5 Press and hold the GM key When finishing registering in the DP ID list the COMP is displayed for three seconds If not registering another DP ID p...
Page 7: ...unication squelch function for radios The no communication signal tone frequencies may be speci fied within the range from 300 Hz to 3000 Hz in steps of 100 Hz PAGER appears Activates a new two tone C...
Page 8: ...g and return to normal operation z z The tone frequency setting is common with the squelch types as follows TONE TSQL RV TN T DCS D TONE z z The default setting is 88 5 Hz Searching for the CTCSS Tone...
Page 9: ...D CODE T DCS D TONE z z The default DCS code is 023 Searching for the DCS Code Used by the Other Station Search for the DCS code used by the other station 1 Press the F key then press the 5 SQ TYP key...
Page 10: ...function is activated New Pager icon Setting the Code for Your Station Set the pager code to be called by other stations 1 Press and hold the F key then rotate the DIAL knob to select the Set Mode 38...
Page 11: ...ess the PTT switch to transmit a call to the specific station Receiving pager code calls from a Remote Station Standby Operation When the Pager function is activated and a call is received with a corr...
Page 12: ...eturn to normal operation Bell icon z z The default setting is OFF z z If setting the CONT continuous the bell keeps sounding until operating something User Programmed Reverse CTCSS Decoder The tone s...
Page 13: ...arily When reversing the frequencies and blink Using Memory Tag Memory name tags up to 6 characters may be assigned or changed on the memory channels and home channels 1 Recall the memory channel or h...
Page 14: ...alled Rotating the DIAL knob may be selected Inputting the 3 digits of the memory channel using the numeric keys may be re called the memory channel directly z z In the memory only mode only the follo...
Page 15: ...ate the DIAL knob to recall the memory channel to register in the memory bank Memory Channel Number 3 Press and hold the V M key blinks 4 Rotate the DIAL to select the memory bank b1 to b24 to registe...
Page 16: ...IAL knob to select the Set Mode 9 BNK NAM 3 Press the F key 4 Rotate the DIAL knob to select the memory bank to assign the name 5 Press the V M key The character input screen is displayed The default...
Page 17: ...e steps as Deleting the memory channel See the Operating Manual The deleted frequency is scanned again Setting Skip Memory Channel and Specified Memory Channel Two types of memory channels may be desi...
Page 18: ...pper limit memory channels must be within the same frequency band The lower and upper limit memory channels must not register the lower and upper channels in reverse The PMS memory channel must not re...
Page 19: ...ority Memory Channel once approximately every 5 seconds When the transceiver receives a signal on the frequency registered to the priority memory channel dual reception stops and signal receiver switc...
Page 20: ...function stops temporarily The decimal point of the frequency display blinks during the temporary halt 3 Press the V M DW key to cancel the Dual Receive function The combination of the frequency bands...
Page 21: ...X analog node station Setting the DTMF Memory 1 Press and hold the F key then rotate the DIAL knob to select the Set Mode 19 DT SET 2 Press the F key The DTMF memory channel number blinks 3 Rotate the...
Page 22: ...While pressing and holding the PTT switch press a nu meric 0 to 9 key The DTMF code registered in the DTMF memory chan nel is automatically transmitted Even after releasing the PTT switch the transmi...
Page 23: ...em 3 Press the F key then rotate the DIAL knob to change the setting 4 Press the PTT switch to save the new setting and re turn to normal operation On some setting screens pressing the PTT switch does...
Page 24: ...ey Set Mode Reset The Set mode only reset will restore all the Set Mode Items to the default settings The user memory channels will not be reset CAUTION Resetting will clear all Set Mode MENU items to...
Page 25: ...CLK SFT Set the clock shift function A B 30 12 DC VLT Display the voltage Voltage 30 13 DCS INV Select a combination of DCS inversion codes in terms of communication direc tion RXN TXN RXR TXN RXB TXN...
Page 26: ...Q Switching the memory tag indication and frequency indication FREQ ALPHA 14 36 OPN MSG Select the memory channel tag display or frequency display DC MSG OFF 36 37 PAG ABK Turn the pager answer back F...
Page 27: ...de the transceiver temperature display 41 56 TOT Set the timeout timer OFF 0 5M 10 0 M 41 57 TS MUT Turn the muting function ON OFF during tone search OFF ON 41 58 TS SPD Select a tone search speed FA...
Page 28: ...econds before turn OFF 3 BCLO Enables Disables the Busy Channel Lock Out feature Preventing transmissions when the receive channel is busy OFF Permits starting a transmission while receiving a signal...
Page 29: ...n the other station completes transmission in the digital C4FM mode OFF Does not emit the standby beep sound ON Emits the standby beep sound 8 BELL Setting of the number of times the bell rings Set th...
Page 30: ...ntly 12 DC VLT The battery voltage display Displays battery DC voltage Press the PTT switch to check the battery voltage in the transmission state In this setting press and hold the F key to return to...
Page 31: ...nables Disables the digital voice FR VW mode selection When pressing the MODE key set whether the digital voice FR VW mode may be selected or not OFF The digital voice FR VW mode may not be selected O...
Page 32: ...he signal is received for the specified period of time then the Dual Receive resumes even though the received signal con tinues BUSY The Priority Memory Channel signal is received until the signal fad...
Page 33: ...is out of the communication range the beep sounds 25 GM INT Set the polling interval during the Group Monitor GM operation Selects the Polling Interval during the Group Monitor GM operation OFF The p...
Page 34: ...OFF The LCD and keys do not light up 2 SEC 5 SEC 10 SEC SEC When the DIAL knob is rotated or a key is pressed the LCD and key lights remain illuminated for the set time CONT The LED Lights continuousl...
Page 35: ...eater access 33 MEM NAM Edit memory tag name Memory name tags may be assigned to the memory channel and the home channel For more details see Using Memory Tag 13 34 MW MOD Choses the available memory...
Page 36: ...or to the right MODE key Moves the cursor to the left Pressing and holding the GM key Erases all characters after the cursor 3 Press the V M key to save the setting and return to normal operation 37 P...
Page 37: ...rd is forgotten the password cannot be deactivated without the all reset If performing the all reset all the transceiver settings are initialized Do not forget the passwords 41 PSWDWT Input the passwo...
Page 38: ...audio is heard RF squelch is available on the FM mode or the AM mode 45 RPT ARS Set the ARS Automatic Repeater Shift Enable or disable the automatic Repeater Shift operation ARS Repeater operation is...
Page 39: ...uency band range while scanning in the memory mode ALL All the memory channels are scanned without regard to the band of the registered frequency of the memory channels BAND Only memory channels with...
Page 40: ...ceive frequency Scanning does not resume Scanning may be resumed manually For more details see Setting the Receive Operation When Scanning Stops Oper ating Manual 53 SCN STR Set the scanning restart t...
Page 41: ...nutes Set the transceiver to automatically return to receive mode af ter transmitting continuously for the set period of time The beep sounds at about 10 seconds before returning to return to receive...
Page 42: ...ey VHF 1 144MHz band 430MHz band UHF 1 AIR band VHF 2 108 137MHz 137 174MHz 174 222MHz 222 420MHz 420 470MHz 470 580MHz 61 WX ALT Set the weather Alert Feature Set the weather Alert Feature used for n...
Page 43: ...f the transmission is continued for a long time the overheat prevention circuit will operate and the transmission power decreases If the transmission is continued further the transmission will be auto...
Page 44: ...The WAIT is displayed on the receiving transceiver 5 Press the BAND key on the transmitting transceiver The TX is displayed on the transmitting transceiver and then data copy starts The display on th...
Page 45: ...inal of the trans ceiver with the supplied mini USB cable as described below Updating the firmware The firmware of the FT 70DR DE may be updated When a new firmware update for the FT 70DR DE is availa...
Page 46: ...r 00 the sound is not output until the transceiver receives a signal correspond to the two digit DG ID There is no transmission of radio waves Are you pressing the PTT switch properly Is the PTT lock...
Page 47: ...without the permission of YAESU MUSEN CO LTD YAESU MUSEN CO LTD Tennozu Parkside Building 2 5 8 Higashi Shinagawa Shinagawa ku Tokyo 140 0002 Japan YAESU USA 6125 Phyllis Drive Cypress CA 90630 U S A...