background image

P2

da Vinci Color mini

Safety Precautions

Safety and Compliance 

Important Safety Precautions 

Trademarks

Maintenance and Service 

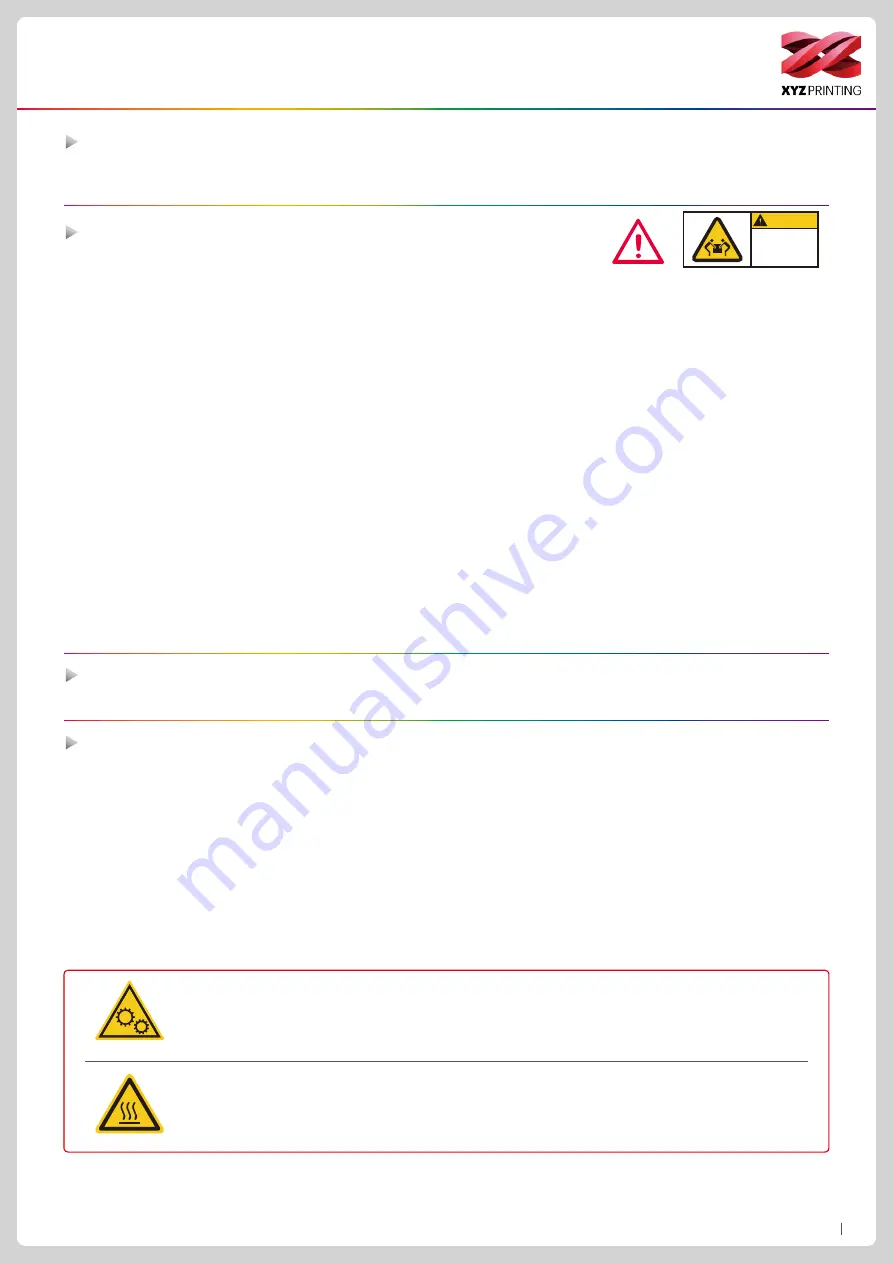
CAUTION

Heavy object.

2 person lift

required


Do not move the machine by yourself as it is heavy.


Do not place the printer in a dusty, humid or outdoor environment.


Do not place the printer on a soft or tilted surface. Otherwise, the machine will fall / flip over and become damaged or 

cause personal injury. 

● 

Do not leave the product or power cord to unattended children. Otherwise, personal injury or electric shock might occur. 


Use the provided power cord. Otherwise, incorrect grounding might lead to damage. 


Do not place any liquid container on top of the product. Otherwise, overflow or spill might go into the machine and pose 

the risks of danger or safety concern. 


Do not wipe the printer with alcohol or flammable chemicals. Otherwise, danger might occur. 


Do not move the machine when it’s powered on. 


Do not reach into the machine with your hands during operation. Otherwise, risks of impact from moving printing parts or 

burn from high temperature might occur. 


The machine becomes hot during operation and thus run in high temperature. Do not touch or replace parts when they 

are not cooled down. 


After startup, the parts in the machine will heat up or move depending on the user’s instructions. During product 

operation, do not touch or block the operation of the parts. 


Weak odors may be generated during the printing process. We recommend working in a well-ventilated and open area to 

ensure operational comfort.


Defect reparation must be carried out according to the contents of this instruction manual. Where the defect cannot be 

repaired, please contact your printer dealer or the customer service center. 

When the printer needs to be serviced during the term of the warranty, it is recommended that the machine is packed with 

original packaging materials prior to shipment. For this purpose, the packaging materials are better to be kept.  If other 

packaging materials are used instead, the printer might be damaged during transportation. We reserve the right to assess 

relevant service fees. 

Please read through this manual and all safety precautions carefully before using, operating, unpacking, replacing, remov-

ing any part or maintaining this product. Please also comply with the instructions of relevant safety precautions. 

All trademarks and registered trademarks are the properties of their respective owners.

Hot parts! 

Burned fingers when handling the parts. 

Do Not Touch.

Parties Chaudes!


Brûler les doigts lorsque de la manipulation des composants. 

Ne pas toucher.

WARNING: 

Hazardous Moving Parts. Keep Fingers and Other Body Parts Away.

AVERTISSEMENT: 

Dangereux Les Parties Mobiles. Evitez tout contact avec les doigts et toute autre 

partie du corps. 

This equipment must be grounded. The power code for product should connect to a socket-outlet with 

earthing connection.

Summary of Contents for da Vinci Color mini

Page 1: ...account on http support xyzprinting com before able to download latest manual software for better user experience For more information on the Color mini please contact your local dealer or visit the...

Page 2: ...not touch or block the operation of the parts Weak odors may be generated during the printing process We recommend working in a well ventilated and open area to ensure operational comfort Defect repa...

Page 3: ...rior 1 Print head 4 USB Port 7 5 inch color touch panel 10 Power jack 2 Ink service station 5 Auto feeding module 8 USB Port WiFi dongle 11 Power switch 3 Print bed EZ removable rubber magnet 6 Filame...

Page 4: ...s 13 Clear Tube 2 USB Drive 5 Power Adapter 8 Guide Tube 11 WiFi Dongle 3 3D Color inkjet PLA 6 USB Cable 9 PC Mylar x 2pcs 12 Pair Of Gloves Printing Printing technology 2D pattern Inkjet printing 3D...

Page 5: ...shown in Illustration 1 Remove the PP belt 3 Remove the tape on the body 5 Remove the tape and foam from the rear print head installation position 6 Remove the foam on the ink service station 7 Remove...

Page 6: ...ach the PC mylar and mask tape on the EZ removable rubber magnet 7 Confirm the rubber magnet is well placed on the print bed 4 Pass the guide tube going through the top Then insert the other end into...

Page 7: ...s menu can be used to import files 3cp from a USB drive to the machine for printing without a com puter This includes the functions in Home Page 1 Settings of the Print Bed Print Head Filament and Ink...

Page 8: ...e it will be automatically loaded 8 Check if the temperature of the print head goes up to its operating temperature Color PLA from XYZprinting after the filament is loaded Once the set temperature is...

Page 9: ...rom the printer And peel off the printed object from the rubber magnet B1 Please avoid touch ing the led strip of the printer because the LED strip will be slight hot due to long hours of been light o...

Page 10: ...he cartridge back to the printer before the next print Note 1 Prepare lens wiping cloth lens paper and the ink cartridge 2 Remove the cartridge cover 5 Check if the ink transferred to the lens wiping...

Page 11: ...e Ink C1 Ink Tap the ink the screen will show the status of the ink including Ink Low No Ink Invalid Ink Cartridge Installation 1 Place the ink cartridge along the ink cartridge slot 2 Snap the ink ca...

Page 12: ...A4 paper so it is flat no gap on the rubber magnet 3 Take out the EZ Removable Rubber Magnet Use tape to secure the A4 in the portrait direction on the front side of the rubber magnet 6 Put the rubber...

Page 13: ...ed the filament 6 After the printing is completed take out the calibration card Caution Please ensure the EZ Removable Rubber Magnet had placed in the printbed 2 The adjustment position of X Axis and...

Page 14: ...cations Once the measurement is complete the printer will automatically level the print bed Caution Please ensure the EZ Removable Rubber Magnet had placed in the printbed 2 Move the print head to the...

Page 15: ...leaning function of the printer every 60 hours of print to clear residuals with nozzle cleaning wire or feeding path cleaning wire Filament should be unloaded from the extruder and remove the guide tu...

Page 16: ...ion instructions and technical supports please visit the XYZprinting official website http www xyzprinting com Before turning on the printer and setting up the WiFi network please insert the WiFi dong...

Page 17: ...traditional and simplified Chinese English Japanese German Italian Spanish and French The language setting can be changed by tapping Settings Languages in the main screen Change Language Setting The...

Page 18: ...e http www xyzprinting com First time printing Transfer files to be printed via the computer software XYZprint Printing D1 1 A C C B Calibration Z offset Load Filament Change Ink Calibration Prepare t...

Page 19: ...llation This equipment generates uses and can radiate radio frequency energy and if not installed and used in accordance with the instructions may cause harmful interference to radio communications Ho...

Reviews: