NitraVis 70x IQ TS
Measurement / Operation
27
ba75952e03
05/2017
Performing a user
calibration
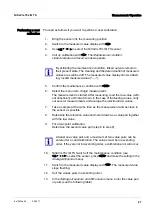
Proceed as follows if you want to perform a user calibration:
1.
Bring the sensor into the measuring position.
2.
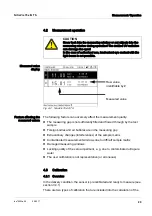
Switch to the measured value display with <M>.
3.
Use <
> to select the NitraVis 70x IQ TS sensor.
4.
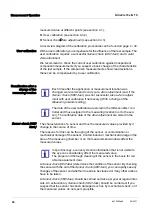
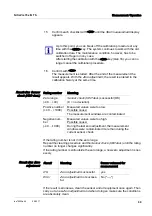
Call up calibration with <C>. The
Maintenance condition:
Linked outputs are frozen.
window appears.
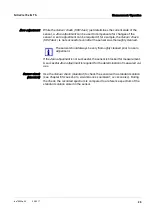
By activating the maintenance condition, linked outputs remain in
their present state. The cleaning and the determination of measured
values are switched off. The measured value display shows a flash
-
ing, invalid measured value ("----").
5.
Confirm the maintenance condition with <OK>.
6.
Select the menu item,
Single measurement
.
The measurement is started. After measuring, read the raw value (with
-
out dimension) and note it down. In the case of fluctuating values, carry
out several measurements and average the individual raw values.
7.
Take a sample at the same time as the measurement and as close to
the sensor as possible.
8.
Determine the reference value and note it down as a value pair together
with the raw value.
9.
For a two-point calibration:
Determine the second value pair (step 6 to step 8).
At least one value pair and a maximum of two value pairs can be
entered for a valid calibration. The values must be in ascending
order. If they are not in ascending order, a calibration error will occur.
10.
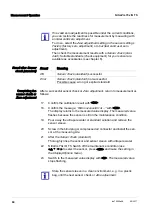
NitraVis 70x IQ TS Switch off the maintenance condition (use
<
> to select the sensor, press <OK> and make the setting in the
Anzeige/Optionen
menu).
11.
Switch to the measured value display with <M>. The measured value
stops flashing.
12.
Sort the values pairs in ascending order.
13.
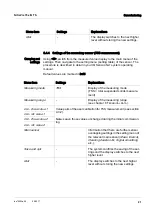
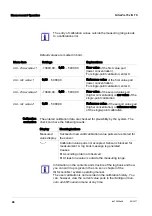
In the
Settings of sensors and diff. sensors
menu, enter the value pair
or pairs (see the following table).
Summary of Contents for WTW NitraVis 700 Series
Page 55: ......

