XC960BA
HD
960H
5
www.xvision.com
1. Product Overview
2. Installation
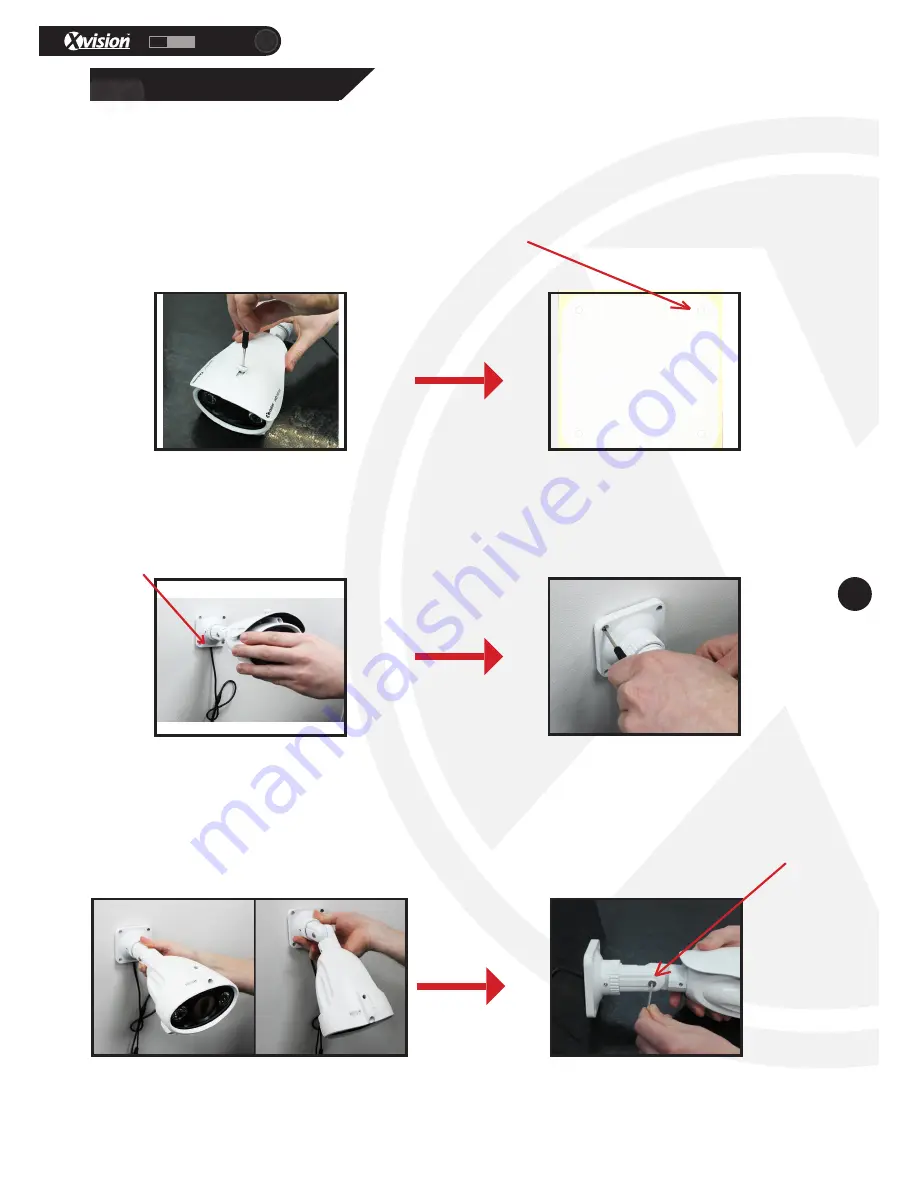
The XC960BA camera can be wall or ceiling mounted. To install the camera, please follow the steps below.
3. If you wish to run the cable through the wall
or ceiling, you will need to drill a hole in the wall/
ceiling for the wires to go through. If outside, you
can run the cable through the bracket as shown
below.
2. Then, place the installation stencil on the
desired installation area and drill through the
stencil holes. Then insert the wall plugs into the
holes.
6. To turn the camera 180°, you will need to loosen
the screw holding the bracket to the camera.
5. To adjust the camera angle, loosen the bracket
of the camera with the allen key provided. It would
be advised to use a test monitor when choosing
the angle, to get the perfect angle for your
application.
4. When the holes have been drilled, put the
screws through the holes in the bracket and screw
into the wall.
1. Firstly, if installing the camera outside, you will
need to attach the rain shield to the top of the
camera. To do this, place on top of the camera and
tighten the screw through the hole in the shield to
the camera.


