background image

23

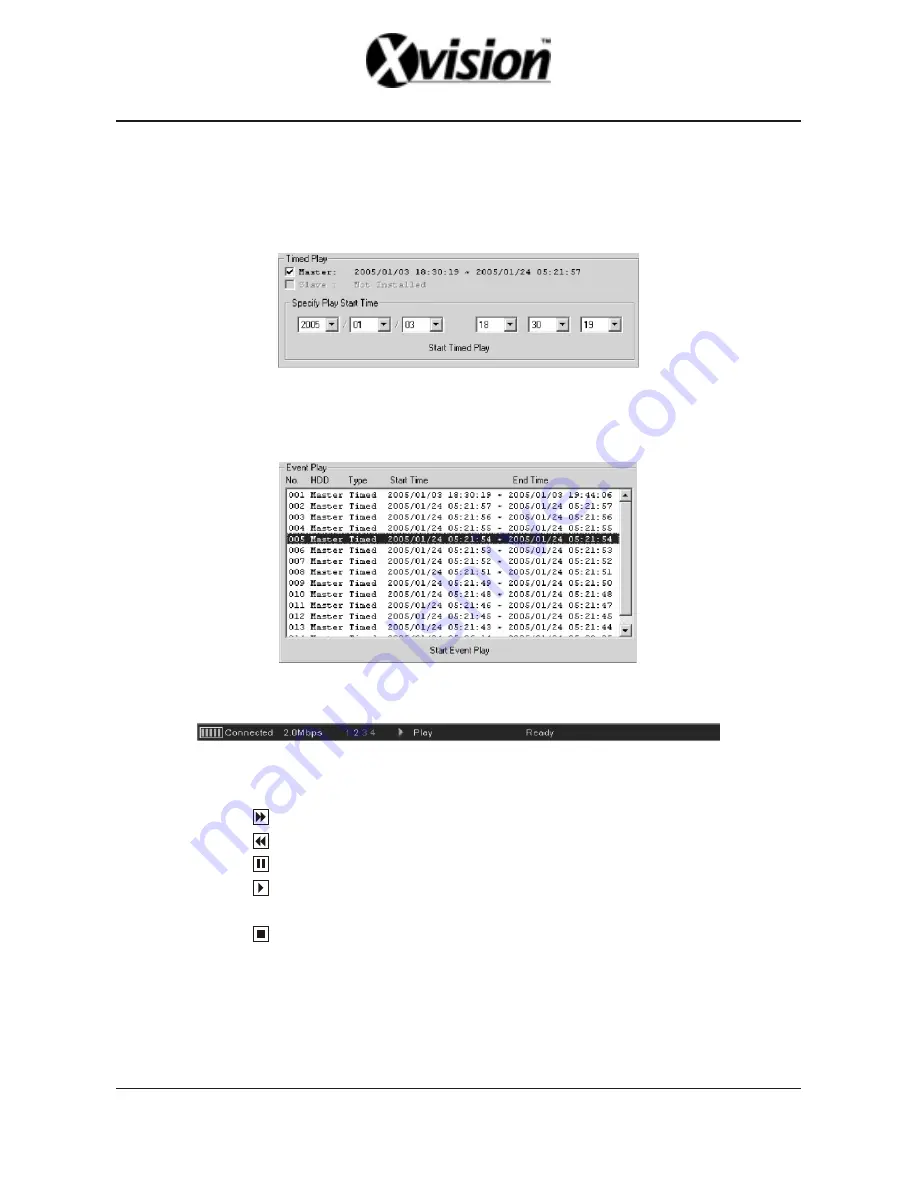
There are two options for starting DVR playback.

i. Timed Play

   The upper part of the window shows the time range of the stream stored in the DVR HDD.

   You can specify the time when you are interested in. Fig.8 shows timed play.

Fig.8. Timed Play Window

ii. Event Play

    The lower part of the window is event list. To see an event, select the event and double click
    it or press “Start Event Play” Button.

Fig.9. Event Play Window

Once DVR play starts, the Status Window will show your DVR is now playing.

Fig.10. Status Window [DVR Play]

iii. Playback Buttons

     Press       button (or press [Ctrl+Shift+F] key) to start Fast Forward. [FF1 -> FF2 ->FF3 -> Ff1]

     Press       button (or press [Ctrl+Shift+V] key) to start Fast Rewind.

     Press       button (or press [Ctrl+Shift+U] key) to pause the playback.

     Press       button (or press [Ctrl+Shift+P] key) again to resume play when DVR is in FF,REW

     or PAUSE.

     Press       button (or press [Ctrl+Shift+S] key) to stop playback.

■ 

PC Capturing

You can capture incoming video/audio stream on your PC and play it later on. Fig.11 shows

buttons for PC Capturing.

Summary of Contents for 4 Channel Standalone DVR

Page 1: ...4 Channel Standalone DVR USERS MANUAL...

Page 2: ......

Page 3: ...NEL REAR PANEL CONTROL PANEL BUTTON SPECIFICATIONS OPERATING MANUAL VIEW CONTROL PLAYBACK CONTROL RECORD CONTROL 4 CHANNEL RECORDING HOURS DVR PC VIEWER REMOTE DVR CLIENT ALARM LOOPING CABLE 1 1 2 3 5...

Page 4: ...Recording Quad Recording 5 Support Audio Recording 6 Small Size Design 7 Anti Shock HDD Mobile Rack 8 Advanced MJPEG 9 Manual Motion Programmed Recording 10 Search by Time Date 11 Watch dog feature 1...

Page 5: ...nced for home usage DC12 24V VCR MONITOR IN OUT VIDEO IN CH1 CH3 CH2 CH4 VIDEO OUT AUDIO DC12 24V VCR MONITOR IN OUT VIDEO IN CH1 CH3 CH2 CH4 VIDEO OUT AUDIO ALARM I 0 VIDEO LOOP USB LAN DC12V VCR MON...

Page 6: ...be displayed as full screen Channel 4 Channel 4 will be displayed as full screen HDD USAGE Show the usage of the hard drive Key lock Push the button 5 times to lock unlock the STOP RECORDING key While...

Page 7: ...for item selection DOWN DOWN button for item selection Select Confirm the selection made or setting items TIME SEARCH MODE LEFT LEFT button for item selection Search Mode Enter the PLAYBACK EVENTS SE...

Page 8: ...400GB Audio Functions 1CH Audio Input Output Real Time Recording And Playing Search Mode Time Date Events list Moition Detect YES 4CH motion detect Video loss display Auto ch_switching YES Buzzer Outp...

Page 9: ...N THEN SELECT PRESS MENU TO EXIT PRESS UP DOWN THEN SELECT PRESS MENU TO EXIT Select this item to change password CURRENT PASSWORD ______ NEW PASSWORD ______ CONFIRM PASSWORD ______ PASSWORD SETUP 6 1...

Page 10: ...IT 7 RECORD SETUP RECORD SETUP EACH VIDEO QUALITY NORMAL RECORD FRAME RATE 30 RECORD SETUP 1 Record Setup EACH MODE frame recording QUAD MODE quad recording 2 Video Quality video quality selection Hig...

Page 11: ...TTTTTTTTTTT 0 3 6 9 12 15 18 21 PRESS REW FF THEN SELECT PRESS MENU TO EXIT 8 MOTION SETUP MOTION SETUP MENU CHANNEL 1 SENSITIV 0 OFF AREA SET CHANNEL 2 SENSITIV 0 OFF AREA SET CHANNEL 3 SENSITIV 3 AR...

Page 12: ...L 3 CHANNEL 4 PRESS UP DOWN THEN SELECT PRESS MENU TO EXIT TYPY NORMAL OPEN NOT INSTALLED TYPY NORMAL CLOSE NOT INSTALLED Factory default password 111111 HDD must be formatted before installation repl...

Page 13: ...ay Enable Disable theAuto switching function 2 View Control is only valid while the RECORD MODE is in the EACH MODE PLAYBACK CONTROL 1 Press and the system will play the latest event which you haven t...

Page 14: ...ording Results in NTSC Format 30 fps 15 fps 7 fps 1 fps Video Signal Display Format Video Quality NTSC PAL QUAD MOD E EACH MODE Full Screen QUAD MOD E EACH MODE Full Screen High Nor mal Bas ic High No...

Page 15: ...DVR base on Vineyard Technologies DVR chip Requirement OS DirectX OS of your PC should be Windows 2000 XP or later Your PC should be equipped with DirectX 7 0 or later Recommendation Operating System...

Page 16: ...g 2 1 3 2 4 5 6 7 8 9 10 11 12 1 2 3 4 5 6 7 8 9 10 11 12 Screen Positioning Slider Bar MYS Player Button DVR Storage Device Change Button DVR Storage Device Information Channel Selection PC Viewer Pl...

Page 17: ...hows DVR storage device selection window Fig 3 DVR Storage Device Selection Window If you want to know how big is the DVR storage device is or how much stream data is stored in the device press this b...

Page 18: ...ar to pause playback Press button or Key to start normal playback Press button or Key to start fast forward playback By pressing this button several times you can adjust the speed The maximum speed is...

Page 19: ...ion will start to make a JPEG file When a JPEG file successfully created The application let you know that the image file is created showing the file name and the Capture Directory path viii Audio Con...

Page 20: ...st reverse playback By pressing this button again you can adjust the speed The maximum speed is 64 times faster than reverse playback Press button or Key to start reverse playback Press button or Spac...

Page 21: ...djust the volume Application Setting A User Interface Change Captured File Saving Directory Enable Disable Application Closing Confirm Fig 12 Application Setting Dialog B Functions i Capture Directory...

Page 22: ...video audio stream from your DVR Remote DVR Management Manage your DVR remotely Stream Capturing Captures incoming video audio stream Playback for the Captured Stream Plays the captured stream file Wh...

Page 23: ...your DVR now For more information please refer to DVR operation manual Connection A Connection To connect to your DVR you should know following information The IP address of your DVR The Password If...

Page 24: ...w To disconnect press YES Press NO to maintain current connection However you can configure the application not to show the confirmation window if you want See Section 8 A ii for more information Once...

Page 25: ...s are shown in Fig 5 DVR Control Fig 5 DVR Control Buttons DVR Control A Recording Press button or press Ctrl Shift R key to make your DVR start recording Then you will see recording status on the Sta...

Page 26: ...lay Window Once DVR play starts the Status Window will show your DVR is now playing Fig 10 Status Window DVR Play iii Playback Buttons Press button or press Ctrl Shift F key to start Fast Forward FF1...

Page 27: ...file You can specify where you want the captured stream files will be stored The MYS file name has following information Year 4 digit DVR time Month 2 digit DVR time Day 2 digit DVR time Hour 2 digit...

Page 28: ...FF8 FF16 FF32 FF64 PLAY FF2 Press button or press Key to start Fast Rewind REW2 REW4 REW8 REW16 REW32 REW64 REV REW2 Press button or press Space Bar to pause the playback Press button or press Key to...

Page 29: ...onnection port numbers are 14337 and 14338 for Control Message and Stream Data respectively However if you changed the DVR connection port number setting for any reason you should change the connectio...

Page 30: ...directory iv Message Boxes Fig 20 On Off the confirm message boxes B Change DVR Setting To change the configuration of the remote DVR select main menu Configuration DVR Configuration or press F5 key F...

Page 31: ...or the embedded motion detector detects any movement vi Audio Recording Enable Disable DVR Audio Recording vii Speaker On Off On Off DVR Speaker viii Input Channels You can change DVR input channels i...

Page 32: ...r press F7 key Fig 25 Configuration Menu Record Schedule Fig 26 DVR Record Schedule Manager If any change is made the OK button will be activated Press OK to change Press Cancel to close the window wi...

Page 33: ...when you connect to your DVR viaInternet Favor High Picture Quality Shift 2 In this mode the DVR will trying to send relatively high quality image stream to the client Since it requires more bandwidt...

Page 34: ...CH1 CH2 CH3 CH4 31 1 8 ALM CH1 ALM CH2 ALM CH3 ALM CH4 ALM GND RLY COM RLY NC RLY NO BROWN RED ORANGE YELLOW GREEN BLUE BLACK WHITE 1 2 3 4 5 6 7 8 ALARM LOOPING CABLE...

Page 35: ...R12C403001...

Reviews: