


114
Please go to
X417H417H417H
Figure 6-2
X
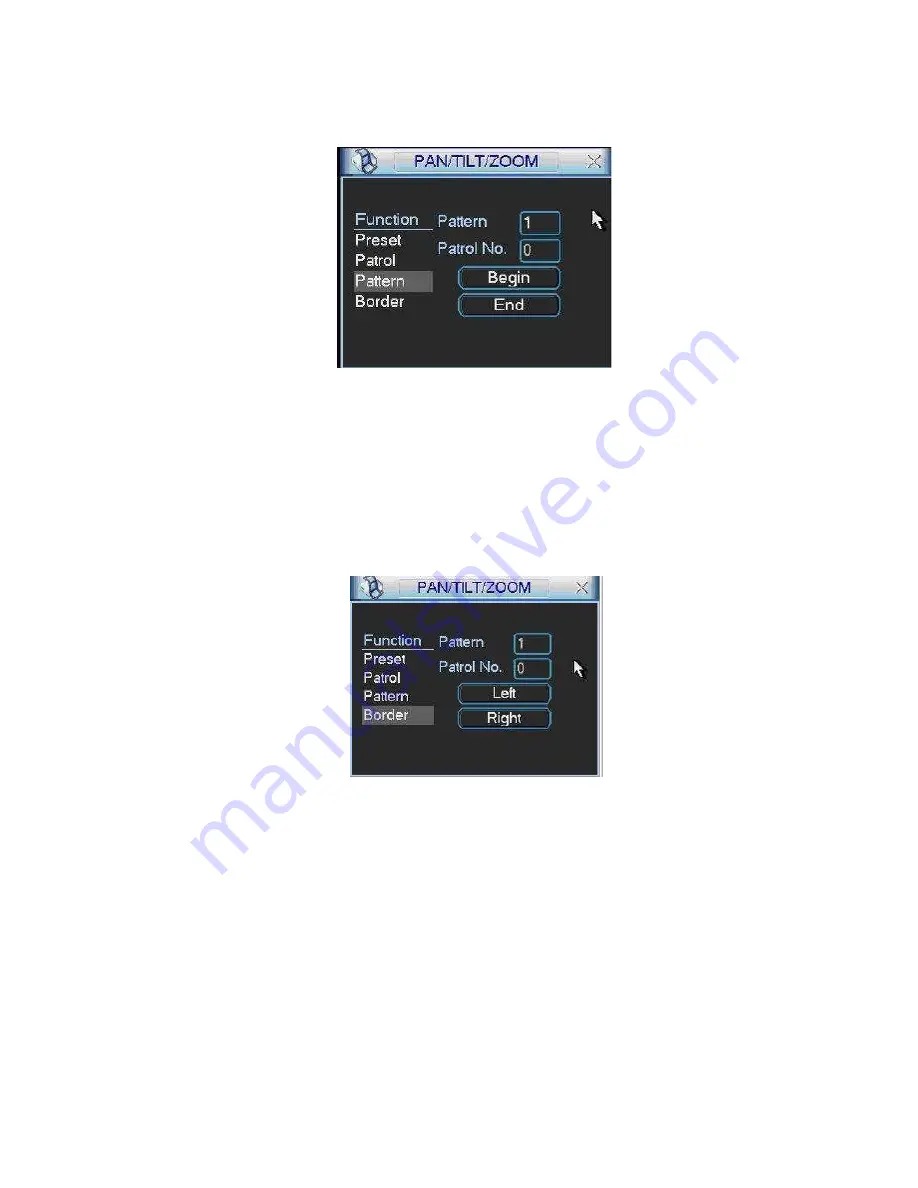
to modify zoom, focus, and iris. Go back to
X418H418H418H
Figure 6-9
X
and click
end button.
You can memorize all these setups as pattern 1.
6.2.6 Activate Pattern Function
Figure 6-9
In
X419H419H 419H
Figure 6-6
X
input mode value in the No. blank, and click pattern button.
6.2.7 Border Setup
In
X420H420H 420H
Figure 6-5
X
, click border button. The interface is shown as in
X421H421H421H
Figure 6-10
X
.
Please go to
X422H422H422H
Figure 6-2
X
, use direction arrows to select camera left limit, and then please go to
X423H423H42 3H
Figure 6-10
X
and click left limit button
Repeat the above procedures to set right limit.
6.2.8 Activate Border Function
Figure 6-10
In
X424H424H 424H
Figure 6-6
X
, click auto scan button, the system begins auto scan. Correspondingly, the auto
scan button changes to stop button.
Click stop button to terminate scan operation.
6.2.9
Flip
In
X425H425H 425H
Figure 6-6
X
, click page switch button, you can see an interface is shown as below. See
X426H426H42 6H
Figure 6-11
X
. Here you can set auxiliary function.
Click page switch button again, system goes back to
X427H427H 427H
Figure 6-2
X
.


