29
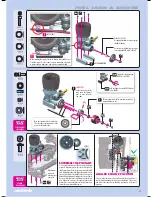
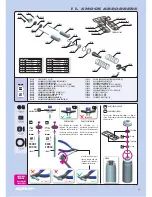
GEARING
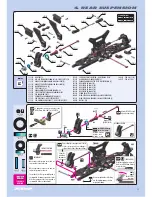
GEAR MESH Adj.
CLUTCH SPRINGS
CLUTCH SHOE
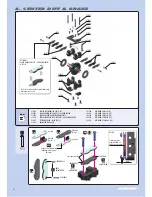
911410
SHF M4x10
908308
SCH M3x8
908312
SCH M3x12
359050
BB 5x10x4
961025
S 2.5
962050
S 5x10x1
964073
S 7x10x0.2
964074
S 7x10x0.3
964075
S 7x10x0.5
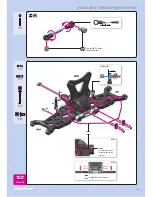
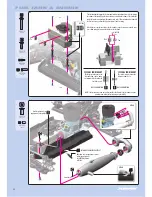
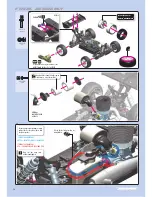
Please note that the engine is not parallel with the chassis centerline, so
that the clutchbell engages the spur gear at a slight angle. This is correct
and will not have any effect on handling, performance, or lifespan of
any parts.
2~2.5°
DETAIL
ANGLED ENGINE POSITION
CORRECT
7x10x0.2 / 0.3 / 0.5
3x8
5x10
2.5
Adjust engine
position to
achieve proper
gear mesh
Use appropriate shims to achieve proper
clutchbell endplay
11~11.2
mm
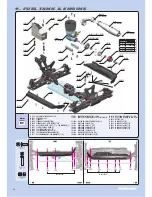
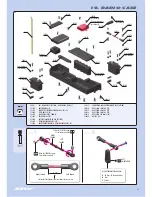
FUEL TANK & ENGINE
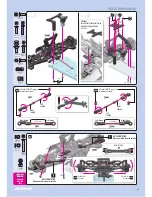
It is very important that your XB9 has properly-adjusted
gear mesh. Adjust the gear mesh so there is adequate (or
slightly larger) space between the spur gear and clutchbell
teeth. Adjust the gear mesh by sliding the engine mounts in
the slots of the chassis. You should be able to rock one gear
back and forth slightly while holding the other one firmly.
Be sure to check the gear mesh all the way around the spur
gear. Tighten the screws once the engine alignment and
gear mesh are correct, and then re-check the gear mesh to
ensure the engine mounts did not move.
DETAIL
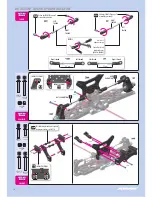
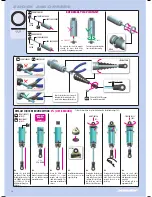
Tighten the clutch nut using
HUDY tool #107581
Hold the flywheel using HUDY Flywheel
Tool #182015
Use the cone included with your engine,
or use optional XRAY cone #358540
NOTE ORIENTATION
IMPORTANT!
Failure to use these shims
may cause the flywheel
pins to come out after
some time.
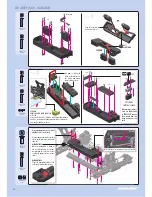
When installing the engine, first check that the drive shaft does not
touch the engine. If it does, remove some material from the engine
mount as shown to make some room between engine and shaft.
IMPORTANT
EXTREMELY IMPORTANT
These bearings must still be regularly serviced and
replaced when worn out.
Note the orientation of the clutch shoes.
The short side of spring must be in the
groove of the flywheel nut.
Summary of Contents for XB9
Page 1: ......

