40
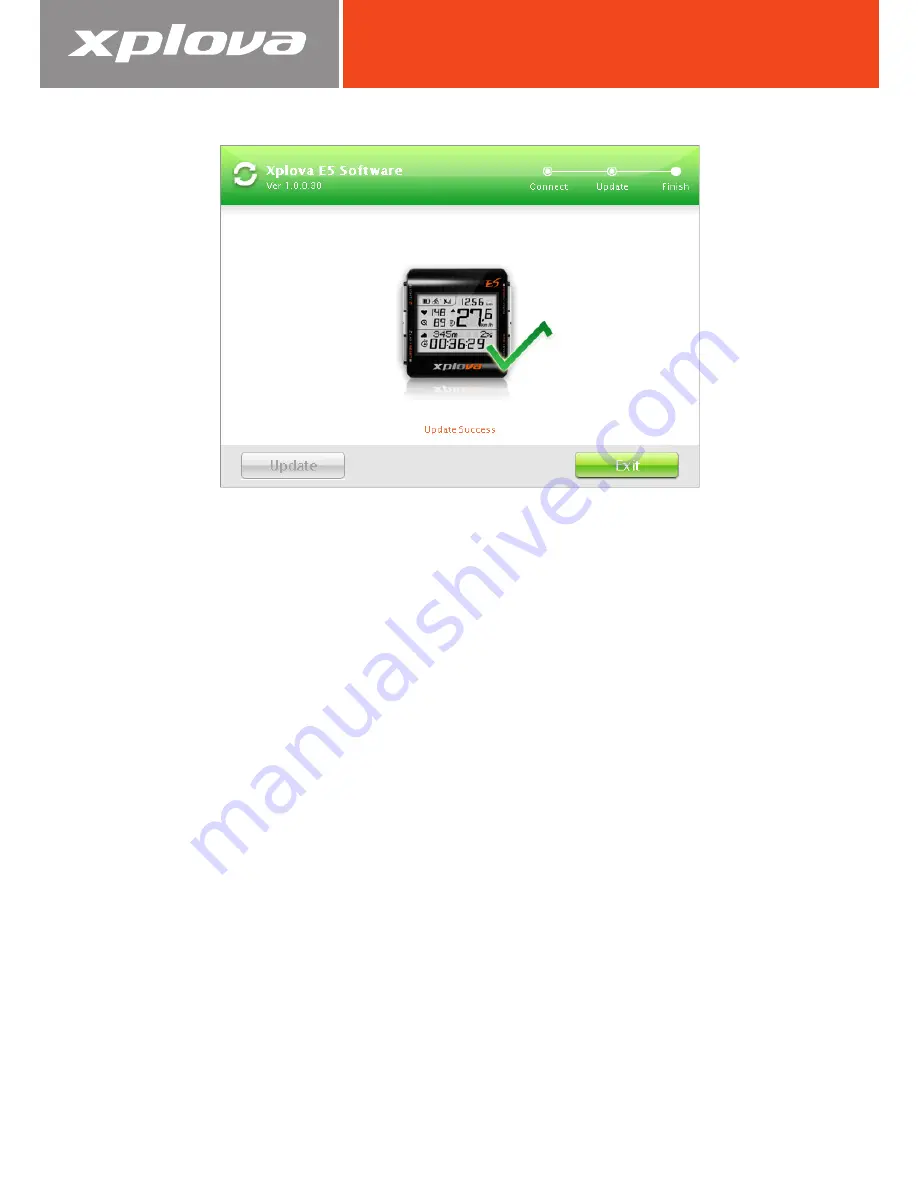
9.
When the screen below appears, click
Exit
to close the screen.
10.
Disconnect the USB cable from the Xplova E5 and the computer.
Page 1: ...GPS Cycling Computer User s Manual...
Page 2: ...ained herein may be reproduced without written consent of the manufacturer Download the latest version of this document at www xplova com Visit http tour xplova com Platform Free Bicycle route plannin...
Page 3: ...Xplova E5 1 1 Acquiring GPS Signal 1 1 The LCD Screen 12 Idle Mode 13 Using the Button Controls 14 Button Operation Description 14 Adjusting the Backlight 14 Selecting Data Display 15 Upper Screen Da...
Page 4: ...e Monitor Battery 31 Combo Cadence Sensor optional 31 Pairing the Combo Cadence Sensor 31 Combo Cadence Sensor Parts 32 Installing the Combo Cadence Sensor 33 Changing the Combo Cadence Battery 34 Pow...
Page 5: ...Combo Sensor or compatible Power Meter Xplova E5 becomes a training companion which dutifully records every detail of your ride All these recorded activities can be uploaded to http tour xplova com co...
Page 6: ...onds to reset the device 2 Short press to mark lap and position Long press to reset save records and start a new record 3 Short press to switch the data displayed on the upper screen Long press to ent...
Page 7: ...n the package if anything is missing contact your Xplova retailer USB Power Adapter USB Cable Bike Mount with Mount Pad Rubber Bands Optional Accessories The Xplova E5 can be paired with optional acce...
Page 8: ...lied USB adapter or any standard USB port To charge the Xplova E5 1 Open the waterproof cap on the base of the Xplova E5 2 Plug the micro USB cable to the micro USB port of your Xplova E5 3 Plug the o...
Page 9: ...from one corner of the bike mount passing through the bottom side to the other corner 3 Loop a rubber band from another corner passing through the bottom side to the other corner to secure the bike m...
Page 10: ...g to Sensors If you plan to use the optional combo cadence sensor heart rate monitor and or power meter you will need to pair the devices with your Xplova E5 before using them See Using the Accessorie...
Page 11: ...ntly from the above illustration To turn the power off long press until a POWER OFF message is displayed on screen Acquiring GPS Signal The Xplova E5 comes fully equipped with X Navi technology design...
Page 12: ...s paired this icon and the heart rate value are displayed The value is shown when the heart rate monitor is not paired or is out of communication range Combo Cadence Status When a combo cadence is pai...
Page 13: ...ws the maximum speed achieved and heart rate cadence if heart rate cadence setting is enabled 4 Lower Data Display Displays the clock altitude slope trip time calories temperature and power informatio...
Page 14: ...The following images will be shown throughout this document to indicate the key press duration needed for a particular operation Button Operation Description Long Press Short Press Adjusting the Back...
Page 15: ...ata 1 Short press repeatedly to toggle the upper data display Current data Average data Maximum data Lower Screen Data Data 2 Short press repeatedly to toggle the lower data display Bike ODO Clock Alt...
Page 16: ...ing Bike Profile You can configure up to three bike profiles on Xplova E5 Bike1 Bike2 and Custom For details see Bike Menu on page 25 To switch between the bike profiles 1 Enter Bike profile selection...
Page 17: ...17 Resetting Recording During recording long press to reset the recording and start a new recording...
Page 18: ...onfigure up to four altitude settings 5 SOUND Allows you to enable or disable beep sound 6 S PAUSE SMART PAUSE Allows you to specify the minimum speed limit by which the Xplova E5 will automatically p...
Page 19: ...To adjust the menu settings use the button operations below to select an item confirm an option and exit or return to a previous screen Scroll to Next Item Select the Item Return to Previous NOTE You...
Page 20: ...ess to scroll to the next field Indicates the current menu level Indicates next menu available Press to scroll to the next menu Press to enter the setting Below is an example of setting the distance i...
Page 21: ...repeatedly to select the date of the activity you want to view the information 4 Short press to confirm the selection Enter RECORD menu Select date of activity Confirm date 5 Short press to select the...
Page 22: ...et a distance after which the alarm will sound and display a warning message CAL Set a calorie value where after the value is reached the alarm will sound and display a warning message MAXHR Set the m...
Page 23: ...ng press to bring up the menu 2 Short press repeatedly to scroll to GPS 3 Short press to enter the GPS menu 4 Short press to select RESET GPS 5 Short press A YES NO selection appears 6 Short press to...
Page 24: ...ce point 6 To manually set the altitude short press repeatedly to adjust the value To move to another field digit press 7 Short press to confirm the value and return to the previous screen SOUND Menu...
Page 25: ...short press to specify a speed limit Short press repeatedly to adjust the value To move to another field digit press 6 Short press to confirm the value and return to the previous screen Bike Menu The...
Page 26: ...n and return to the previous screen To pair a Power Sensor 1 Long press to bring up the menu 2 Short press repeatedly to scroll to BIKE 3 Short press to enter the BIKE menu 4 Short press repeatedly to...
Page 27: ...een USER Menu The USER menu allows you to edit information about yourself 1 Long press to bring up the menu 2 Short press repeatedly to scroll to USER 3 Short press to enter the USER menu 4 Short pres...
Page 28: ...nfirm the value and return to the previous screen To activate Daylight Saving Time 1 Long press to bring up the menu 2 Short press repeatedly to scroll to TIME 3 Short press to enter the TIME menu 4 S...
Page 29: ...and return to the previous screen F RESET Factory Reset Menu The F RESET menu allows you to reset your device to its factory default settings 1 Long press to bring up the menu 2 Short press repeatedl...
Page 30: ...Heart Rate Monitor to your Xplova E5 allowing heart rate to be recorded and displayed on screen 1 Long press to bring up the menu 2 Short press repeatedly to scroll to HRM 3 Short press to enter the...
Page 31: ...ne 3 Replace the battery cover and tighten with a coin Combo Cadence Sensor optional The combo cadence includes the cadence sensor and a speed sensor attaches to the chain stay of your bike to help yo...
Page 32: ...he combo cadence is paired Combo Cadence Sensor Parts Before installing the sensor make sure you have the following components C A D E N C E Combo Cadence Sensor Rubber base CADENCE MAGENT Cadence Mag...
Page 33: ...ain stay of your bike C A D E N C E 2 Use the supplied cable ties to hold the sensor in place Do not fully tighten 3 Attach the magnet to a spoke Do not fully tighten C A D E N C E 5mm 5mm NOTE To ens...
Page 34: ...anging the Combo Cadence Battery 1 Using a coin turn the battery cover on the back of the sensor counter clockwise until it opens 2 Remove the old battery and replace with a new one 3 Replace the batt...
Page 35: ...pair with your combo cadence 10 When done press to return and exit the menu Calibrating the Power Meter 1 Make sure the power meter is turned on and paired with your Xplova E5 2 Long press to bring u...
Page 36: ...isit http tour xplova com to share your activities to other riders You must create an account to upload your activities What Can You Do Update your device software Change device settings Tag photos to...
Page 37: ...m Download the latest software to your computer and follow the instructions below Downloading the Software 1 Connect your Xplova E5 to your computer using the USB cable 2 Visit http tour xplova com 3...
Page 38: ...XplovaE5SWUpdater exe The screen below appears 3 Click Run The screen below appears 4 Connect one end of the supplied USB cable to the Xplova E5 5 Press and hold and and then connect the other end of...
Page 39: ...39 7 On your computer the screen below appears Click Update 8 The update may take a while to finish Do not disconnect the USB cable...
Page 40: ...40 9 When the screen below appears click Exit to close the screen 10 Disconnect the USB cable from the Xplova E5 and the computer...
Page 41: ...X7 waterproof anti shock operation temp 10 50 C Interface Standard micro USB data connection Device Function User and Bike Profiles Support 1 user data and 3 bike profiles Data Recording Smart Dynamic...
Page 42: ...1 40 2005 ETRTO Tire Size L mm 40 559 26 x 1 50 2010 47 559 26 x 1 75 2023 50 559 26 x 1 95 2050 54 559 26 x 2 00 2055 26 x 2 10 2068 57 559 26 x 2 125 2070 26 x 2 35 2083 57 559 26 x 3 00 2170 27 x...
Page 43: ...e equipment off and on the user is encouraged to try to correct the interference by one of the following measures Reorient or relocate the receiving antenna Increase the separation between the equipme...
Page 44: ...of as household waste You must dispose of your waste equipment by handling it over to the applicable take back scheme for the recycling of electrical and electronic equipment For more information abou...