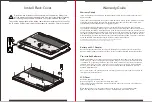
Inside View
16
15
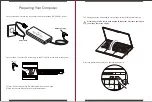
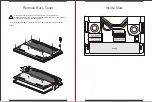
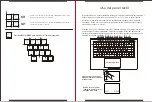
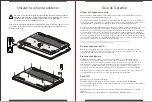
Remove Back Cover
To remove the back cover, remove the 10 screws securing the cover to the
chassis.
Do not remove or replace the back cover with the power on.
Always power off and unplug the power cord from the system before
removing or replacing the back cover.
!
2
2
1
Battery
M.2 Slot A
NVMe Only
M.2 Slot B
SATA & NVMe
SODIMM A
SODIMM B
Summary of Contents for XENIA 15
Page 1: ...MODEL NO XENIA 15 REGULATORY MODEL KC57 XPG XENIA 15 GAMING NOTEBOOK QUICK START GUIDE...
Page 2: ...Quick Start Guide Gu a de Inicio R pido EN ES TC SC 01 2 1 41 61...
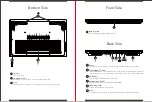
Page 26: ...48 47 100 240VAC AC DC DC IN 20V AC ADAPTER DC 180...
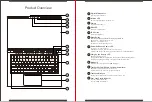
Page 28: ...52 51 FN prt sc FN num lk number lock LED NUM LK 15mm x 15mm x2 LEFT RIGHT...
Page 30: ...56 55 10 2 2 1 M 2 A NVMe M 2 B SATA NVMe SODIMM A SODIMM B...
Page 32: ...60 59 xpg com tw support www xpg com XPG XPG XPG XPG 1 2 3...
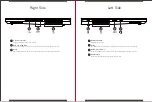
Page 34: ...64 63 A B D C A B C A B C D A B C SD SDHC SDXC USB 3 2 Gen2 USB U USB 3 2 Gen2 USB U...
Page 36: ...68 67 100 240V 20V AC ADAPTER 180...
Page 37: ...70 69 FN FN ESC FN FN F1 FN F2 FN F3 FN F4 FN F5 FN F7 FN F8 50 FN F9 FN F10 FN F11 FN F12...
Page 38: ...72 71 FN PRT SC FN NUM LK NUM LK 15mm x 15mm x2 LEFT RIGHT...
Page 40: ...76 75 10 1 2 2 1 M 2 A NVMe M 2 B SATA NVMe SODIMM A SODIMM B...
Page 42: ...80 79 xpg com cn support www xpg com XPG XPG XPG XPG 1 2 3...
Page 43: ...Regulatory Information 82 81...
Page 44: ...84 83...
Page 45: ...86 85...


