XP-PEN Artist Series User Manual Download Page 6


4


* The USB-C cable of some models is not included in the package and is sold separately.


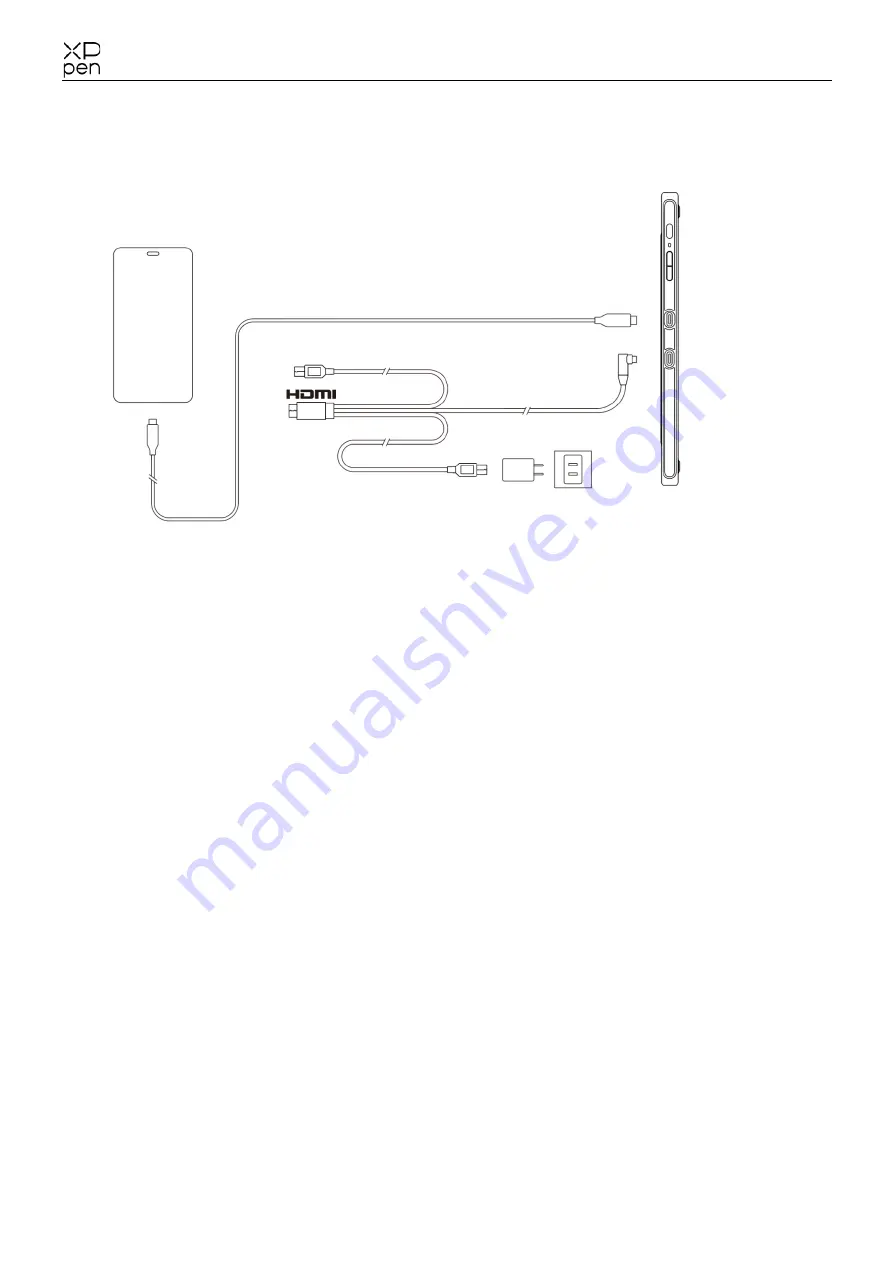
3. Smartphone connection: Visit the XPPen website for compatible models 


* The power adapter and USB-C cable of some models are not included in the package and are 

sold separately.


1.4 Download and Install the Driver 


1. Make sure your Drawing display is connected correctly to the computer. 


2. Visit the XPPen website (www.xp-pen.com), click on the Support section and then Download. 

Choose a product model and download the latest driver according to your computer system. 


3. Follow the prompts to finish the driver installation. 


1.5


Support system 

Windows 7 (or later)


Mac OS X 10.10 or later


Android (USB3.1 DP1.2)


Chrome OS 88 or later 


Linux


Summary of Contents for Artist Series

Page 1: ...User Manual Artist Series Drawing Display...

Page 2: ...the Driver 1 5 Support system 2 Get started with your Drawing Display 2 1 Download 2 2 Installation 2 3 Introduction to driver 2 4 Work area 2 4 1 Screen 2 4 2 Drawing Tablet Drawing Display 2 5 Appl...

Page 3: ...gain to turn it off b Standby status steady orange C Drawing Tablet mode long press the power button for 3 seconds the blue light and orange light flash alternately click the power button again to ret...

Page 4: ...trademarks or registered trademarks of HDMI Licensing Administrator Inc in the United States and other countries The power adapter of some models is not included in the package All pictures shown are...

Page 5: ...mputer A flashing screen of the device may indicate a low power in which case you are suggested to connect the red USB A cable to another USB port on your computer or the power adapter The power adapt...

Page 6: ...ately 1 4 Download and Install the Driver 1 Make sure your Drawing display is connected correctly to the computer 2 Visit the XPPen website www xp pen com click on the Support section and then Downloa...

Page 7: ...ded to restart the computer after installation is completed 4 For the best performance of your device we highly recommend you check and update the driver regularly from XPPen website 2 3 Introduction...

Page 8: ...ay area of the screen with the mouse and then click the second position bottom right 3 Customize Manually enter coordinates in the corresponding input boxes below X Y W and H to customize the size of...

Page 9: ...70 After finishing the setting you also need to rotate the device in the corresponding direction Rotating 180 means to change to the left handed mode Display setting Set the color temperature Brightne...

Page 10: ...be supported and each pen can be configured differently For different pen models only Pen keys Click the drop down menu to Customize the pen button function Notes When the pen is within the range of...

Page 11: ...le sets of keyboard shortcut here When you press the button on the pen all the shortcuts functions you set will run again The functions displayed in the red box will be different upon different device...

Page 12: ...eys To use the shortcut keys of the device set the input method to English mode Setting to another mode may not function correctly The shortcut key of the device is the command key of Photoshop as the...

Page 13: ...he function you want to use from the default four groups of functions You can customize or set this function to invalid Customize In the custom settings you can set KL and KR to corresponding key comb...

Page 14: ...hortcut keys Disable message When using the shortcut keys no prompt message will be displayed at the bottom of the screen Disable pressure You will not feel the pressure of the stylus when using the s...

Page 15: ...and read their settings Notes When you need to import export the changed functions please click the OK button on the left side of the driver interface first to save the configuration If you need any f...

Reviews: