


1
Quick Installation Guide
For XR-1000 Models
This Guide covers the steps required to install the
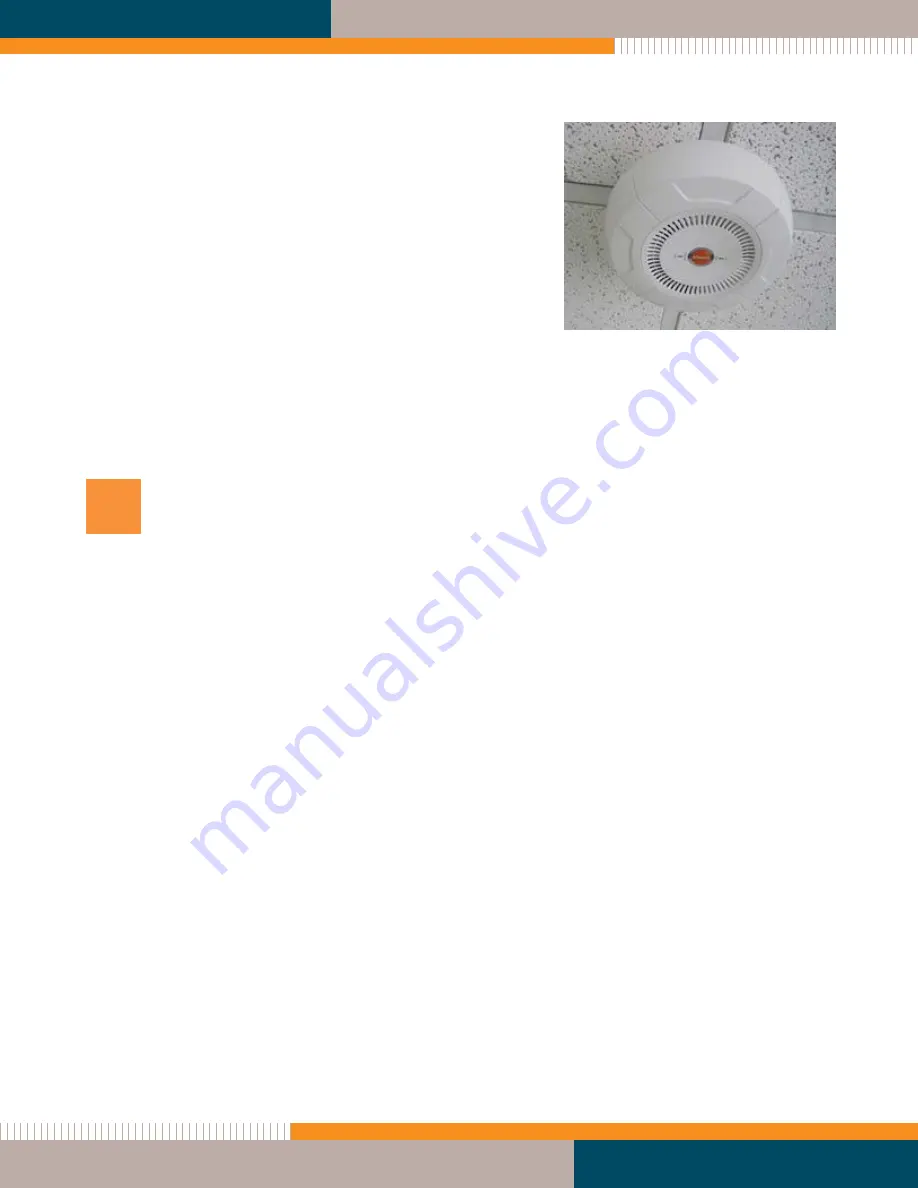
Xirrus XR-1000 Series Wireless Array on a T-bar ceiling
grid and execute the initial power up of the Array. If
installing the Array with a different type of Xirrus
mounting, refer to the specific
Quick Installation Guide
for that mounting kit.
For additional information, see the
Wireless Array User’s Guide
.
This document is intended only for XR-1000 Series Arrays. It does not include the XR-1000H
Series. For other XR models, please see the appropriate Quick Installation Guide.
1
You Need the Following Items
Accessory Kit (included in each Wireless Array carton), containing four ceiling mount clip
sets.
Workstation with a Web browser to configure the Wireless Array.
Flat screwdriver and 7/16” nut driver for attaching the T-bar clips to the ceiling grid.
Knife for cutting an access hole in the ceiling tile.
Copper Ethernet connection(s) to your wired network.
Power—XR-1000 Arrays are powered via Power over Gigabit Ethernet (PoGE) using an
Ethernet Cat 5e or Cat 6 cable that also carries data traffic. You must provide a network
connection and Ethernet cable run from an injector port for the Array Gigabit port. The
PoGE module requires an AC outlet. A splitter is incorporated in the Array. Use
only
Xirrus-
supplied PoGE injectors. See the
PoGE Installation Guide
for more information.
XR-1000 Arrays are powered by one injector port rated at 33W or higher.
The Array must be connected to PoGE networks without routing cabling to the outside plant—
this ensures that cabling is not exposed to lightning strikes or possible crossover from high
voltage lines.
Summary of Contents for XR-1000 Series
Page 1: ...XR Series Wireless Arrays XR 1000 Series January 30 2013 ...
Page 15: ......


