Rev. 1.3
20
3.6 Basic Functions
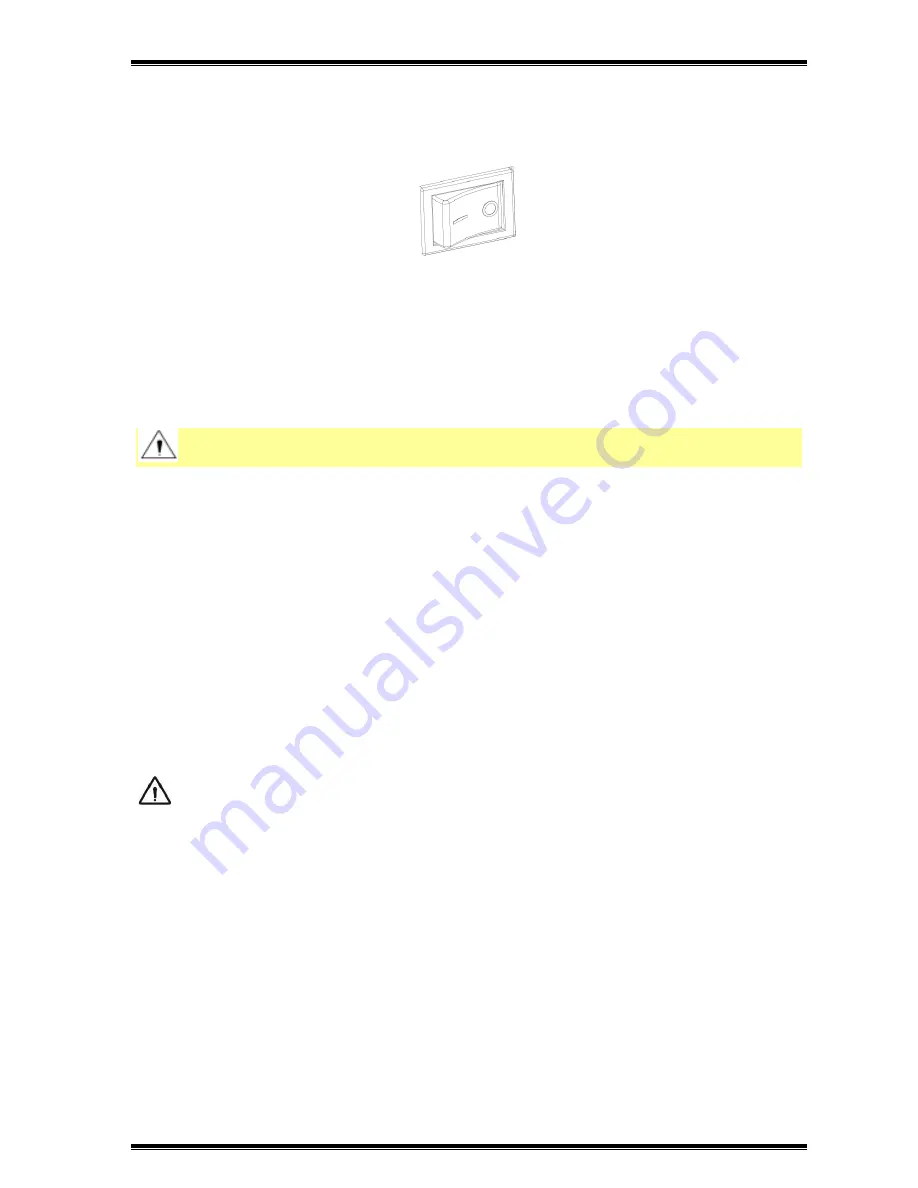
3.6.1 Power On/Power Off
Press “O” power off, press “
一“
power on.
3.6.2 FEED Button
1.
When the printer is on, press this button, printer will automatically feed a label under
“Label Mode”; the printer will feed a fixed distance under “Continuous Mode”;
2.
When the printer is printing, press this button, current printing job pauses, and the LED
indicator is white(tri-color blue, green, red); press this button again, the printing
continues.
3.
3.6.3 Quick Calibration
Note
:
Users must carry out the calibration under those conditions below:
The first time to use the printer since installation;
The first time to use the printer since sensor cleaning;
Reuse the printer that has not been used for a long time;
Change a new type of media;
Printer cannot recognize the mark;
Huge change of operating environment;
When printer is ready, hold the FEED button for 3s until the Status Indicator(Blue) flash twice
and then release the button, printer start to do the calibration; When printer do the calibration
under Continuous Media Mode, the calibration is invalid.
Users can do quick calibration through the utility tool as well. (Please refer to the Utility Tool
Instruction for more detail).
Note: After the quick calibration, users could open the printer cover to pull back the
learned paper in avoid of paper wasting.
3.6.4 Print Test Page
The self-test checks the printer’s current settings, status and whether the printer has any
problem.
3.6.4.1.Print Self-test Page Manually
1.Make sure paper is loading properly.
2.Make sure the printer is off and top cover closes properly.
3.Pressing the paper feed button and power button simultaneously turns the printer on. The
printer is ready to receive data as soon as it completes the self-test.
3.6.4.2 Printing by Windows Driver Program
1.
Install the Seagull Windows Driver program. (Please refer to the Windows Driver Installation)
2.
Please set the “Interface” as the type you use.
3.
Use the Windows Driver Program to print out the “Self-test page”.


