Note: For additional information about the various administrative settings, click on the [Help] button at
the top, right of the window.
Section 5:
Reset the Adapter to Save All Settings, Then Connect the Adapter to the Printer
1.
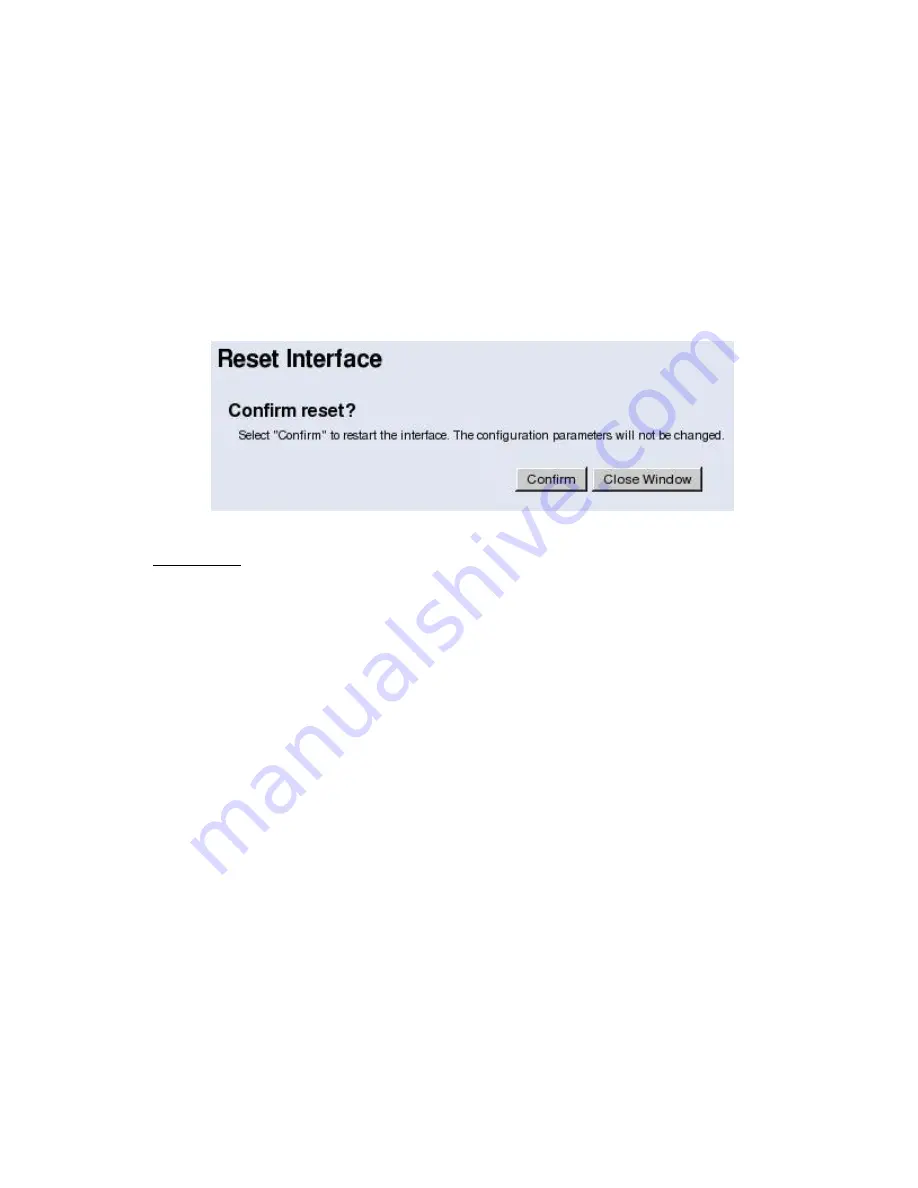
Click on the [Restart] button in the
Reset
section on the Administrative Utilities window, and then click
on [Confirm] to reset the adapter so that all configuration settings will be saved.
Note: Do not click the [Reset] button next to Reset to Factory Defaults. This will cause all changes to
be reset and they will need to be re-entered. This is only to be used if the wireless device needs to be
reset to factory defaults.
2.
Disconnect the Ethernet crossover cable from the computer, and then connect the cable to the printer's
Ethernet port. A Configuration Page will be printed.
Note: The adapter can be attached to the printer by using the Mounting Kit that was shipped with the
adapter.
Caution!
Do not attach the Wireless Adapter to the printer in a way that covers up the printer’s air
vents. Damage to the printer can result by blocking the printer’s air vents.


