background image

1.


Click on any of the links under the TCP/IP Configuration folder on the left of the adapter's web 
interface. The TCP/IP Settings window will be displayed.  

2.


Select [OFF] from the 

BOOTP/DHCP

 pull-down menu.  

3.


Enter an IP address, network mask (also known as subnet mask), and default router in the fields 
provided under the 

TCP/IP Settings

 section.  

IP Address:

 Enter an IP address for the adapter, that is valid for the network, in the format of 

x.x.x.x, where the x characters represent a decimal number from 0 - 255. For example: 
192.168.0.105  

Network Mask:

 Enter a network mask for the adapter, that is valid for the network, in the format of 

x.x.x.x, where x characters represent a decimal number from 0 - 255. For example: 
255.255.255.0  

Default Router:

 Enter the IP address of the router (Gateway) that the adapter uses to communicate 

with the network in the format of x.x.x.x, where the x character represents a decimal number 
from 0 - 255. For example: 192.168.0.100  

4.


If necessary, configure any other settings displayed on the TCP/IP settings window. 
 

Note: For additional information about the various settings, click on the [Help] button at the top, right 
of the web browser window.


Section 4:

 Configure the Wireless Adapter Administrative Utility Settings  


1.


Click on any of the links under the Administrative Utility Settings folder on the left side of the adapter's 
web interface. The Administrative Utilities window will be displayed. 
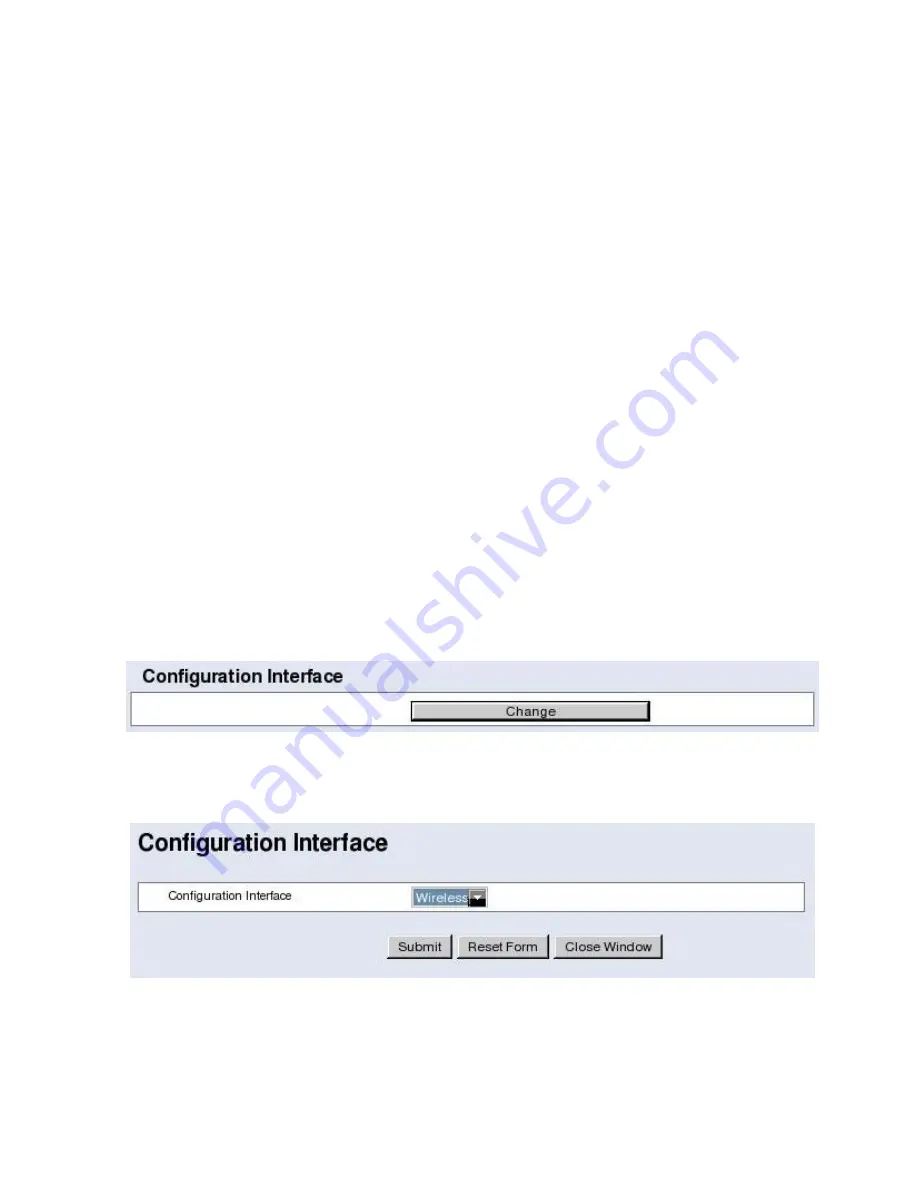
2.


Click on the [Change] button in the

 Configuration Interface

 section. 


3.


Select [Wireless] from the pull-down menu and click [Submit]. 


Note: Setting the default configuration interface to wireless will allow access to the adapter's web 
interface after the adapter has been connected to the printer.


4.


If necessary, configure any other administrative settings. 
 

Summary of Contents for WNA-100 - Bridge

Page 1: ... the computer the computer s TCP IP settings must be configured to communicate with the adapter To set up the adapter 1 Connect the antenna to the adapter 2 Connect the power supply cord to the adapter and then plug the power unit into the wall outlet Note Only use the power supply provided with the adapter 3 Connect one end of the supplied Ethernet crossover cable to the Ethernet port on the adap...

Page 2: ...thout the network configuration for the wireless router the WNA 100 cannot be configured correctly for a wireless Ethernet connection Frequency Band for example 802 11b or 802 11b g Network Type AD HOC or Infrastructure Note If AD HOC is the network type the Channel must also be obtained The Channel will be a number between 1 and 11 Network Name Secure Socket Identification SSID name of the wirele...

Page 3: ... the WNA 100 to connect to a wireless router Note For additional information about the various wireless settings displayed on the adapter s web interface click on the Help button at the top right of the web browser window Section 3 Configure the TCP IP Settings for the Wireless Router Management Note This solution requires knowledge of the TCP IP addressing scheme for wireless network that the WNA...

Page 4: ...that the adapter uses to communicate with the network in the format of x x x x where the x character represents a decimal number from 0 255 For example 192 168 0 100 4 If necessary configure any other settings displayed on the TCP IP settings window Note For additional information about the various settings click on the Help button at the top right of the web browser window Section 4 Configure the...

Page 5: ...tton next to Reset to Factory Defaults This will cause all changes to be reset and they will need to be re entered This is only to be used if the wireless device needs to be reset to factory defaults 2 Disconnect the Ethernet crossover cable from the computer and then connect the cable to the printer s Ethernet port A Configuration Page will be printed Note The adapter can be attached to the print...

Reviews: