


Trays
Phaser™ 4400 Laser Printer
13
Loading custom size paper
In addition to the wide variety of paper sizes available for this printer, you can use custom size paper.
For a list of the acceptable papers, transparencies, envelopes, and labels that can be used in each tray,
refer to the
Supported Papers
section of the
Trays and Paper Guide
on the
Interactive Documentation
CD-ROM
or print the
Paper Tips Page
from the front panel of your printer.
Note
After you load a custom size paper in any of this printer’s trays, you MUST set the front
panel values to agree with the paper you have loaded. You also must define the custom size
in the printer driver.
This section provides information about loading custom size paper in Trays 1, 2, or 3. You also can load
custom sized paper in the Multi-Purpose Tray and in the Envelope Feeder.
Loading custom size paper in Trays 1, 2, or 3
1.
Open the tray.
2.
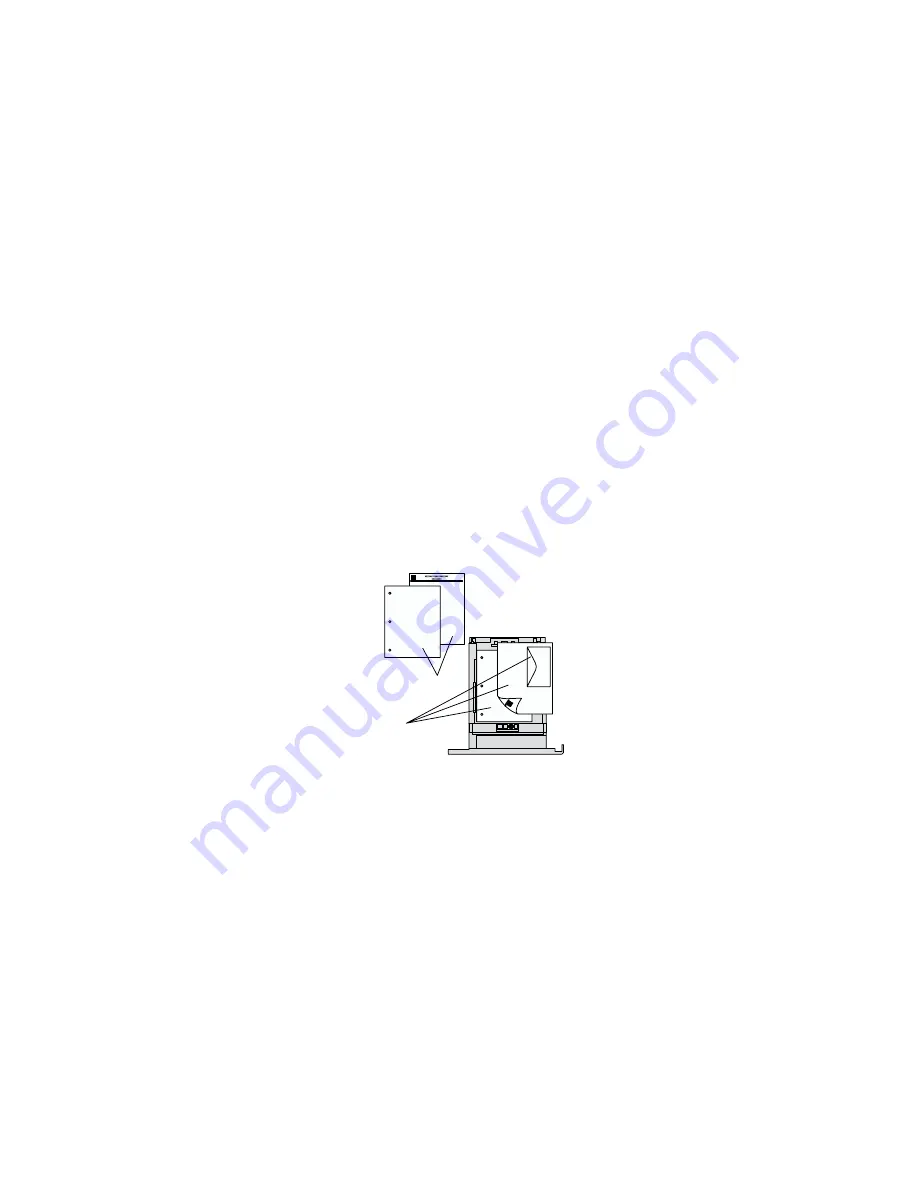
Insert the custom size paper and adjust the guides to match the size of the paper.
Top view of tray:
A. Simplex printing, B. Duplex printing
3.
When the front panel prompts you to confirm the type of paper, scroll to the correct paper type and
press the
OK
key to save your selection.
4.
Set the tray for custom size paper and specify the dimensions:
a.
On the front panel, with
Menus
highlighted, press the
OK
key.
b.
Scroll to
Printer Setup Menu
by pressing the
Down Arrow
key and press the
OK
key.
c.
Scroll to
Tray Setup Menu
and press the
OK
key.
d.
Scroll to
Tray # Setup Menu
(where # is the number of the tray) and press the
OK
key.
e.
If you don’t see a selection for
Set Custom X
, scroll to
Custom Size
and press the
OK
key to change
Custom Size
to
On
.
f.
Scroll to
Set Custom X
and press the
OK
key.
P4400-17
B
A


