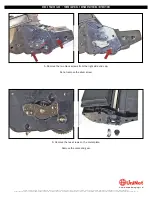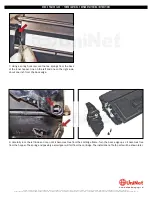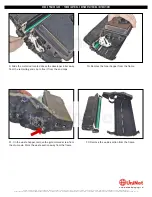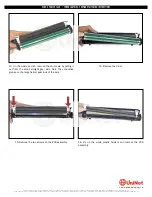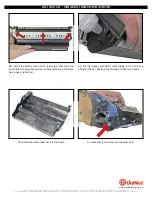
52. Make sure the small round black plastic rod is in place.
Install the small drive gear (this was the gear that came loose
when the end cap was removed).
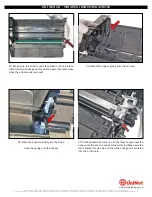
53. Install the hopper spring onto the end cap.
54. Place the hopper partially into the frame.
Hook the spring onto the hopper.
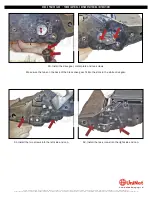
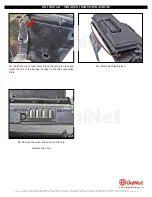
55. Partially install the metal rod on the toner hopper. Seat the
hopper into the end cap and seal the metal rod. Make sure the
rod is seated into its hole and the white drive gear is centered
into the 1-inch hole.
XEROX PHASER 3600
•
TONER CARTRIDGE REMANUFACTURING INSTRUCTIONS
© 2012 UniNet Imaging Inc. All trademark names and artwork are property of their respective owners. Product brand names mentioned are intended to show compatibility only.
UniNet Imaging does not warrant downloaded information. Unauthorized sale, reproduction or distribution of this article is prohibited. For additional support, please contact [email protected]
www.
uninet
imaging.com

