

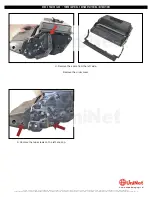
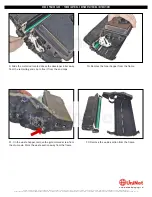
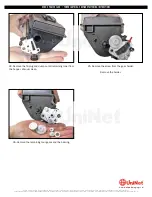
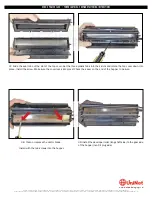


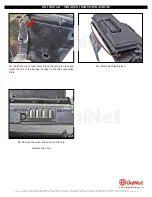

37. Slide the seal tab out the slot of the top cover. Set the three plastic tabs into their slots and rotate the top cover down into
place. Install the screw. Make sure the cover locks into place! Check the seam on the end of the hopper to be sure.
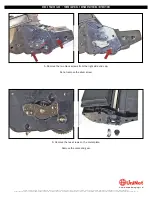
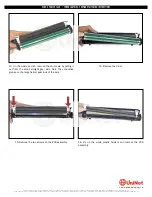
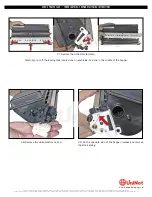
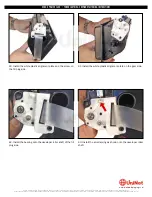
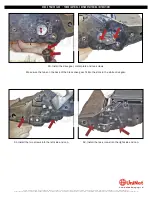
38. Clean or replace the doctor blade.
Install with the two screws into the hopper.
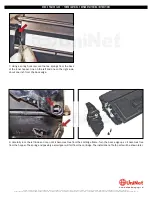
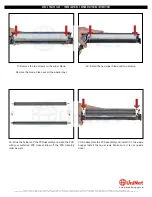
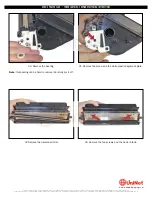
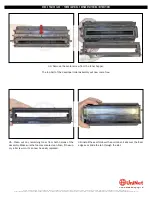
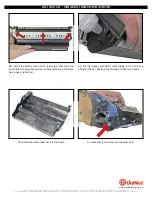
39. Install the developer roller (long shaft side) to the gear side
of the hopper (non-fill plug side).
XEROX PHASER 3600
•
TONER CARTRIDGE REMANUFACTURING INSTRUCTIONS
© 2012 UniNet Imaging Inc. All trademark names and artwork are property of their respective owners. Product brand names mentioned are intended to show compatibility only.
UniNet Imaging does not warrant downloaded information. Unauthorized sale, reproduction or distribution of this article is prohibited. For additional support, please contact [email protected]
www.
uninet
imaging.com


