background image

User Controls

26

Xerox DP 820 User’s Guide

Auto Shutdown

—Sets the projector lamp to automatically shut 

down if it doesn’t receive an input signal within 30 minutes.

Press the     buttons to select this option.

ON

—The lamp will automatically shut down in 30 minutes if 

it doesn’t receive a signal

OFF

—The lamp will remain lit, even if no signal is received

OSD Timeout

—Sets the duration the OSD menus remain on the 

screen before automatically closing if you don’t make a selection.

Press the     buttons to increase or decrease the OSD 
Timeout duration.

Menu Position

—Sets the position of the OSD menus on the 

screen.

Press the     buttons to select the menu position as 
indicated by the icons.

OSD Transparency

—Sets the amount of transparency of the OSD 

menus on the screen. As transparency increases, the image 
underneath the menus becomes more visible. At the setting of 4, 
the menus are at maximum transparency; at 16 the menus are 
opaque.

Press the   button to increase the transparency.

Press the   button to decrease the transparency.

Factory Reset

—Resets the projector’s settings to their default 

factory settings.

Press the     buttons to select the Factory Reset, then 
press the 

Menu

 button on the projector’s control panel or 

the 

 button on the remote control to confirm the reset.
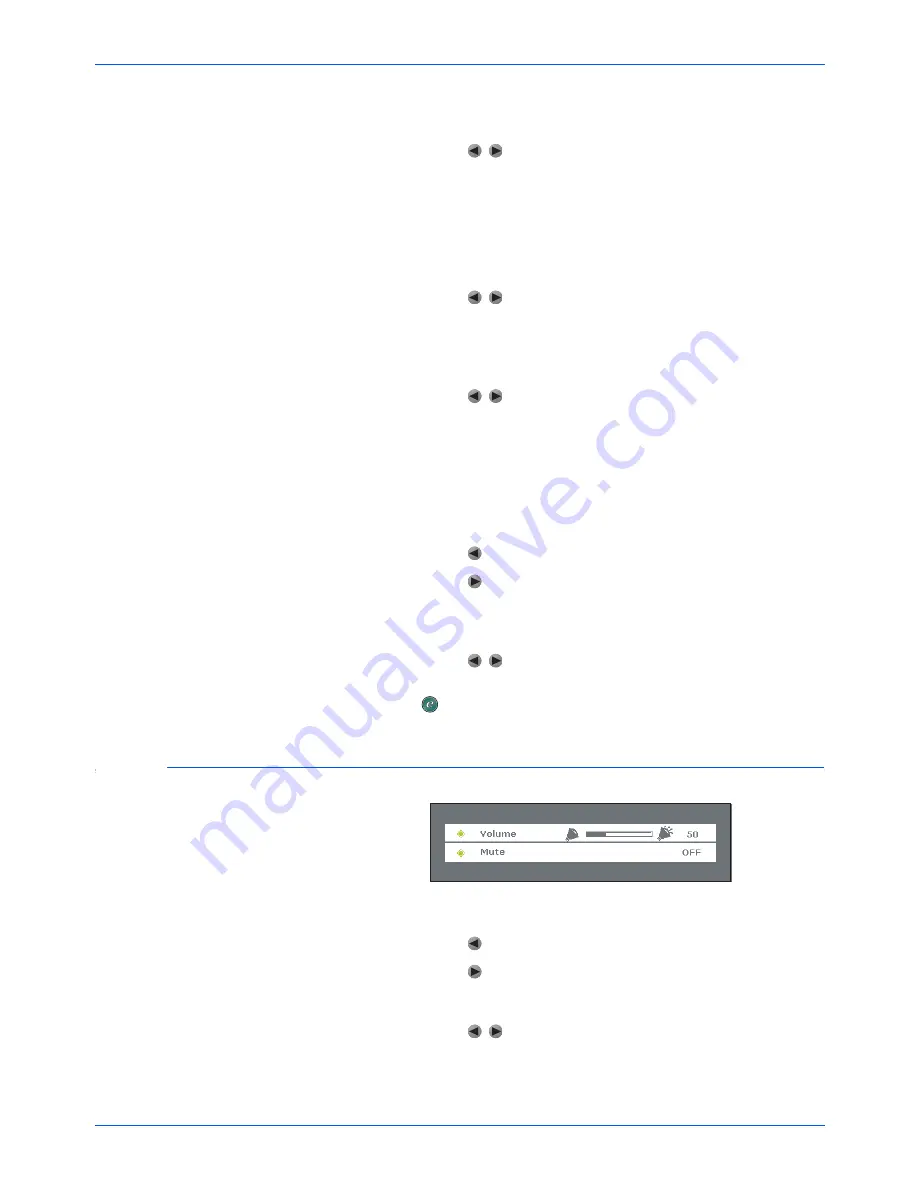
Audio Menu

Volume

—Adjusts the overall volume.

Press the   button to decrease the volume.

Press the   button to increase the volume.

Mute

—Mutes the audio.

Press the     buttons to mute the audio.

ON

—The audio is muted.

OFF

—The audio plays normally.

Summary of Contents for DP 820

Page 1: ...DP 820 projector user s guide...

Page 2: ...Xerox DP 820 projector user s guide...

Page 3: ...part of Visioneer The software described is furnished under a licensing agreement The software may be used or copied only in accordance with the terms of such an agreement It is against the law to cop...

Page 4: ...0 Powering On Off the Projector 11 LED Indicators 13 Adjusting the Projected Image 14 Adjusting the Projector Zoom Focus 15 Adjusting Projection Image Size 15 User Controls Panel Control and Remote Co...

Page 5: ...Xerox DP 820 User s Guide iv Notices 37 Federal Communications Commission FCC for USA 37 Product Recycling and Disposal for USA 37...

Page 6: ...c to 800 x 600 full screen with scaling compression compatibility for VGA SVGA XGA and SXGA the XGA and SXGA designate compression State of the art motion adaptive hardware deinterlacing with 3 2 pull...

Page 7: ...plug receptacles as this can result in a risk of fire or electric shock Place the unit near an easily accessible wall socket Do not place the cord where it may be stepped on or become a tripping haza...

Page 8: ...t may be seriously damaged Operate the projector near paper cloth or other combustible material or in proximity to inflammable substances such as paint thinner Never operate the projector if covered w...

Page 9: ...damaged contact the dealer where you purchased the projector Projector with lens cap Power Cord User s Guide CD Quick Installation Card and Technical Support Card Carrying Case with Shoulder Strap Re...

Page 10: ...ents Projection Lens Projects the image onto the screen Lens Cap Protective cap to keep the lens from dirt or damage Always attach the cap when the projector is not in use Ventilation Slots Intake and...

Page 11: ...ort on your computer Also use this port to connect an HDTV device to your projector S Video Port Plug your S Video source in here such as a professional quality DVD player or VCR with S Video output V...

Page 12: ...n the computer 3 Connect the other end of the VGA cable to the Computer In port on the back of the projector 4 Plug the power cord into the projector and then into an electrical outlet 5 Turn on the p...

Page 13: ...cable into the corresponding red and white ports on the video source Then plug the other single end of the cable into the Audio port on the projector 4 Do NOT plug the yellow connector into the projec...

Page 14: ...ort on the back of the projector 4 Plug the red and white connectors on the Audio cable into the corresponding red and white ports on the video source Then plug the other single end of the cable into...

Page 15: ...he Audio cable into the corresponding red and white ports on the HDTV device Then plug the other end of the cable into the projector s Audio port 5 Plug the power cord into the projector and then into...

Page 16: ...the other connected components The projector then automatically detects the type of components attached to it If the message Searching for source appears check the cables to make sure they are securel...

Page 17: ...d off but the fan is still running to cool the lamp 3 Do NOT turn off the power or unplug the power cable before the Lamp LED turns off The fan must continue to run to cool the lamp This protects the...

Page 18: ...n Flashing Normal operation The lamp is shutting down Do not turn off or unplug the power until the LED turns off The fan will turn off when the lamp has cooled Red Solid Warning The lamp has reached...

Page 19: ...uttons to lock the feet into position 3 Turn the foot adjustors to make fine adjustments to the height To lower the projector 1 Hold the projector with both hands then press and hold down both foot ad...

Page 20: ...he table is for reference only 1 2m 2 0m 4 0m 6 0m 10 0m Maximum Screen Size Minimum Screen Size Projection Distance 4 3 Screen Size Diagonal inches 16 9 Screen Size Diagonal inches Wide Screen Televi...

Page 21: ...activate the OSD menu If the menus are displayed confirms your selection of items on the menus Keystone Adjusts image distortion caused by tilting the projector Images are wider at the top or bottom...

Page 22: ...on caused by tilting the projector Images are wider at the top or bottom due to tilting the projector Not recommended for spreadsheets or text displays to avoid text distortion Volume Adjusts volume l...

Page 23: ...thin range You can operate the remote control when pointed at either the front or the back of the projector Notes about the remote control The remote control may not operate in strong sunlight or when...

Page 24: ...the OSD Main Menu press the Menu or Menu Enter button again The OSD Main Menu closes after a few seconds if you don t select from one of the menus Use the OSD Timeout setting on the Advanced menu to...

Page 25: ...the image You may need to readjust the Brightness after the projector warms up Keystone Adjusts image distortion caused by tilting the projector Press the button to reduce the upper width Press the b...

Page 26: ...ma Mode for the image Film Dark video image mode Photographic Computer photo mode RGB Computer text mode Video Common video mode White Peaking Sets the white peaking for brightness or color reproducti...

Page 27: ...e image Tint Adjusts the balance between the red and green colors in the image Increasing the Tint increases the amount of red in the image Decreasing the Tint increases the amount of green in the ima...

Page 28: ...s the display data frequency to match the frequency of your computer s graphics card If vertical flickering lines appear on the image adjust the frequency until they disappear Press the button to decr...

Page 29: ...s the language for the menus and messages displayed on the screen 1 Use the keys to select the language you want 2 Press the Menu Enter button on the projector control panel or the button on the remot...

Page 30: ...he remote control Ceiling Projects an image upside down for a ceiling mounted projection To activate this option select it then press the Menu Enter button on the projector control panel or the button...

Page 31: ...ition as indicated by the icons OSD Transparency Sets the amount of transparency of the OSD menus on the screen As transparency increases the image underneath the menus becomes more visible At the set...

Page 32: ...elf Refer all servicing to qualified service personnel Cleaning the Lens 1 Turn off the projector and let it cool down Make sure the lens is also cool 2 Wipe the lens in a circular motion with lens cl...

Page 33: ...t electric shock do not open the projector case Always wear protective gloves and eyeglasses when fixing or replacing the lamp Lamp contains mercury To reduce the risk of personal injury do not drop t...

Page 34: ...nd out of the projector 7 Hold the new lamp by its handle and carefully slide it down into the projector Make sure it properly seats in place 8 Replace the lamp screws and screw the lamp into the proj...

Page 35: ...stalled especially if you just changed it See the section Changing the Lamp on page 28 for details about the lamp installation Is the power on Check that the projector s power switch is turned on and...

Page 36: ...ls on page 34 for the settings Problem Image is out of focus Try one of these possible solutions Adjust the focus ring on the projector Turn the focus ring until the image comes into focus Make sure t...

Page 37: ...d needs to be within 20 of the sensor Move closer to the projector and try again Is anything blocking the infrared sensors on the projector Make sure the infrared sensors are not covered or blocked fr...

Page 38: ...jection Type Front Rear Ceiling Video Input PAL NTSC SECAM Input Source Computer HDTV S Video Video Scanning Frequency Horizontal Frequency Vertical Frequency Pixel Rate 31 79 KHz 50 85 Hz 108 MHz Dig...

Page 39: ...37 879 60 317 H V 1056 SVGA VESA 72 HZ 48 077 72 188 H V 1040 SVGA VESA 75 HZ 46 875 75 000 H V 1056 SVGA VESA 85 HZ 53 674 85 061 H V 1048 1024 X 768 XGA VESA 60 HZ 48 363 60 004 H V 1344 XGA VESA 7...

Page 40: ...DTV Preset Signals Preset Signals Horizontal Frequency kHz Vertical Frequency Hz 480I 15 8 kHz 60 Hz 480P 31 5 kHz 60 Hz 576I 15 6 kHz 50 Hz 576P 31 3 kHz 50 Hz 720P 45 0 kHz 60 Hz 720P 37 5 kHz 50 Hz...

Page 41: ...Maintenance 36 Xerox DP 820 User s Guide...

Page 42: ...ect the equipment into an outlet on a circuit different from that to which the receiver is connected Consult the dealer or an experienced radio TV technician for help This equipment has been certified...

Page 43: ...part of the Xerox program and you are managing its disposal please note that the product contains lead and mercury whose disposal may be regulated due to environmental considerations For recycling and...

Page 44: ...05 0661 200...

Reviews: