36
Installing user software on a Windows computer
8.
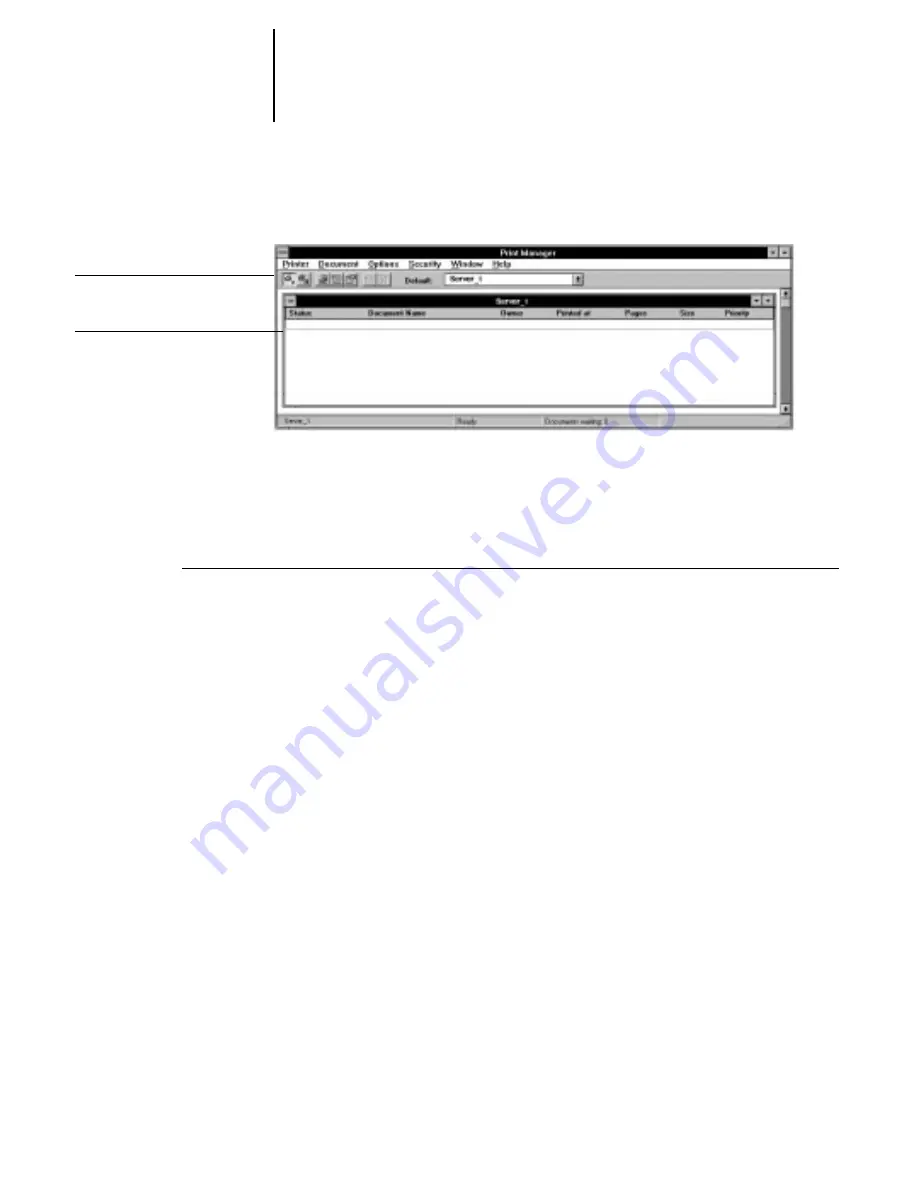
In the Print Manager toolbar, select the printer as the Default printer.
9.
Copy the printer description file and then connect the printer to a port or a network
connection.
Completing the Windows NT Workstation printer setup
T
O
SET
UP
PARALLEL
PRINTING
FOR
W
INDOWS
NT W
ORKSTATION
:
1.
Double-click the printer icon in the Print Manager window and choose Properties from
the Printer menu.
In the Printer Properties dialog box, confirm that LPT1 appears in the “Print to” box.
2.
Click Details to check and configure the defaults. Since parallel port jobs are spooled
on the printer, select Print Directly to Ports to bypass Windows NT Print Manager
spooling. Click OK.
3.
Click OK to exit the Printer Details dialog box.
The printer is ready to accept parallel print jobs from your computer, using the
Windows NT PostScript printer driver and the copier printer description file. When
you select Print, your PostScript files will be transmitted over the parallel port
connection to the Print queue. The network administrator should verify the parallel
port connection by printing a simple document to LPT1, the designated port.
Server window
Print Manager window


