


Maintenance and Cleaning
Phaser® 8500/8550 Color Printer
5-5
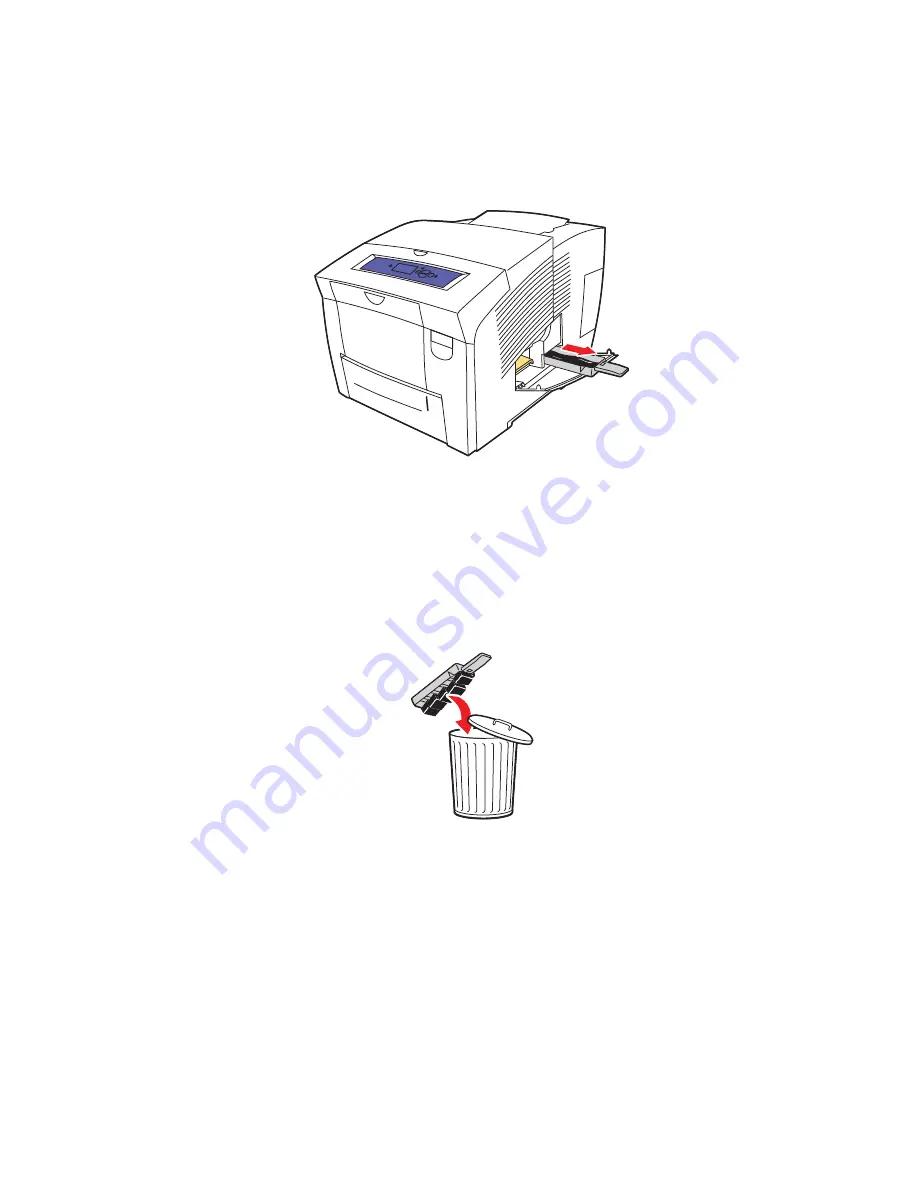
2.
Pull the waste tray (labeled
B
) completely out of the printer.
Warning:
The waste tray may be hot; handle it carefully.
Note:
The waste tray may be locked if the printer is in a warm-up cycle or if the ink is
cooling following the
Eliminate Light Stripes
troubleshooting routine. If the tray is
locked, close the door and wait 15 minutes before repeating Steps 1 and 2.
3.
Empty the waste tray in a waste container. The ink is non-toxic and can be discarded as
normal office waste.
Note:
The waste tray must remain out of the printer for more than five seconds or you will
continue to receive a
Waste Tray Full
message on the control panel.
8500-035
8500-036


