11. Select Change Settings.
The Type X screen displays (for example Type 1).
12. Make the following selections:
a) Select Name and then Change Settings.
b) Enter a recognizable name (such Letter Size or A4).
c) Select Save to return to the Type X screen.
13. Select Sample Printout.
The Type X - Sample Printout screen displays.
14. Select the tray in which you loaded paper, and then select either 2 Sided or 1 Sided,
and the number of sheets.
15. Press Start on the control panel.
16. Retrieve and review the sample printout.
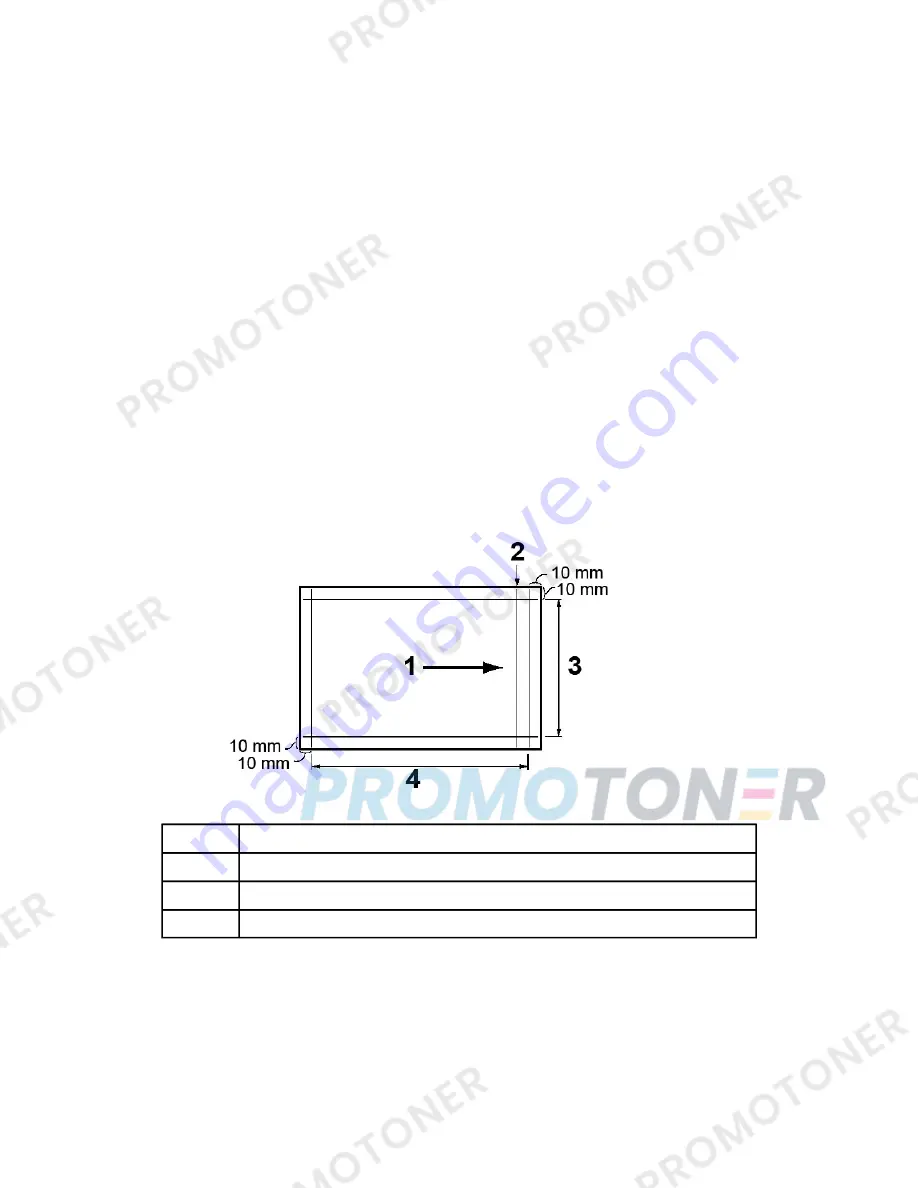
a) If the position of the sample output is correct, a line is printed at a position 10
mm from the edge of the paper.
NOTE
Two lines are printed on the image of side 1 and one line is printed on the image
of side 2 of the sample that is printed with Sample Printout to indicate the paper
feed direction.
Paper feed direction
1
Line that appears only on Side 1
2
Y direction
3
X direction
4
b) Select Save or Close to return to the Type X screen.
c) If the position of the line on the sample output is misaligned, make adjustments
accordingly; proceed to the next step.
17. If the image needs adjustment, select one of the alignment items.
• X Print Position
2-31
Xerox
®
770 Digital Color Press
System Administration Guide
System Settings > Common Service Settings


