13
│
Hardware Installation
3.
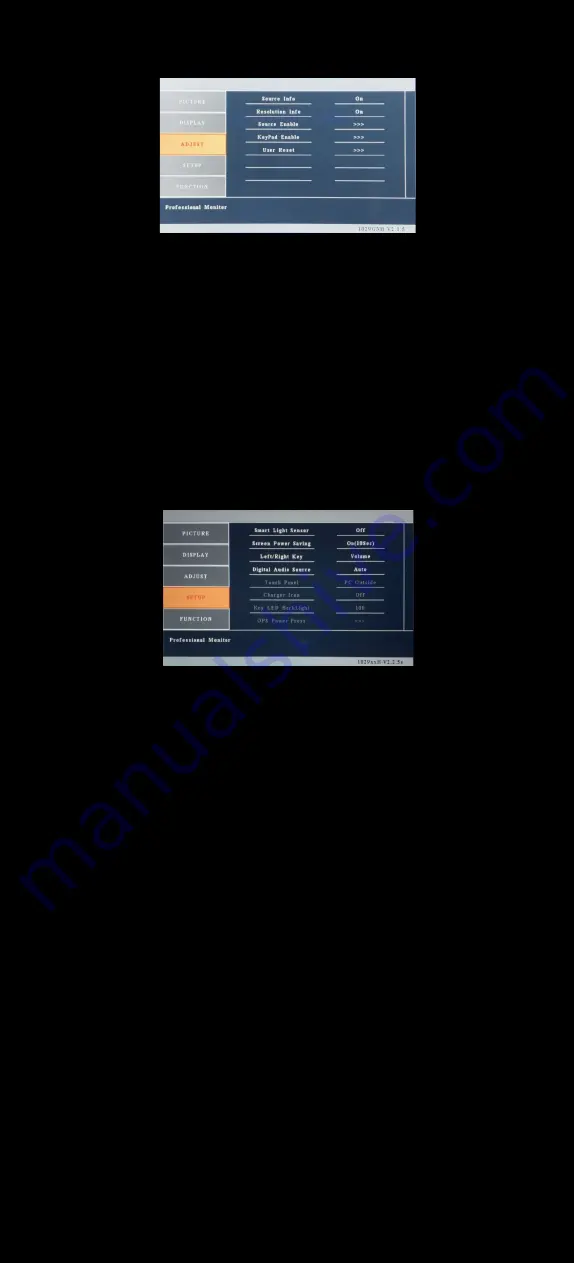
ADJUST
• Source Info : Display the source of input signal, if it is ON.
• Resolution Info : Select to turn OFF or turn ON displaying of On Screen
Source Information.
• Source Enable : Select to enable or disable the input signal. If an input
signal is turned off, the source will automatically be disabled.
• KeyPad Enable : Allows you to disable or enable the buttons on the front
of the monitor. Power, Menu, Select, Left, and Right buttons can be
disabled or enabled. (only operated with remote)
• User Reset : Reset to factory default setting.
4.
Setup
• Smart Light sensor : Enable or disable the auto sensor of surrounding
environment.
─“
On
”
means the monitor can automatically adjust the backlight of
the display according to the surrounding environment.
─
Please note : While smart light sensor is enabled, the option of dimmer
or backlight inside the OSD can not work until smart light sensor is
disabled.
• Screen Power Saving : Adjust the time out of the monitor backlight,
When there is no signal input. (Default is On 10 Sec)
• Left/Right Key : Set front Left/Right buttons as Dimmer or Volume
Control.
• Digital Audio Source : Select the audio source while in HDMI input.
When set to Digital, the built-in speaker will output the digital audio signal
from HDMI. When set to Analog, the built-in speaker will output the analog
audio signal from the mini stereo jack marked as “ PC Audio ”
When set to AUTO, the built-in speaker will output the digital audio if the
HDMI source includes audio signal. Otherwise, the speaker will output the
analog audio signal from the mini stereo jack marked as “ PC Audio ”
Summary of Contents for 892 Series
Page 1: ...892 INSTALLATION MANUAL...


