


Hardware Installation │
11
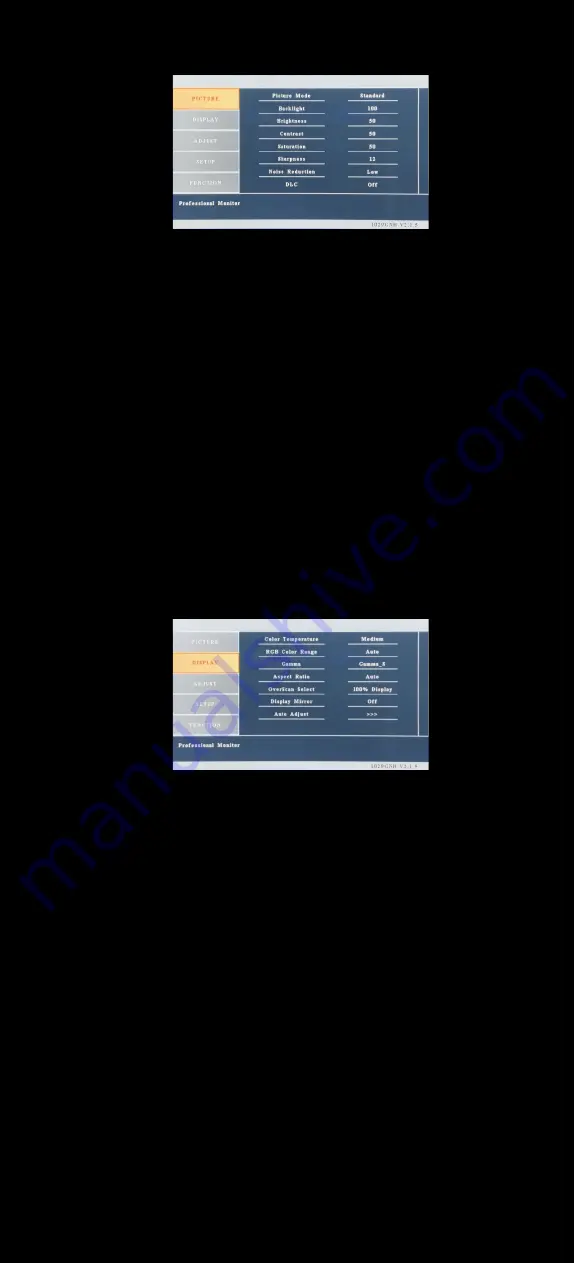
1.
PICTURE
• Picture Mode : Set the color mode to the desired setting : Standard, Mild
User, Dynamic.
•
Backlight : Adjust backlight intensity by pressing Left ( ◄ ) or Right ( ► )
buttons. Increase the number for a higher level of backlight output.
Decrease the number for a lower level of backlight output. Only works
when Smart Light sensor is turned off.
•
Brightness : Adjust brightness by pressing Left ( ◄ ) or Right ( ► )
buttons. Increase the number for a higher level of brightness. Decrease
the number for a lower level of brightness.
•
Contrast : Adjust contrast by pressing Left ( ◄ ) or Right ( ► ) buttons.
Increase the number for a higher level of contrast. Decrease the number
for a lower level of contrast.
• Sharpness : Adjust sharpness by pressing left or right buttons. Press left
to decrease sharpness and right to increase the level of sharpness.
• Noise Reduction : To adjust the level of noise reduction
• DLC : To enable or disable Dynamic Luminance Control (Dynamically
boosting display contrast)
2.
DISPLAY
• Color Temp : Set the color temp to the desired setting :
Medium, Warm, Cool and User.
• RGB Color Range : Set the RGB color range to the desired setting :
Auto, 0-255, 16-235
• Gamma : Set the gamma to the desired setting :
Gamma_S, Cut White, InCreaseBlack, Enhace Blue and Liner.
• Aspect Ratio : Select the display mode ( 16:9, 4:3 and Auto )
• OverScan Select : Adjustment to compensate for overscan.
• Display Mirror : Adjust the vertical mirroring position.
• Auto Adjust : Adjust display automatically.


