Call Transfer
While on call:
1. Press (prompt to dial appears).
2. Dial the number where the call will be transferred.
3. You can wait for the called person to answer and
announce to them the transfer or complete the
transfer without announcing it to them.
4. To complete the transfer press
(the caller will connect to the transfer recipient at
this time regardless if you announce or not.)
You can also just hang up to complete the transfer.
Note: use an Extension Key to skip steps
1 & 2.
Making a Call
1. From idle (not in use), begin to dial a number.
(Call Display prompts will appear.)
2. When the full number is input:
1. Lift the handset, or
2. Press the Speaker Key ON, or
3. Press [Dial] (display prompt).
3. To end the call;
1. Hang up the handset, or
2. Press the Speaker Key OFF, or
3. Press [End] (display prmopt)
Note: all numbers are dialed in this way. System users are
assigned extension numbers 101-599.
Hold
Private Hold
1. While on a call, press or [Hold] (display
prompt)(this hold cannot be accessed by other users)
2. To retrieve from Private Hold press or
[Resume] display prompt.
Shared Hold
1. While on a call, press Hold 1, 2 or 3 if the lamp is
green. Shared Hold lamps that are red are in use.
2. Any system user can retrieve a Shared Hold call by
pressing the red lit Hold 1, 2 or 3 Key.
Press the display prompt [CallLog] or press the Up Arrow Key
of the Navigation Keys to open the Call Log.
Use the Navigation Keys further to find the call you want and
to take action - dial, delete, view [OK], save as contact etc.
Call Logs
[CallLog]
Conference Rooms allow multiple participants.
•
Dial the Conference Room {6400} to join, also;
•
Transfer callers to the Conference Room.
Conference Room
6400
You can build a conference of 3-parties at your phone:
1. Make your first call then press Conference Key
2. Make the second call.
3. When the second call is connected press
4. The 3-parties are joined.
Notes:
1. Split a conference by pressing [Split] (display
prompt). You will be connected to the second party
called. Use the Navigation Keys to select the party to
take action on; [Resume], [End], etc.
2. Conference - Phone is 3-parties ...you and 2 others.
Conference - Phone
Most features can be operated using the Navigation
Keys. Up & Down are often used to navigate functions.
Left & Right to select options and OK to save.
Navigation
OK
•
While idle press the Voicemail Key to access the
voicemail box of your extension.
You can press the Messages Key to access any of the
lines you may monitor.
•
When prompted, input your password (1111 default)
(CHANGE your password and make note of it.)
•
Record your name.
•
Record a personal greeting.
•
Mailbox map:
Voicemail
You may want to access your voicemail box from outside the
office. To do this your system must answer incoming calls
with an automated attendant.
•
When the auto attendant answers (your office
greeting heard), dial *02 and follow the prompts.
Check Voicemail Remotely
*02
While the phone is idle press the Redial Key.
The last number that you dialed will be sent again.
See Call Logs to retrieve calls from the various lists of
incoming and outgoing calls made at your phone.
Redial
There are two methods to record calls:
•
Recordings stored on the server. 500 minutes max on
XBLUE Cloud (all users) (optional expansion).
This feature is optional on QB.
•
Recordings stored on USB storage (optional).
Recording on the server:
1. While connected on a call (call must be in-progress),
press Call Record Key.
The call in progress will be stored on the server and
can be retrieved via the User Portal. (See your system
administrator for access.)
Recording on USB storage device:
1. First the record button must be changed to store on
the USB storage device (optional).
1. Use Program Feature Keys to set the key you
want to use for this purpose.
2. The
Type
is
Key Event
.
3. The
Key
is
Record
.
4. Set the label as you wish (e.g. ”Record”).
2. Insert a storage device into the USB slot on the back
of the IP9g. Select a device with high-speed
read/write capability. (8MB/s or more).
3. While connected on a call (call must be in progress),
press the Record Key
USB Recording Playback:
1. When the phone is idle press the [Menu] Key (display
prompt).
2. Use the Navigation Keys and select Tools.
3. Press “4” for USB.
4. Press “1” for Browse Audio.
5. Use the Naviagtion Keys to select and Play.
Note: USB recordings are stored in WAV format.
Call Recording
To store contacts:
1. While idle, press [Menu] (display prompt).
2. Use the Navigation Keys and select Dir.
3. Press “1” to select Local Contacts.
4. The
Group
“All Contacts” is shown.
You can add groups to organize your contacts.
5. Press “1” to select All Contacts (those you’ve
entered before will be listed).
6. Press [Add] (display prompt) to input name and
numbers.
Note: look for the display prompt label [Abc]. Press the Key
under this prompt to change the way characters that are
input for names and numbers. (Press “0” to input a space.)
Contacts/Phonebook
[Contact]
There are three types of Call Forward that can be used:
•
Unconditional - forward all calls.
•
Busy - forward calls only when busy.
•
No Answer - forward calls when they go unanswered.
To set or remove Call Forward:
1. Idle phone, press [Menu] Key (display prompt).
2. Use Navigation Keys to select Features.
3. Press “1” Call Forward.
4. Press “1” for the primary line.
5. Press “1” for Unconditional, “2” for Busy or “3” for No
Answer Call Forward.
6. In each case the first option is to Disable or Enable
that forward type. Use the Right/Left Navigation Keys
to set it.
7. Navigate down to
Forward To
and input the desired
forward destination.
8. For No Answer Forward navigate to
Time
and input
the time in seconds that calls should ring the phone
before forwarding.
9. Press OK (display prompt) or Navigation OK.
On/Off Codes are not required.
If the forward destination remains the same the only data
that must be changed after the initial input is Enable/Disable.
Call Forward
[CFwd]
OK
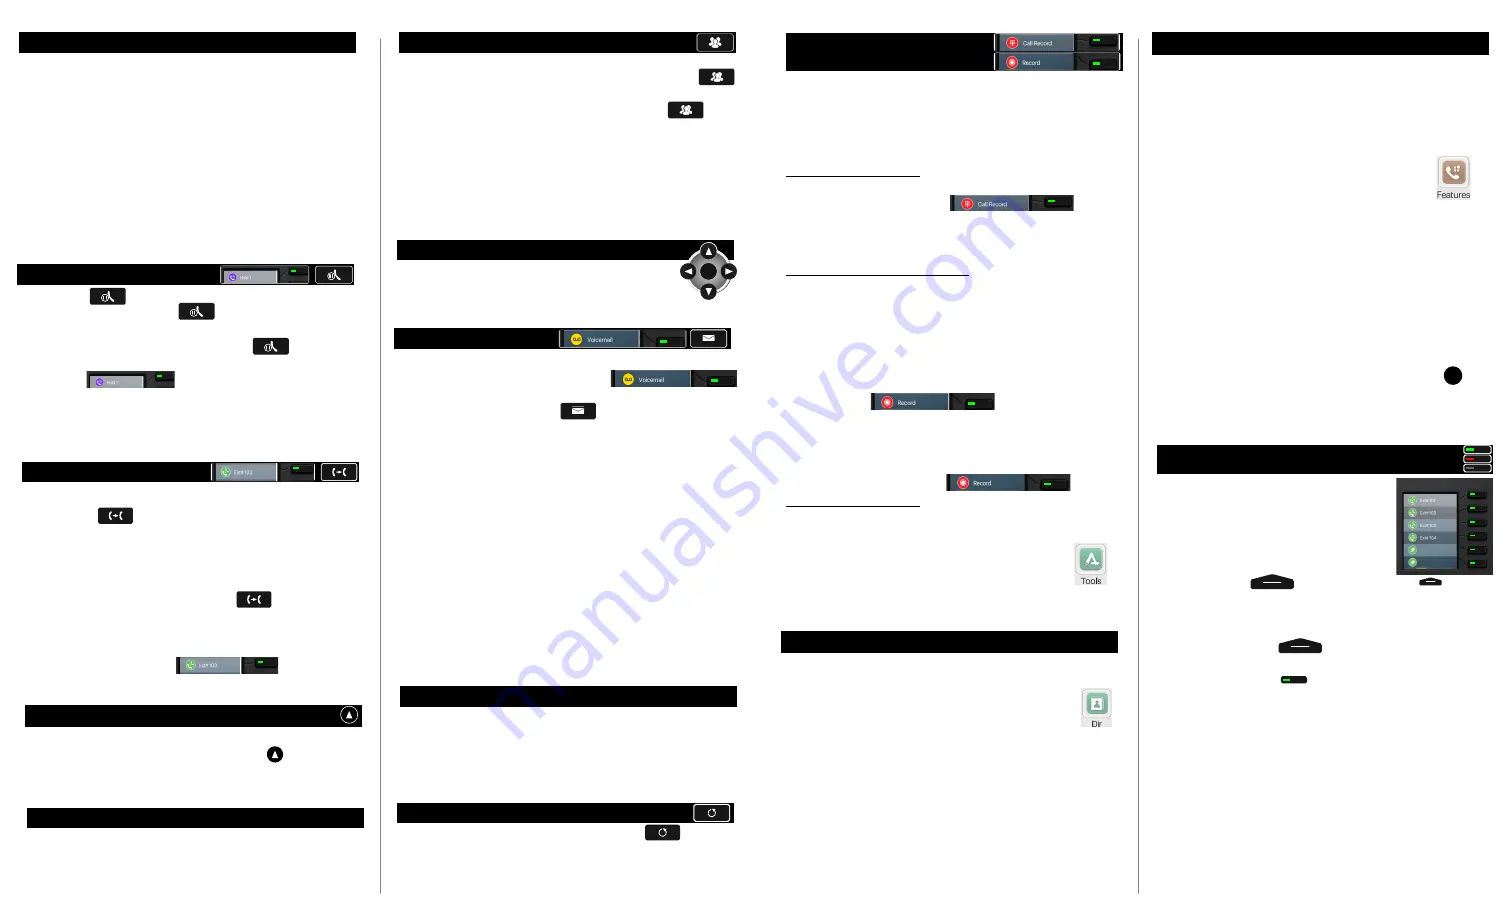
The 6 Keys at the right side of the Features
Display are programmable. They are set
for commonly used functions and ease of
use. There are 5 Pages of functions that
can be assigned to these keys.
Shift through the pages by pressing the
Page Select Key.
To program a Key (speed dial and BLF are shown):
Programming Feature Keys
o
Press 2 to change voicemail message folders.
▪
Press 0 for new messages.
▪
Press 1 for old messages.
o
Press 0 for mailbox options.
▪
Press 1 to record your Unavailable greeting.
▪
Press 2 to record your Busy greeting.
▪
Press 3 to record your name.
▪
Press 4 to record a Temporary greeting.
•
Press 1 to record.
•
Press 2 to delete/remove.
▪
Press 5 to change your password.
1. First choose a key on one of the pages that you want to
use. Select the page using the Page Select Key below the
Feature Display.
2. Press and HOLD down the key to be programmed for at
least 3 seconds.
3. The
Type
for Speed Dial and BLF is “Memory Key”.
4. For BLF use
Subtype
“BLF/Bxfer or “BLF/Axfer”
(BLF is Extension Key)(shows status of the extension and
used to press-to-call the extension).
1. Bxfer is Blind Transfer... while connected on a call just
press this key to immediately transfer the call to that
person.
2. Axfer is Announced Transfer... while connected on a
call press this key to start a transfer, you can wait for
them answer and announce the call to the transferee.
5. For Speed Dial use
Subtype
“Speed Dial”, input the
name and number for that key.