background image

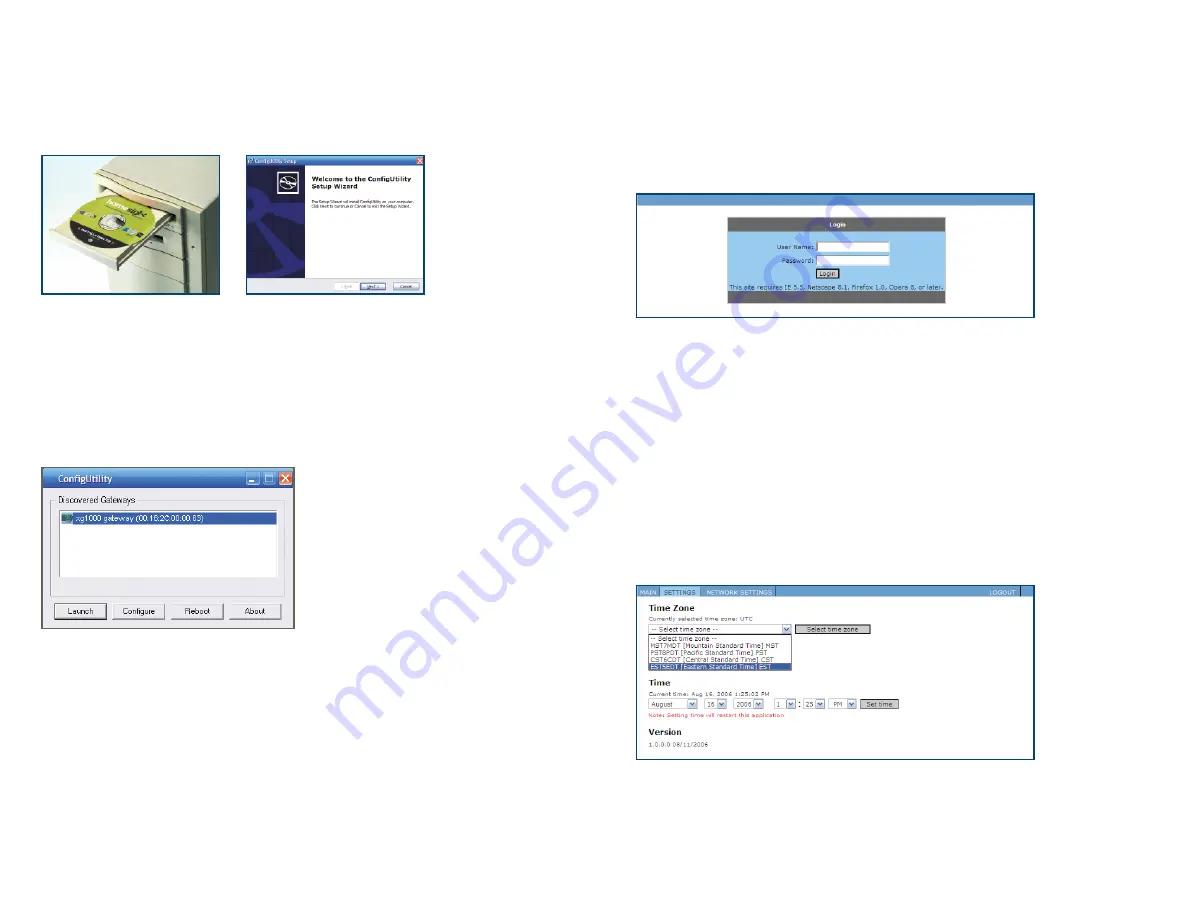
INSTALL SOFTWARE:

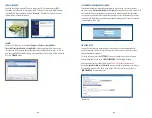
Insert the Installation Software CD into the drive of your PC (not compatible on a MAC).
The software installer should start automatically. If it does not start, use Windows Explorer
to locate the CD drive and double click on 

“Setup.exe”

. Follow the on-screen instructions

to complete the software installation.

LAUNCH:

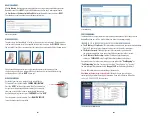
Under the PC Start menu, select 

Start->Programs->Xanboo->ConfigUtility 

or


Start->All Programs->Xanboo->ConfigUtility 

to start the program. After it has started, 

it may take up to 2 minutes to find your Gateway and list it. When the message 

“starting up”


goes away, the XG1000 Gateway boot-up  has completed and the

 “Launch”

 button is enabled. 

Press the 

‘LAUNCH’

 button.

4

3

SET GATEWAY USER NAME AND PASSWORD:

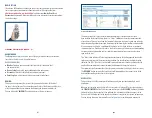
Your Internet browser will open and present you with a set up page. For security reasons, 
you must select a 

Gateway User Name

 and

 Password

. You may want to use the same User ID 

and Password that you created when signing up for the remote service. Write these down 
in a safe place, you will need these every time you need to access the Gateway. On the next 
screen, log in to the Gateway, using the new Gateway User Name and Password. You should 
see the Gateway 

“Main” 

page.

TIME ZONE SETUP:

You must set the time zone in your Gateway so that events are time stamped with the 
correct information. This will also ensure that events you have set up to occur at certain 
times will perform as expected. 

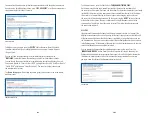
To set the time zone, select the 

‘SETTINGS’

 tab. On the Settings page, select the proper 

time zone from the list and press 

‘SELECT TIME ZONE’

. The Gateway will reboot.

Please wait until you are asked to log in, again. 

This may take two or three minutes. 

Use the

 Gateway User Name

 and 

Password

 that you selected in the previous step to log in. 

You should be returned to the


“Main” 

page. Under

 “UI Applications”

 press the link for 

‘HOME MONITOR’ 

to continue the setup.

TIME ZONE SETUP

Summary of Contents for XG1000

Page 1: ...XG1000 GATEWAY USER S MANUAL ...

Page 2: ...te service account web site For security reasons both the Gateway and Remote Account are protected with ID s and Passwords Once the Gateway is installed most of the interaction with the system will be done through the remote service You will use a standard internet browser to access this web site This can be on the same PC that you used to set the system up or any other PC that has an internet con...

Page 3: ... User Name and Password You may want to use the same User ID and Password that you created when signing up for the remote service Write these down in a safe place you will need these every time you need to access the Gateway On the next screen log in to the Gateway using the new Gateway User Name and Password You should see the Gateway Main page TIME ZONE SETUP You must set the time zone in your G...

Page 4: ...egistering cameras press CONTINUE and then NEXT The setup process is now complete Press MONITOR DEVICES to see the devices you have installed TYPICAL ROUTER PORT FORWARDING PAGE RESET BUTTON PORT FORWARDING You will need to set up your router to allow communication between the Gateway and the Remote Monitor web site This is what allows live video to be viewed remotely IN ORDER TO SET UP THE ROUTER...

Page 5: ...ice In general a green icon indicates proper functionality yellow shows some temporary problem like marginal wireless communication A red icon means that there is a problem with the device such as dead batteries or prolonged communication loss Each device also has a short status message This message varies depending on the device type temperature sensors show the current temperature contact sensor...

Page 6: ...ws the cameras that are already installed As the system registers new cameras they are moved from the top list to the bottom If the status of a camera in the top list does not appear to be changing you have to reset the camera to its factory default condition Do this by pressing the RESET button on the side or the bottom of the camera Then wait a few seconds and pull the power cord out of the came...

Page 7: ...Green indicates good communication with the remote site Amber indicates that the Gateway has not been registered with the remote site yet Red indicates no communication between the Gateway and the remote site Device Status Shows the worst case status of the devices on the Monitor page If all devices are Green then this LED will show Green If one or more devices are Yellow or Red the LED will light...

Page 8: ...tton will reboot the Gateway while retaining all of the internal settings You can use the white reset tool that comes with each sensor device to activate this button The system will go through the normal boot sequence RESET BUTTON If you forget you Gateway User Name or Password you need to reset the system in order to regain access The Video Indicator on the front panel doubles as a Reset button T...

Reviews: