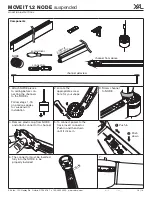
27. Trim aircraft cables once tracks
have been leveled
26. Snap track connectors into tracks
28 A. Snap insets into tracks
28 B. Place magnetic insets
into tracks
29. Installation complete
23.
25.
22.
Insert T-Connector
(optional)
:
Use screws to attach T-connection
24.
Insert X-Connector
(optional)
:
Use screws to attach X-connection
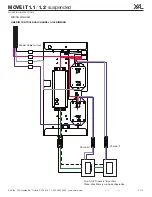
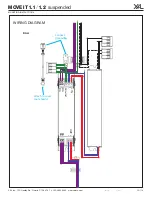
Please see wiring
diagram on page 2
2"
18. Use screws to secure connector
19. Slide next track onto linear
connector
15. Connect feeder to converter box
17. Insert linear connector
16. Snap feeder clip into track
21 B.
Track 1.2
: Turn tentioning
screw counter-clockwise
Repeat steps 17-21 for additional
channels
20. Use screws to secure connector
again
21 A.
Track 1.1
: Turn tentioning
screw clockwise
RED
+
BLACK
—
1"
ø 2 ½"
2"
ø 2 ½"
2"
6'
6'
ø 2 ½"
2"
ø 2 ½"
2"
6'
6'
TYPE 1: NODE
power feed
TYPE 2: NODE
daisy chain
L + 2 ¾"
ø 2 ½"
2"
channel L
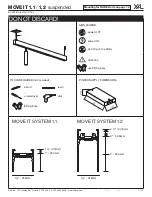
MOVE IT 1 .1
/
1.2
suspended
MOUNTING INSTRUCTIONS
MOVE IT 1.2 NODE
suspended
XAL Inc. 150 Hawley Rd. Oxford, CT 06478 T: +1 203.262.9990 www.xalusa.com
MI-V02
4/13/21
13 / 14

