


14
15
Chapter 4
Function selection
1. Press the MENU button to display the FUNCTION menu.
2. Navigate with the SOURCE
p
,
q
button to select a function.
3. Press the VOL+/VOL– button for function setting adjustments.
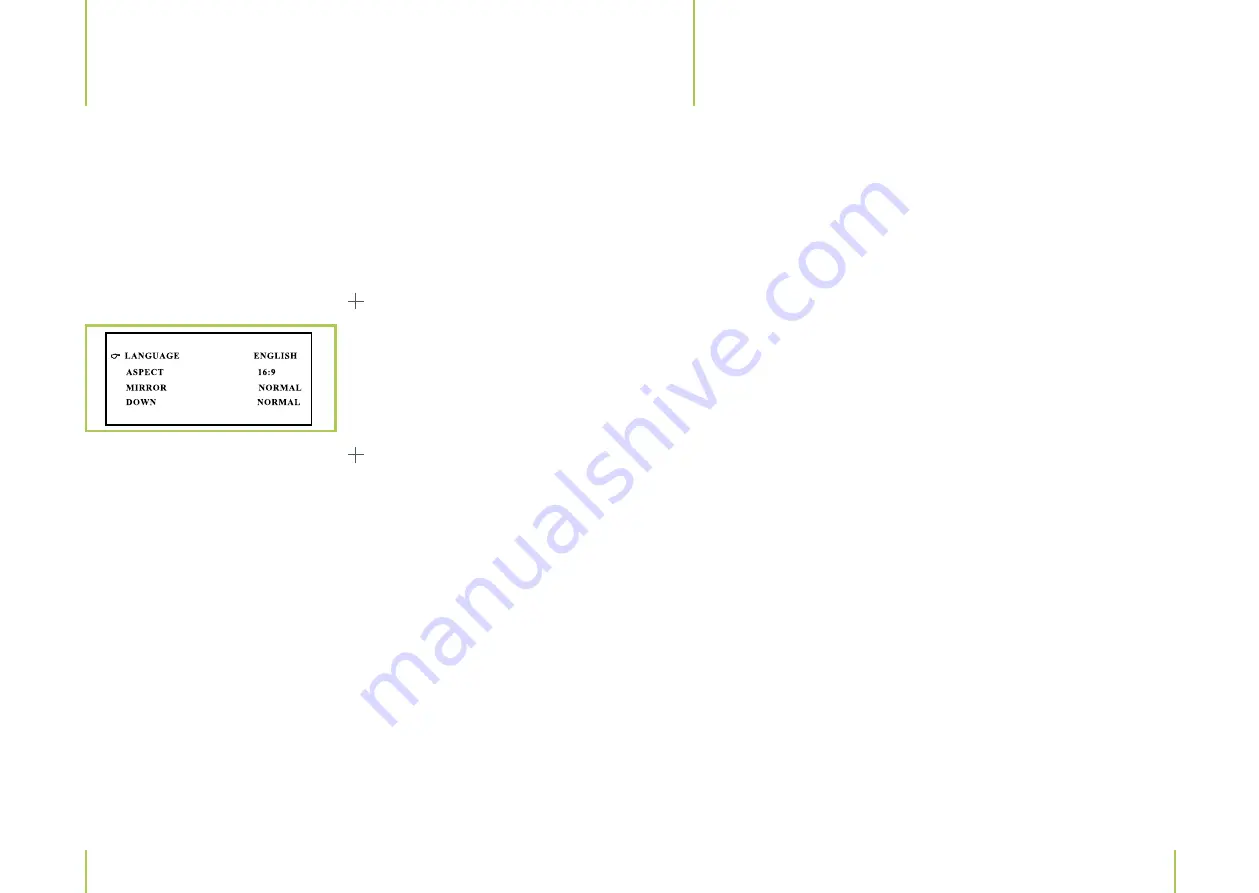
The following menu is displayed on screen.
1. Language
Navigate with the SOURCE
p
,
q
button to LANGUAGE. Press the VOL+/VOL– button
on the device or the LANGUAGE button on the remote control to change the language.
2. Picture up MIRROR
Navigate with the SOURCE
p
,
q
button to MIRROR. Press the VOL+/VOL– button on
the device or the MIRROR button on the remote control to select a normal or mirrored
picture.
3. Aspect mode
Navigate with the SOURCE
p
,
q
button to ASPECT. Press the VOL+/VOL– button on
the device or the ASPECT button on the remote control to select a 16:9 or 4:3 viewing
format.
4. Picture up and down
Navigate with the SOURCE
p
,
q
button to DOWN. Press the VOL+/VOL– button on
the device for up or down picture selection.
4
Function selection
5
VGA mode
Chapter 5
VGA mode
Connect this monitor to a notebook or computer and use it as a computer monitor.
Use a VGA cable (not included in delivery) to connect your monitor to a notebook or
computer.
1. Press the SOURCE button on the remote control or the SR+, SR– button on the device
respectively until VGA is displayed on screen.
2. Turn on your computer.
3. Your computer‘s desktop picture will now appear on the monitor‘s screen.
Note: Please note that high resolutions are not supported. Different settings are
possible depending on the graphic card model. Try the lowest resolution first and
then increase afterwards. Resolutions up to 960 x 600/70 Hz are supported. Higher
resolutions up to 1088 x 612/“70 Hz“ for advanced display settings.
Troubleshooting: Most times your VGA port has to be activated when connecting a
notebook. Please refer to the notebook instruction manual first, before connecting. If a
monitor driver has been installed, select „standard monitor” and „70 Hz“ at the advan-
ced display settings.
For centering the picture press the MENU button and change the values for „H posi-
tion“ and „V position“ with the
t
,
u
,
p
,
q
buttons.
Note:
At VGA mode no color setting possible.
FUNCTION


