background image


Important Safety Instructions 

1) Read these instructions. 

2) Keep these instructions. 

3) Heed all warnings. 

4) Follow all instructions. 

5) Do not use this apparatus near water. 

6) Clean only with dry cloth. 

7) Do not block any ventilation openings, install in accordance with the instructions. 

8) Do not install near any heat sources such as radiations, heat registers, stoves, or other 
apparatus (including amplifiers) that produce heat. 

9) Do not defeat the safety purpose of the polarized plug. If the provided plug does not fit 
into your outlet, consult an electrician for replacement of the obsolete outlet. 

10)  Protected  the  power  cord  from  being  walked  on  or  pinched  particularly  at  plugs, 
convenience receptacles, and the point where they exit from the apparatus. 

11) Only use attachments/accessories specified by the manufacturer. 

12) Unplug this apparatus during lighting storms or when unused for long periods of time. 

13)  Refer  all  servicing  to  qualified  service  personnel.  Servicing  is  required  when  the 
apparatus has been damaged in any way, such as power-supply cord or plug is damaged, 
liquid has been spilled or objects have fallen into the apparatus, the apparatus has been 
exposed to rain or moisture, does not operate normally, or has been dropped. 

14)  Mains  plug  is  used  as  the  disconnect  device,  the  disconnect  device  shall  remain 
readily operable. 

15) The ventilation should not be impeded by covering the ventilation openings with items, 
such as newspapers, table-cloth, curtains, etc. 

16) No naked flame sources, such as lighted candles, should be placed on the apparatus. 

17) Attention should be drawn to the environmental aspects of battery disposal. 

18) The use of apparatus in moderate climate. 

19) The apparatus shall not be exposed to dripping or splashing and that no objects filled 
with liquids, such as vases, shall be placed on the apparatus. 

WARNING: To reduce the risk of fire or electric shock, do not expose this apparatus to rain 
or moisture. 

WARNING: The batteries shall not be exposed to excessive heat such as sunshine, fire or 
the like. 

WARNING: You must peel off the membrane of the top cover before using.Or it would harm 

your receive box without emitting its heat. 


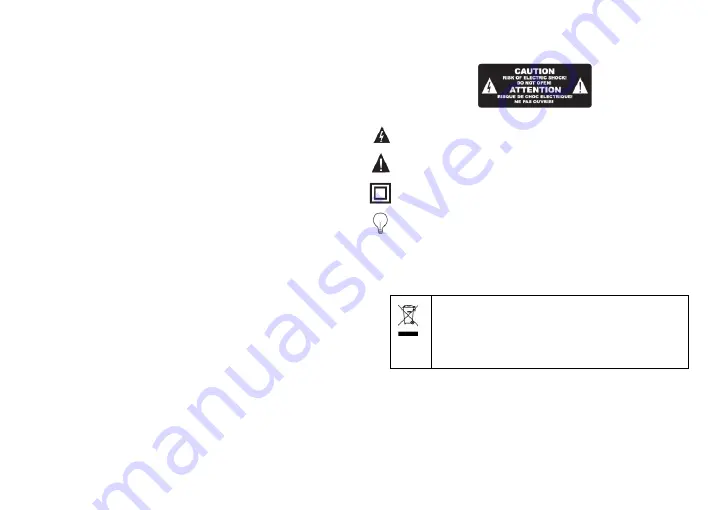
The symbol indicates that dangerous voltages constituting a risk of electric 
shock are present within this unit. 
The symbol indicates that there are important operating and maintenance 

instructions in the literature accompanying this unit. 
This symbol indicates that this product incorporates double insulation 
between hazardous mains voltage and user accessible parts. When 

servicing use only identical replacement parts. 
 
CAUTION: When the apparatus was in electrostatic circumstance, it may be 

malfunction and need to reset by user. 
 
WARNING: The USB memory stick should be plugged in the unit directly. 

USB extension cable should not be used to avoid failing of data transferring 
and interference caused. 


This marking indicates that this  product  should  not be  disposed  with 
other household wastes throughout the EU. To prevent possible harm 
to the environment or human health from uncontrolled waste disposal, 
recycle  it  responsibly  to  promote  the  sustainable  reuse  of  material 
resources.  To  return  your  used  device,  please  use  the  return  and 
collection  systems  or  contact  the  retailer  where  the  product  was 
purchased.  They  can  take  this  product  for  environmental  safe 
recycling. 

Summary of Contents for T59M

Page 1: ......

Page 2: ...ion should be drawn to the environmental aspects of battery disposal 18 The use of apparatus in moderate climate 19 The apparatus shall not be exposed to dripping or splashing and that no objects filled with liquids such as vases shall be placed on the apparatus WARNING To reduce the risk of fire or electric shock do not expose this apparatus to rain or moisture WARNING The batteries shall not be ...

Page 3: ...tting 3 4 6 Media 3 5 Troubleshooting 4 6 Technical Specifications 5 1 Front and Rear Panel 1 1 Front Panel 1 2 Rear Panel 1 ANT IN This socket connects to your external Aerial 2 LOOP OUT Used to connect another unit s ANT IN port 3 HD OUT High definition audio and video output used to connect to a HD device 4 CVBS This socket outputs composite video signal 5 AUDIO L R This socket outputs analog a...

Page 4: ...ay 21 USB Used to display a list of programs recorded on the current disc 22 RECALL Used to switch between the last two viewed channels 23 AUDIO Selects an Audio Language or Audio Mode 24 INFO Displays additional channel information 25 OK Confirms an entry or selection Displays the list of channels 26 EXIT Exits the current Menu or returns to the previous Menu 27 PAGE Page up Page down 28 REC Used...

Page 5: ...ct Country and press RIGHT LEFT key to change frequency list 3 Select Frequency Channel and press RIGHT LEFT key to test signle 4 Select Channel Search and press OK to start Search Channel 4 1 Channel List To access the Menu press the MENU button and select Channel List The Menu provides options to adjust the Channel Manage Settings Select an option and press OK or RIGHT to adjust that setting Pre...

Page 6: ...st 2 Press UP DOWN select a sort style Press OK button to confirm 3 Press EXIT button exit edit mode Rename Channel Press BLUE button enter edit mode Press GREEN button Select the program to rename the channel with the keyboard Delete a Channel 1 Press BLUE button enter edit mode press BLUE button the Select the program you want delete press BLUE button then press EXIT button to exit edit mode the...

Page 7: ...frequency 4 2 2 Manual Search You can select one frequency to search channel 4 2 3 Country You can select country to change frequency list 4 2 4 Antenna Power If you select on the antenna power will open 4 2 4 FAT Only If you select Yes the will only search FTA program 4 3 System To access the Menu press MENU then select System The Menu provides options to adjust the system settings Press UP DOWN ...

Page 8: ...ou can set Channel Lock 4 You can set the STB new passwork 4 3 6 OSD Setting 1 You can set Subtitle Display 2 You can set OSD Timeout 3 You can set OSD Transparency 4 3 7 Favorite You can rename favorite name 4 4 Tools To access the Menu press MENU and select Tools The Menu provides options to adjust the tool settings Press UP DOWN to select an option and press RIGHT LEFT to adjust that setting Pr...

Page 9: ...R Configuration You can slect PVR Partition 4 6 Network To access the Menu press MENU and select Network The Menu provides options to adjust the tool settings Press UP DOWN to select an option and press RIGHT LEFT to adjust that setting Press EXIT to exit the menu 4 6 1 Wifi Insert Wifi Device then appear Wifi device plug in Press OK and select Search Select your Wifi and enter password connect Wi...

Page 10: ...nel or too far from it Adjust the way of holding remote control unit and near from the panel The image stop suddenly or mosaic The signal is too weak Strengthen the signal Item Specification Tuner Frequency Range VHF Band 174 MHz 230MHz UHF Band 470 MHz 868MHz Bandwidth 6MHz 7MHz 8MHz Input Impedance 75Ohm Signal Input Level 65 25dBm RF Power Output 5V Max 100mA Demodulation Demodulator QPSK 16QAM...

Reviews: