Operation
18
Preparations
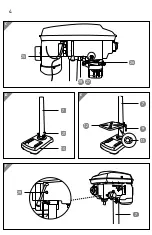
1. Fold the protective hood
14
up.
2. Use the enclosed chuck key
24
to loosen the jaws of the chuck
13
.
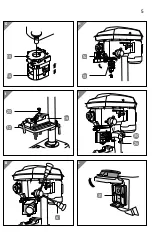
3. From below, insert the drill bit/tool vertically in the chuck opening and use the
chuck key to tighten the chuck jaws.
Then be absolutely sure to pull out the
chuck key
.
The drill bit/tool must be clamped in place in a central position.
• Only use drill bits and tools with a shank diameter of 1.5 to max.
13 millimetres with a cylindrical tool shank or taper shank.
4. Clamp the workpiece in the vice
19
included in the product contents.
5. Place the vice on the drilling table
12
.
6. Use the fixing screws, washers, spring washers and nuts
20
to secure the vice
(see chapter “Clamping the workpiece in the vice”).
7. Position the drilling table at the required height (see chapter “Adjusting the
drilling table”).
8. Fold the protective hood down again.
9. If applicable, adjust the length of the protective hood (see
Fig. G
) so that it offers
optimal protection (see chapter “Setting the height of the protective hood”).
10. Set the speed so that it corresponds to the workpiece and the fitted drill bit/tool
(see chapter “Setting the speed”).
11. Unlock the emergency stop switch
17
by pushing it upwards.
The drill is now ready for operation.
Emergency stop switch
The emergency stop switch
17
is a safety fixture. It is
not intended to increase convenience of use. Normally,
you should always switch the drill off with the red off
switch
O
31
(see
Fig. L
).
If you press the emergency stop switch with a small
amount of pressure, the spindle will stop in place. The
chuck
13
and the fitted tool will stop rotating. After
the emergency stop switch has been pushed, it must
be manually unlocked. Otherwise, the drill cannot be
switched on again.
17

