27
-
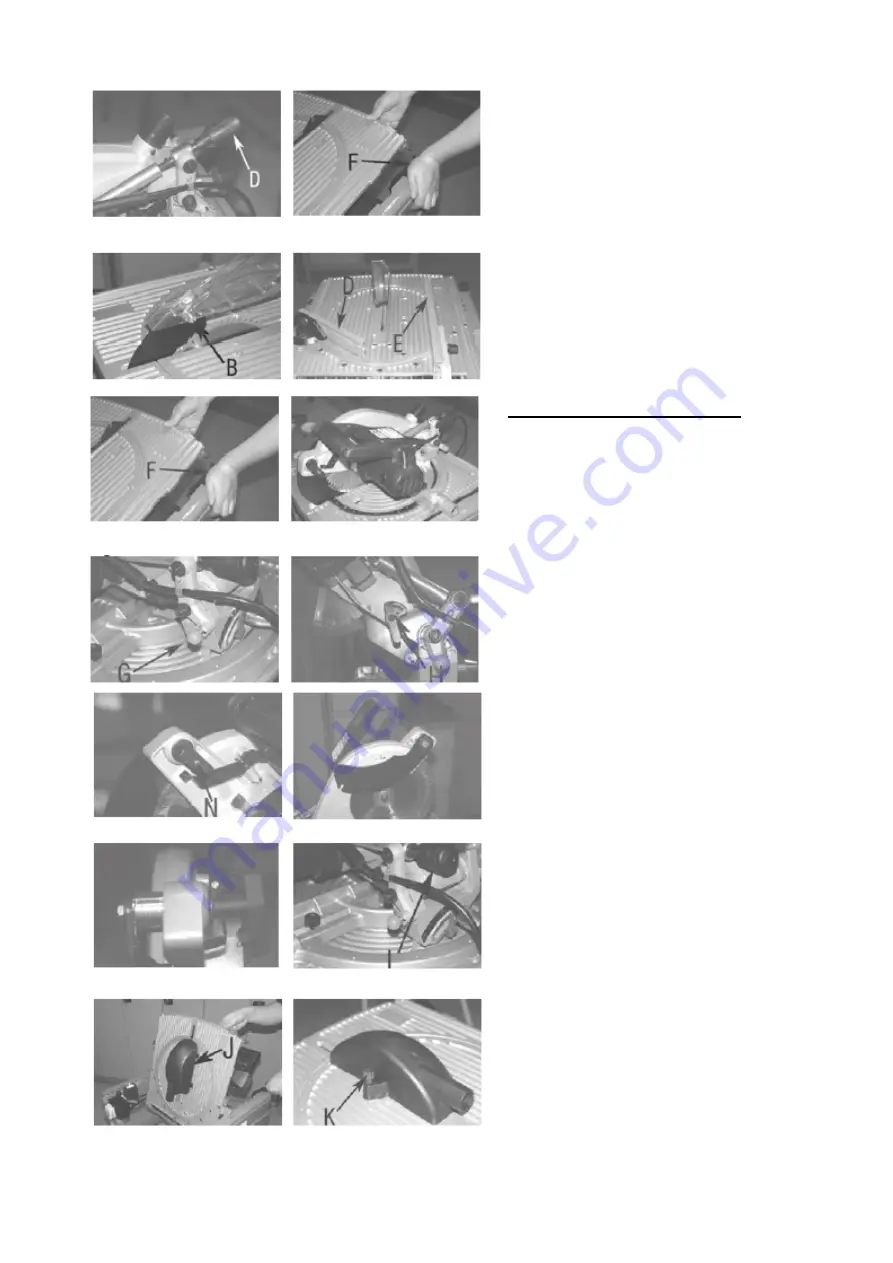
Turn the screw (D) as much as possible
so that the saw part folds down.
-
Use the lever (F) and turn the table until
it is in the right place.
-
When you push the saw blade protec-
tion button (B), blade protection is at-
tached to the riving knife.
-
If you do not use dust collector, you can
place the dust bag under the table.
-
Work supports (D and E)
The machine is now ready for use as
table saw.
Cutting and mitre sawing
Push the lever (F) down in order to release
the table. Now you can flip over the table.
Attach the table appropriately.
Push the orange button (G), turn it and
release. Now you can adjust the blade
with the lever (H).
-
Adjust the riving knife with the wing nut
(N). The riving knife has to be moved to
the right as shown in the picture so that
it is parallel with the blade.
-
Use different groove than with table
saw.
-
Set the height adjustment to the maxi-
mum level by turning the height ad-
justment screw (I) to the right (in the
opposite than when used as a table
saw).
-
Attach the dust collector hood (J) under
the table. Fix it first with the hooks un-
der the table and then with screws (K)
to the opposite side. If you do not use a
dust collector, attach the dust bag to
the outlet.
The machine is now ready for cutting
and mitre sawing.


