


2
Introduction
maximum
resolution
of
4K@30Hz.
It
allows
any
of
the
8
Input
HDMI
Channels
to
be
routed
to
any
of
the
8
Output
HDMI
Channels.
Switching
can
be
controlled
by
IR
Remote
Control,
Front
Panel
Buttons,
PC
software
and
RS232.
(IP
and
WIFI
are
Optional).
It
offers
an
excellent
solution
for
commercial,
residential
and
educational
audio
video
integration,
such
as
in
houses,
offices,
digital
entertainment
centers,
control
centers,
conference
rooms,
school
and
corporate
training
environments,
etc.
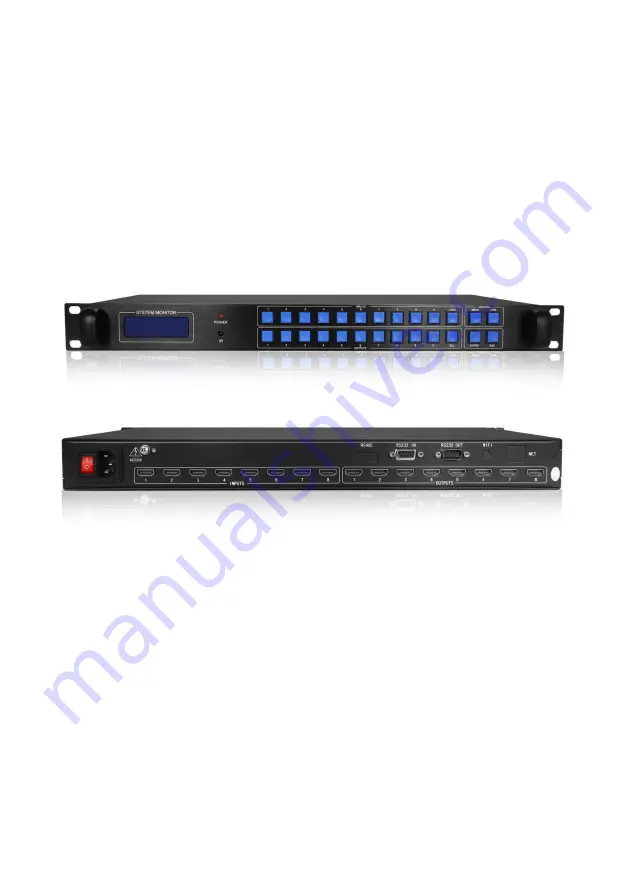
Figure 1.
Front and Back Panel Review
Features
1. 1U standard chassis, easy installation.
2. Support HDMI1.4
3. HDCP Compliant
4. Supports high definition resolutions including: 3840 x 2160P@24/25/30Hz,
1080P@60Hz, 1080i, 720P and other standard video formats.
HDTVHDMX0808
is
8x8
HDMI
Matrix
Switcher,
supporting
HDMI1.4
standard
&
a


