4
Additional camera registration
In the <
Install Wizard
> setting, make a connection to the camera automatically registered and use the menu
path to register and connect a camera.
Menu
;
Device
;
Camera
;
Cam Registration
;
Auto
a
b c
e
d
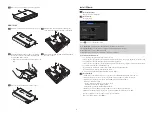
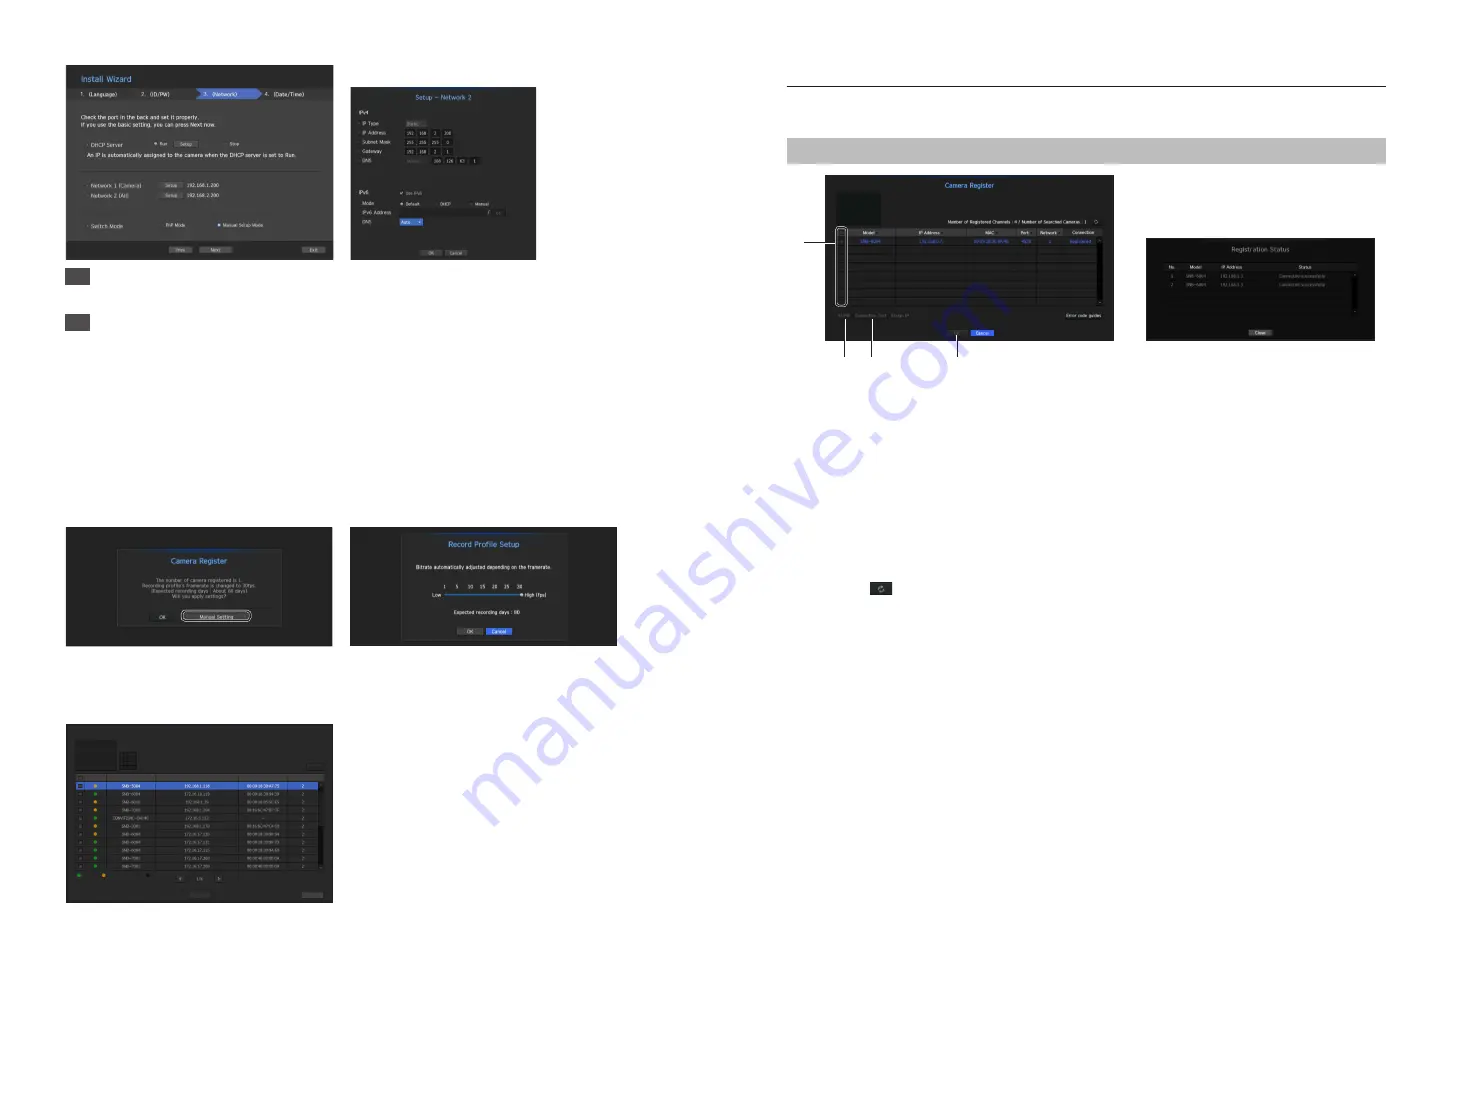
To register a camera, follow these steps:
a
Select the camera to register (you can select multiple cameras).
b
Click <
ID/PW
> to register your ID and password. (If you do not register a new ID/PW, then the default
ID/PW combination is used.)
c
Click <
Connection Test
>.
d
Check the connection results.
e
If the channel connected successfully, click <
OK
> to end the camera registration process.
M
`
Click an item on the table to see a preview (you must change the ID/PW in step
b
if the camera account changes).
`
Click the table headers to sort the content.
`
Click <
> to check if a new IP address was allocated to the camera when you rescan the network or when an IP
address was not assigned by the DHCP server (e.g., 192.168.1.100). If the IP still stays the same, then select Assign IP to
assign the IP manually.
4
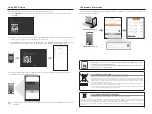
Set Date & Time
Set the time and date and click the <
Finish
> button, and the installation will be completed.
5
Camera Registration
When the installation wizard finishes, the camera is automatically registered.
5-1.
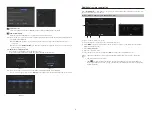
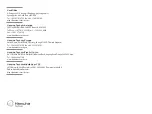
If there are 16 or less cameras searched, it will be automatically registered and the camera information(fps, days
of recording) will be displayed.
► Select <
OK
> and the frame rate of all cameras registered is set to 30fps and the installation session is
completed.
► When you select <
Manual Setting
>, the frame rate of all cameras registered can be set to a value selected
by the user (move to 5-2).
5-2. Adjust the recording framerate
Changes the recording frame rate for all cameras at once.
Please note that the estimated recording days vary depending on the frame rate.
< Figure 5-1 >
< Figure 5-2 >
5-3.
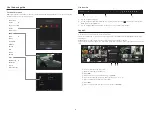
If there are more than 16 cameras searched, Camera registration window will be displayed.
Select a camera to register and click the <
Register
> button. Once camera registration is finished, proceed in 5-1.
< Figure 5-3 >
After selecting a camera, press the register button.
Searched Cameras Refresh
Status
|
Model
|
IP
|
MAC
|
Network
|
Connected Authentication errors
Disconnected
Exit
Register
0/16
Camera Register


