background image

English _

3

OVER

VIEW

IMPORTANT SAFETY INSTRUCTIONS

1. 

Read these instructions.

2. 

Keep these instructions.

3. 

Heed all warnings.

4. 

Follow all instructions.

5. 

Do not use this apparatus near water.

6. 

Clean the contaminated area on the product surface with a soft, dry cloth or a damp cloth.   

(Do not use a detergent or cosmetic products that contain alcohol, solvents or surfactants or oil constituents 

as they may deform or cause damage to the product.) 

7. 

Do not block any ventilation openings, Install in accordance with the manufacturer’s instructions.

8. 

Do not install near any heat sources such as radiators, heat registers, stoves, or other apparatus (including 

amplifiers) that produce heat.

9. 

Do not defeat the safety purpose of the polarized or grounding-type plug. A polarized plug has two blades 

with one wider than the other. A grounding type plug has two blades and a third grounding prong. The wide 

blade or the third prong are provided for your safety. If the provided plug does not fit into your outlet, consult 

an electrician for replacement of the obsolete outlet.

10. 

Protect the power cord from being walked on or pinched particularly at plugs, convenience receptacles, and 

the point where they exit from the apparatus.

11. 

Only use attachments/ accessories specified by the manufacturer.

12. 

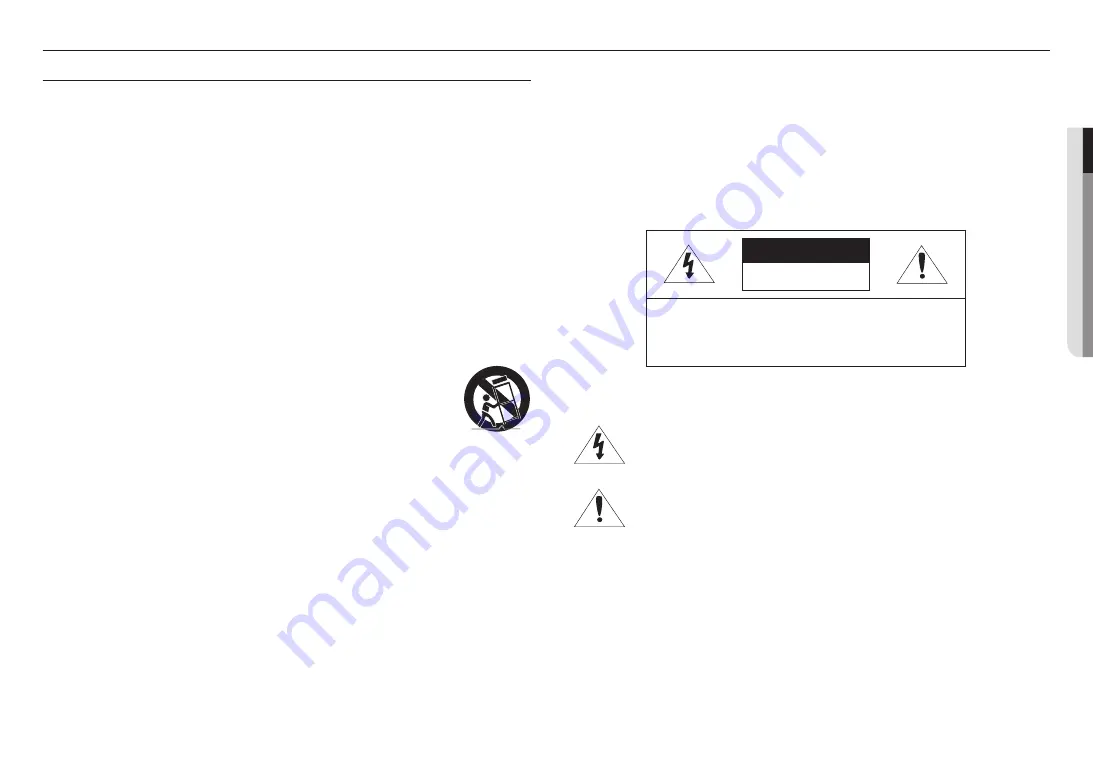
Use only with the cart, stand, tripod, bracket, or table specified by the manufacturer, 

or sold with the apparatus. When a cart is used, use caution when moving the cart/

apparatus combination to avoid injury from tip-over.

13. 

Unplug this apparatus during lighting storms or when unused for long periods of time.

14. 

Refer all servicing to qualified service personnel. Servicing is required when the apparatus 

has been damaged in any way, such as power-supply cord or plug is damaged, liquid has 

been spilled or objects have fallen into the apparatus, the apparatus has been exposed to rain or moisture, 

does not operate normally, or has been dropped. 

15. 

This product is intended to be supplied by a Listed Power Supply Unit marked “Class 2” or “LPS” and rated 

from PoE(48V), 0.27A. (PNM-7002VD)

16. 

This Lens module has to be connected with equipment, which supplied by a power supply unit marked “Class 

2” or “LPS”. (SLA-2M2402D/SLA-2M2802D/SLA-2M3602D/SLA-2M6002D)

17. 

This product is intended to be supplied by isolation power.

18. 

If you use excessive force when installing the product, the camera may be damaged and malfunction. 

If you forcibly install the product using non-compliant tools, the product may be damaged.

19. 

Do not install the product in a place where chemical substances or oil mist exists or may be generated. As 

edible oils such as soybean oil may damage or warp the product, do not install the product in the kitchen or 

near the kitchen table. 

This may cause damage to the product.

20. 

When installing the product, be careful not to allow the surface of the product to be stained with chemical 

substance. 

Some chemical solvents such as cleaner or adhesives may cause serious damage to the product’s surface.

21. 

If you install/disassemble the product in a manner that has not been recommended, the production functions/

performance may not be guaranteed. 

Install the product by referring to “Installation & connection” in the user manual.

22. 

Installing or using the product in water can cause serious damage to the product.

WARNING

TO REDUCE THE RISK OF FIRE OR ELECTRIC SHOCK, DO NOT EXPOSE THIS PRODUCT 

TO RAIN OR MOISTURE. DO NOT INSERT ANY METALLIC OBJECT THROUGH THE 

VENTILATION GRILLS OR OTHER OPENNINGS ON THE EQUIPMENT.
Apparatus shall not be exposed to dripping or splashing and that no objects filled with liquids, 

such as vases, shall be placed on the apparatus.
To prevent injury, this apparatus must be securely attached to the Wall/ceiling in accordance 

with the installation instructions.

CAUTION

CAUTION

RISK OF ELECTRIC SHOCK. 

DO NOT OPEN

CAUTION

 : TO REDUCE THE RISK OF ELECTRIC SHOCK. 

DO NOT REMOVE COVER (OR BACK). 

NO USER SERVICEABLE PARTS INSIDE. 

REFER SERVICING TO QUALIFIED SERVICE PERSONNEL.

EXPLANATION OF GRAPHICAL SYMBOLS

The lightning flash with arrowhead symbol, within an equilateral triangle, is 

intended to alert the user to the presence of “dangerous voltage” within the 

product’s enclosure that may be of sufficient magnitude to constitute a risk of 

electric shock to persons.

The exclamation point within an equilateral triangle is intended to alert the user to 

the presence of important operating and maintenance (servicing) instructions in 

the literature accompanying the product. 

overview

Summary of Contents for PNM-7002VD

Page 1: ...NETWORK CAMERA User Manual PNM 7002VD SLA 2M2402D SLA 2M2802D SLA 2M3602D SLA 2M6002D ...

Page 2: ... correctness of the contents in this document but no formal guarantee shall be provided Use of this document and the subsequent results shall be entirely on the user s own responsibility Hanwha Techwin reserves the right to change the contents of this document without prior notice Designandspecificationsaresubjecttochangewithoutpriornotice TheinitialadministratorIDis admin andthepasswordshouldbese...

Page 3: ...wer supply unit marked Class 2 or LPS SLA 2M2402D SLA 2M2802D SLA 2M3602D SLA 2M6002D 17 This product is intended to be supplied by isolation power 18 If you use excessive force when installing the product the camera may be damaged and malfunction If you forcibly install the product using non compliant tools the product may be damaged 19 Do not install the product in a place where chemical substan...

Page 4: ...out routing to the outside plant The wired LAN hub providing power over the Ethernet PoE in accordance with IEEE 802 3af shall be a UL Listed device with the output evaluated as a Limited Power Source as defined in UL60950 1 Unit is intended for installation in a Network Environment 0 as defined in IEC TR 62102 As such associated Ethernet wiring shall be limited to inside the building Please read ...

Page 5: ...4 Connecting with other Device NETWORK CONNECTION AND SETUP 15 15 Connecting the Camera Directly to Local Area Networking 15 Connecting the Camera Directly to a DHCP Based DSL Cable Modem 16 Using Device Manager 16 Automatically searching camera 16 Configuring IP address 17 Manually registering camera 17 Automatically configuring IP 18 Port Range Forward Port Mapping Setup 19 Connecting to the Cam...

Page 6: ...ype High endurance It is recommended to use a memory card of 16GB or more that conforms to the UHS 3 class MLC type specification The compatibility varies depending on the card manufacturers and types WHAT S INCLUDED Please check if your camera and accessories are all included in the product package As for each sales country accessories are not the same Appearance Item Name Quantity Description Ca...

Page 7: ...ount etc or blocking a hole Cable bush 2 Used to connect the LAN cable with a diameter of Ø7 8 5 Cap Installer 1 Used to connect the RJ45 cable Card type moisture absorbent 1 Attached when installed WHAT S INCLUDED LENS MODULE OPTIONAL Appearance Item Name Description Model Name Lens module Mounted to PNM 7002VD SLA 2M3602D SLA 2M2402D SLA 2M6002D SLA 2M2802D ...

Page 8: ...tings such as IP address Subnet mask Gateway etc before you can connect to the network d Test Monitor Out Port Output port for test monitoring the video output Use the test monitor cable to connect to a mobile display and check the test video e Micro SD Card slot Compartment for the Micro SD card f Power On Off switch Switch used to turn the product On off J Use it only to replace your lens module...

Page 9: ...English _9 OVERVIEW AT A GLANCE LENS MODULE Appearance Item Description a Lens module This is a lens module that records video b Camera connector This is a terminal to connect with the camera a b ...

Page 10: ...site And put aside personal belongings from the site just in case If the product is installed with excessive force it may cause damage to the camera due to malfunction Forcing assembly using non compliant tools may damage the product Do not remove the lens module while the power is on The image can be covered up by the camera case depending on the angle Disassembling Remove the dome cover by unscr...

Page 11: ...ff after approximately 40 seconds 6 Push it until it clicks into the mounting clip as shown in the figure 7 Use the camera fixing screws to fix the camera body to the mounting plate Installation on a ceiling or wall 1 Use the provided template to drill holes for installation diameter 6 mm and minimum depth 45mm and insert the supplied plastic anchors to the end 2 Align the moun ting hole of the ca...

Page 12: ... fixing the cover it may cause waterproofing problems IP66 HOW TO INSTALL LAN CABLE FOR DIFFERENT INSTALLATION LOCATIONS Directly installing on wall ceiling 1 Pull the LAN cable out of the hole of the mounting plate Installing using pipe 1 Separate the pipe cover of the mount plate by pressing its sides 2 Place the pipe on the mount plate 3 Pull the LAN cable out of the hole of the mounting plate ...

Page 13: ...CRO SD MEMORY CARD J J Disconnect the power cable from the camera before inserting the Micro SD card Do not forcefully insert it in the reverse direction It might damage your Micro SD card and your product When it rains or the humidity is high insertion or ejection of a Micro SD card is not recommended Disassembly of the product cover should be finished within 5 minutes or there will be the risk o...

Page 14: ...product the data may be lost or damaged CONNECTING WITH OTHER DEVICE J J The Test Monitor Out port of the product is provided for easier installation and is not recommended for monitoring purposes Powering and networking Connect the PoE terminal of the camera to the PoE device J J Connect to a PoE Power over Ethernet enabled router s PoE connector Use PoE Power over Ethernet that is compliant with...

Page 15: ...To change the IP address use the Device Manager For further details on Device Manager use refer to Using Device Manager Page 16 CONNECTING THE CAMERA DIRECTLY TO A DHCP BASED DSL CABLE MODEM 1 Connect the user PC directly with the network camera 2 Run the Device Manager and change the IP address of the camera so that you can use the web browser on your desktop to connect to the Internet 3 Use the ...

Page 16: ...ministrator HTTP Port Used to access the camera using the Internet browser defaulted to 80 RTSP Port A port that controls real time streaming The initial value is 554 If using a Broadband Router IP Address Enter an address falling in the IP range provided by the Broadband Router ex 192 168 1 2 254 192 168 0 2 254 192 168 XXX 2 254 Subnet Mask The Subnet Mask of the Broadband Router will be the Sub...

Page 17: ... OK MANUALLY REGISTERING CAMERA If the camera cannot be found using search function the camera can be registered remotely by manually inserting IP information if the camera is connected to external network 1 Click Add Devices Manually Add Device at the main page of device manager 2 Insert the range of IP address that you search 3 Select the Model Name of the camera that you register and insert HTT...

Page 18: ...orwarding setting is an example of setting CISCO IP router The settings may differ depending on the connected Broadband Router model For more information refer to the user manual of the applicable router Setting up Port Range Forward for several network cameras You can set a rule of Port Forwarding on the Broadband Router device through its configuration web page A user can change each port using ...

Page 19: ...a remote computer that is not in the Broadband Router s network cluster is not allowed users can access cameras within a Broadband Router s network by using the camera s DDNS URL 1 Before you can access a camera in the Broadband Router network you should have set the port range forward for the Broadband Router 2 From the remote PC launch the Internet browser and type the DDNS URL address of the ca...

Page 20: ...erating system in support of the UPnP protocol 2 Click the camera name for search In the Windows operating system click the camera name searched from the network menu The login window is displayed Connecting via Bonjour 1 Run the client or operating system in support of the Bonjour protocol 2 Click the camera name for search In the Mac operating system click the camera name searched from the Bonjo...

Page 21: ...LOGIN Whenever you access the camera the login window appears Enter the User ID and password to access the camera 1 Enter admin in the User name input box The administrator ID admin is fixed and can not be changed 2 Enter the password in the Password input field 3 Click Sign in If you have logged in successfully you will the Live Viewer screen J J When you access the camera web viewer pay special ...

Page 22: ...heck box y y If the webviewer continues failing to display a video after you select Next on the message window below press the command key Q to exit the Safari browser access again and follow the procedures stated above I can t access the camera from a web browser y y Check to make sure that the camera s Network settings are appropriate y y Check to make sure that all network cables have been conn...

Page 23: ...erms and conditions of the purchase contract This product and its electronic accessories should not be mixed with other commercial wastes for disposal Hanwha Techwin cares for the environment at all product manufacturing stages and is taking measures to provide customers with more environmentally friendly products The Eco mark represents Hanwha Techwin s devotion to creating environmentally friend...

Page 24: ......

Reviews: