WPS-300-NVR Installation Manual
Pg. 23
www.snapav.com Support: 866.838.5052
3- Configure Motion Detection Areas
Motion Detection allows for specific areas of the image to be used for triggering the recording of video, an alarm, or sending
a notification. When an area is defined, motion in that area will trigger the predefined action; this is useful to avoid unwanted
events from being triggered due to motion in areas of no concern.
Note:
Motion for the entire viewable area is set by default; we recommend that smaller areas be defined unless this is
desired result.
for details on the features used in this step.
A.
Open NVR Camera Settings
A.1- Select Config Button in the upper right hand corner of the Main NVR Interface.
A.2- Select NVR Settings in the left side menu.
A.3- Select the Camera Tab, and select the camera to configure.
4- Selecting a Motion Detecting Area
A.1- Select
Set
next to Motion Setup.
A.2- Select the Area 1 checkbox.
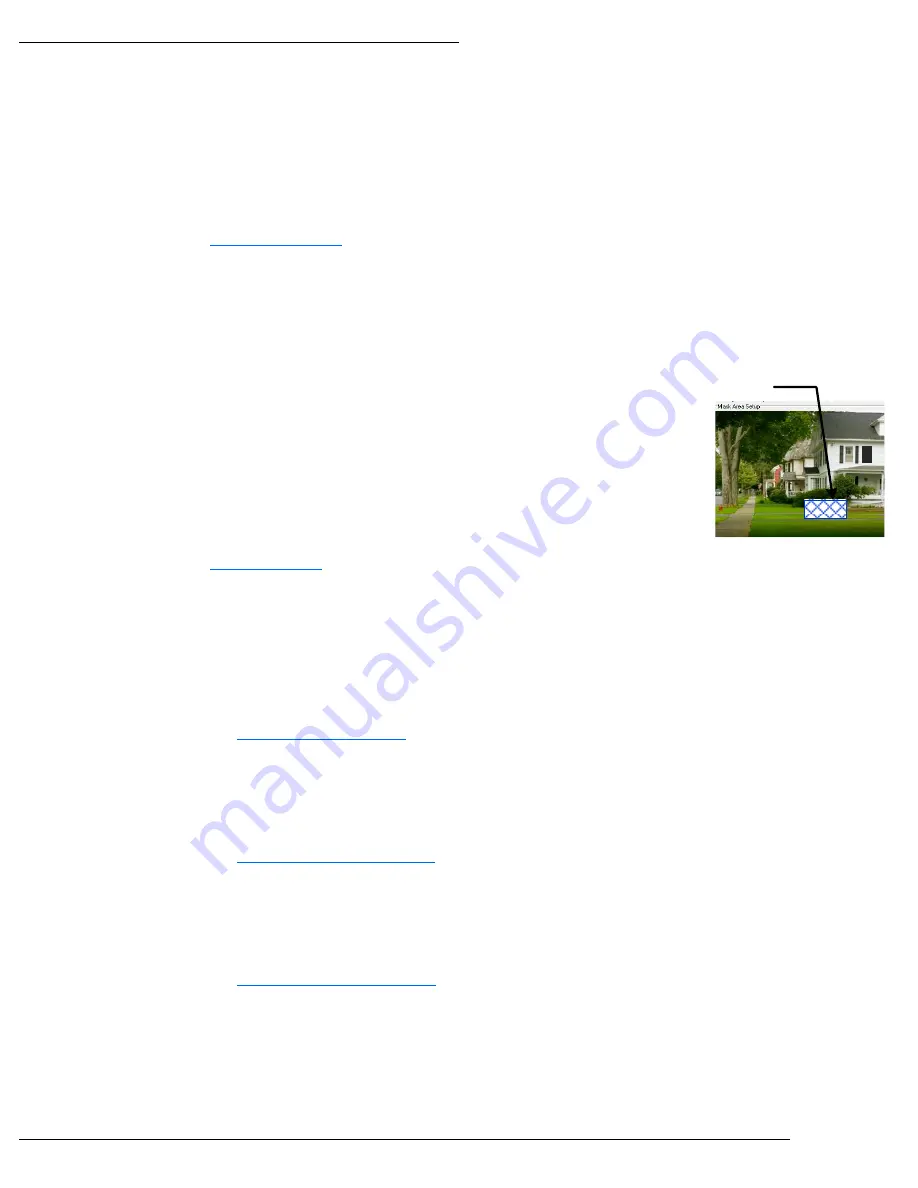
A.3- Select the Mask Area Setup button for Area 1.
A.4- In the bottom image, place the mouse at the upper left hand corner of the
area to detect motion, hold down the left mouse button and drag the box
over the area to detect motion, and release the mouse button.
A.5- Select Update to save the area.
A.6- Select the Sensitivity level. (Range 1 Low to 10 High).
A.7- Repeat Steps B.2 to B.6 for Area 2 & 3 if more areas are needed.
5- Setup a Schedule
for details on the features used in this step.
A.
Open NVR Camera Settings
A.1- Select Config Button in the upper right hand corner of the Main NVR Interface.
A.2- Select NVR Settings in the left side menu.
A.3- Select the Record Tab.
A.4- Set the time for a Pre-Alarm to start the recording.
A.5- Set the time for Post-Alarm to stop recording.
A.6- Set Record Mode to Schedule to show schedule setup options.
B. Setup a Schedule to Save Recording to the HDD
for details on the features used in this step.
B.1- Select
Set
next to Schedule Setup.
B.2- Select the method to use for the recording, Full Record, Alarm Rec, or No Rec.
B.3- Click on the box(es) to enable one-hour blocks of time for the desired Day of week and Time of day.
B.4- Select Exit to return to the Record settings screen.
C. Setup a Schedule to Send Email Notification
12.3.2.1 (B) Mail Schedule Setup
for details on the features used in this step.
C.1- Select
Set
next to Mail Schedule Setup.
C.2- Select the method to use for sending Email notifications, No Mail, Alarm Mail, Motion Mail, or Both.
C.3- Click on the box(es) to enable one-hour blocks of time for the desired Day of week and Time of day.
C.4- Select Exit to return to the Record settings screen.
D. Setup a Schedule to Save Recording to an FTP Location
12.3.2.1 (C) FTP Schedule Setup
for details on the features used in this step.
D.1- Select
Set
next to Schedule Setup.
D.2- Select the method to use for sending to FTP, No FTP, Alarm FTP, Motion FTP, or Both.
D.3- Click on the box(es) to enable one-hour blocks of time for the desired Day of week and Time of day.
D.4- Select Exit to return to the Record settings screen.
Draw Mask Area


