www.winchestersafes.com
Owner’s Manual
DELIVERY AND INSTALLATION
(CONTINUED)
3.
Your safe was shipped with the door closed and locked . Open the safe by following the
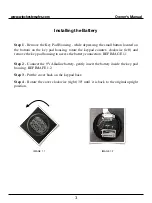
INSTALLING THE BATTERY ON A ELECTRONIC LOCK
instructions and the
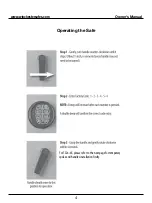
ELECTRONIC LOCK OPERATING INSTRUCTIONS.
4.
Remove the safe from the pallet by first opening safe the door. Find and remove the (4)
four decorative plugs in the safe bottom. Using a 17mm socket and ratchet, remove the four
lag bolts that secure the safe to the pallet. Reinstall the four decorative plugs. Next, close the
safe door and extend the locking bolts by rotating the handle counterclockwise. With the
assistance of one or more adults, slide the safe to one side of the pallet to prevent it from
tipping over. Tilt the safe over until the bottom side of the safe touches the floor, and then tilt
the safe over enough to allow the pallet to be removed from under the safe. Tilt the safe
backup and set flat on the floor.
5.
With a dolly substantial enough to support the size and weight of your safe, move the safe
to your desired location. Consideration should be given to the weight of the safe and the type
of flooring that the safe will be moved across. Wood, tile, carpet and other types of flooring
can be easily damaged and it is your responsibility to take whatever measures necessary to
prevent any damage. If your home is pier and beam construction, you should place the safe
in an area of the floor that you are sure will support the safe’s weight.
To maximize the fire protection of your safe, we recommend you place it in the lowest
elevation in your home. In a home fire, the coolest part of the fire is in the basement area and
the hottest in the upstairs.
6.
To maximize the burglary protection, and prevent the safe from tipping over, you
MUST
anchor your safe to the floor.
7.
Your new Winchester Safe is now ready to operate.
2
Summary of Contents for TS12-30
Page 9: ...www winchestersafes com Owner s Manual 7...
Page 10: ...www winchestersafes com Owner s Manual 8...
Page 12: ...19 TSC 00...


