https://www.XPOtool.com
Item 63003
Page 21
The Tool Experts
01 2022
-1
Cleaning the inlet valve
Cleaning or servicing the inlet valve may be required if the unit has priming problems. Priming problems
may be prevented by properly cleaning the sprayer and following the “Long-term storage”
steps.
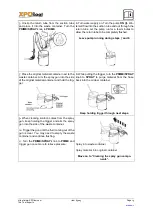
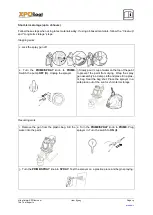
1. Remove the suction set.
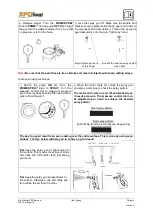
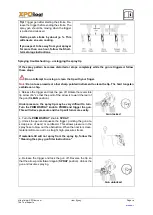
2. Unscrew the inlet valve assembly
(a)
from
the sprayer. Visually inspect the inside and out-
side of the inlet valve assembly. Clean any
paint residue with the appropriate cleaning so-
lution.
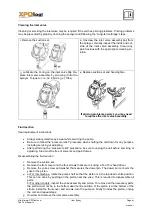
3. Lubricate the O-ring on the inlet valve
(b).
Re-
place inlet valve assembly by screwing it into the
sprayer. Torque to 31.2–36.6
Nm (23–27
ft lbs).
4. Replace suction set and hand-tighten.
If priming problems persist, you may need
to replace the inlet valve assembly.
Fluid section
Seal replacement instructions
•
Always wear protective eye wear while servicing the pump.
•
Be sure to follow the “pressure relief” procedure when shutting the unit down for any purpose,
including servicing or adjusting.
•
After performing the “pressure relief” procedure, be sure to unplug the unit before servicing or
adjusting. Area must be free of solvents and paint fumes.
Disassembling the fluid section
1.
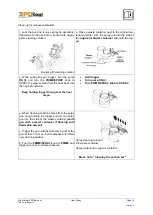
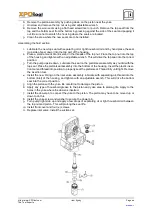
Remove the suction set.
2.
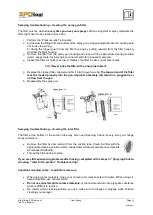
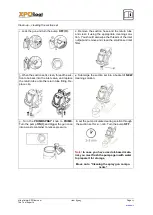
Remove the front cover and the four screws that secure it using a T20 Torx head driver.
3.
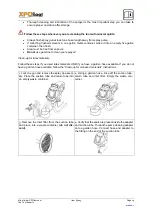
Remove the yoke screw and washer that secures the dowel pin. The dowel pin connects the
yoke to the piston.
4.
a) For this machine, rotate the pump shaft so that the piston is in the top dead centre position.
This can be done by pushing on the piston near the yoke. This is required to disassemble all
parts.
b) For other models, inspect the yoke assembly and piston. To remove all the necessary parts,
the piston must not be in the bottom dead centre position. If the piston is at the bottom of the
stroke, install the front cover and screws, turn the pump on briefly to index the piston, unplug
the unit, and repeat step 2.
5.
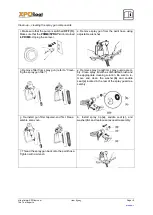
Unscrew and remove the inlet valve assembly.

